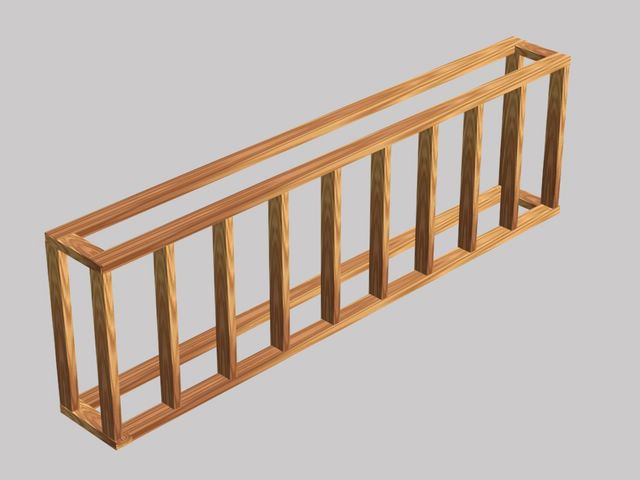
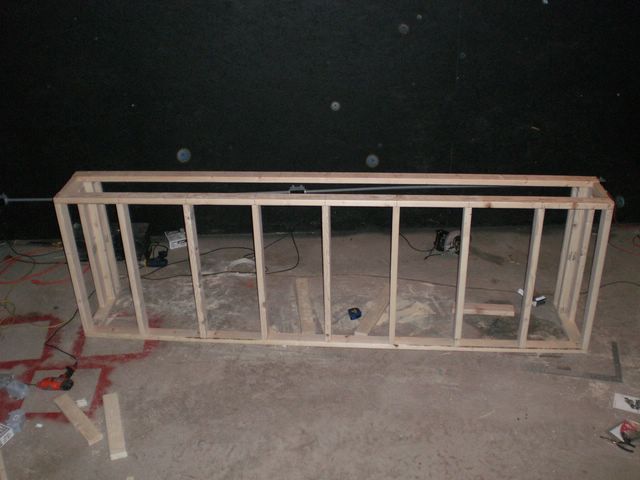
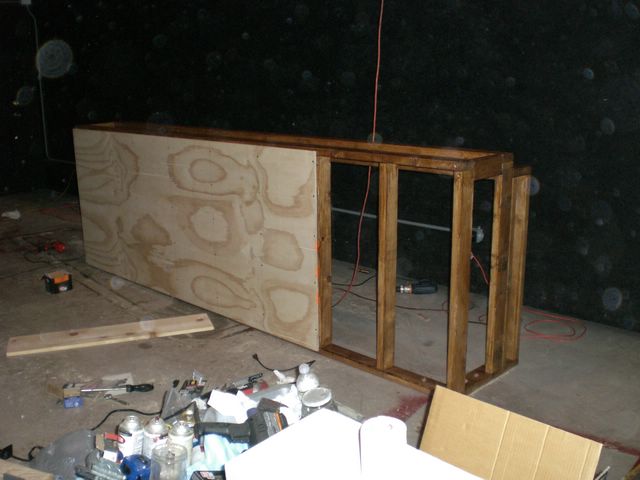
basic frame
THE BAR
This is a part of the main project: PARTYBARN
OCT 21 - 22, 08
Some specs:
Table height: 42"
Length: 12'
Depth: 24" + 6" drink rail
Knee space: 8"
I did some conceptualizations of what I want the wet bar to look like:
basic frame
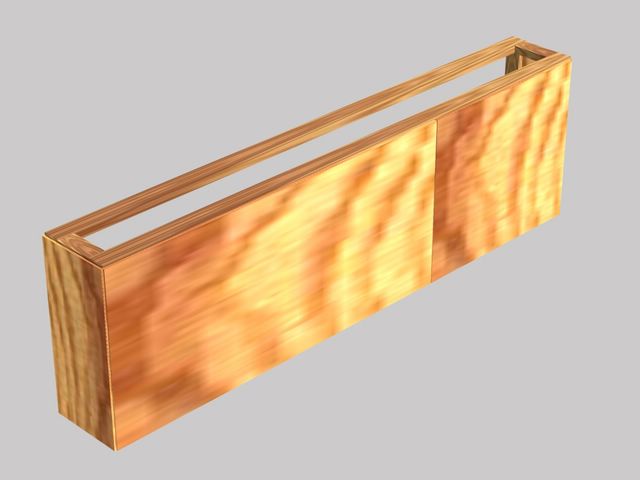
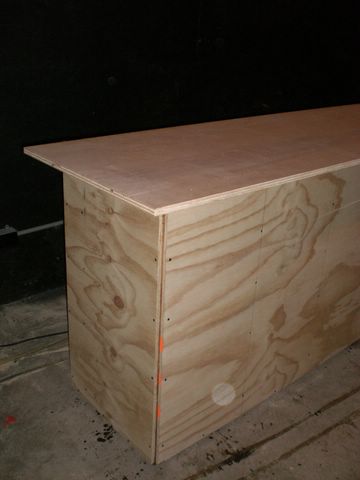
add some plywood
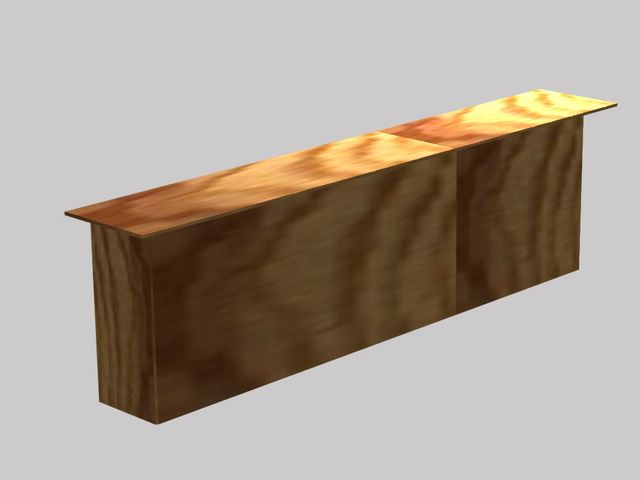
a hardwood plywood top
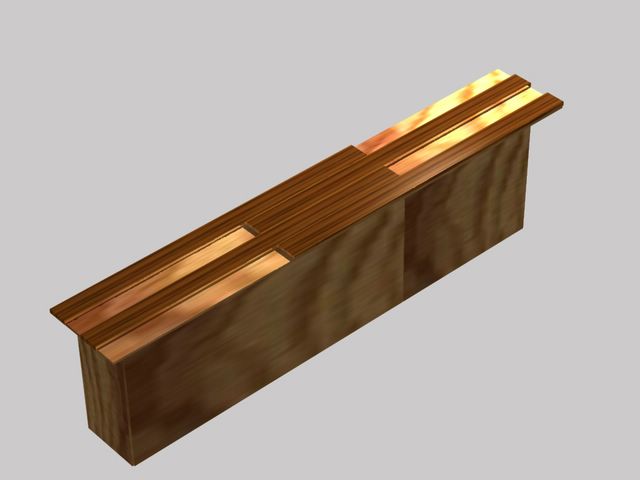
add oak planks
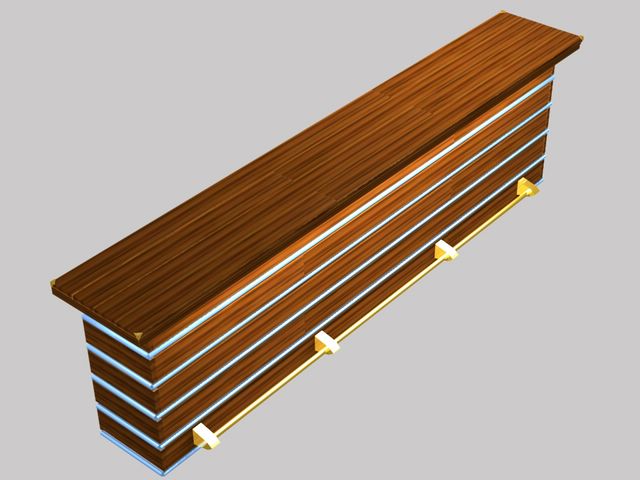
finished off with brass accessories and fancy lighting
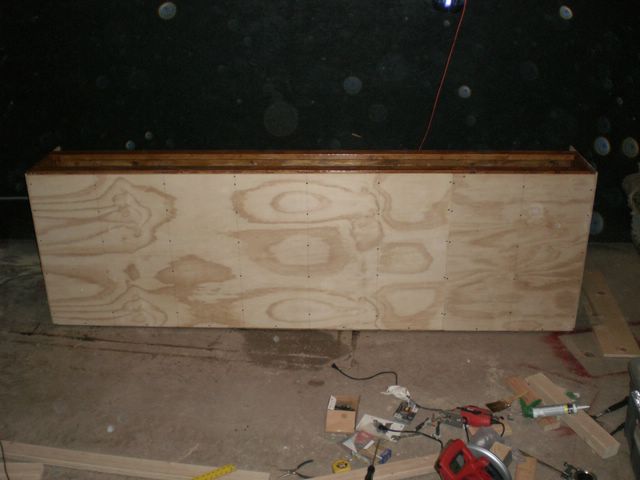
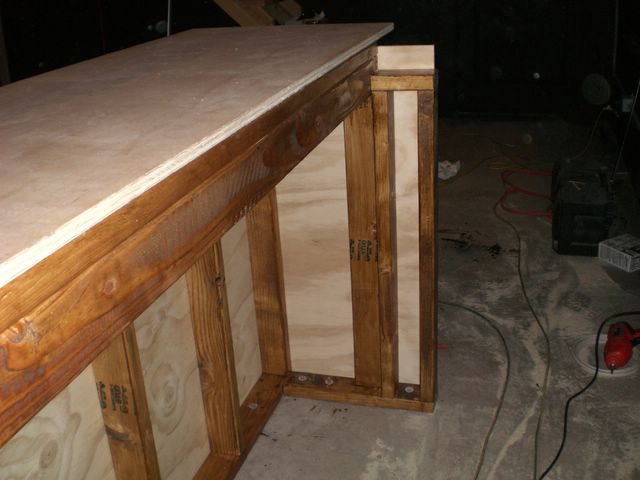
...the actual progress today:
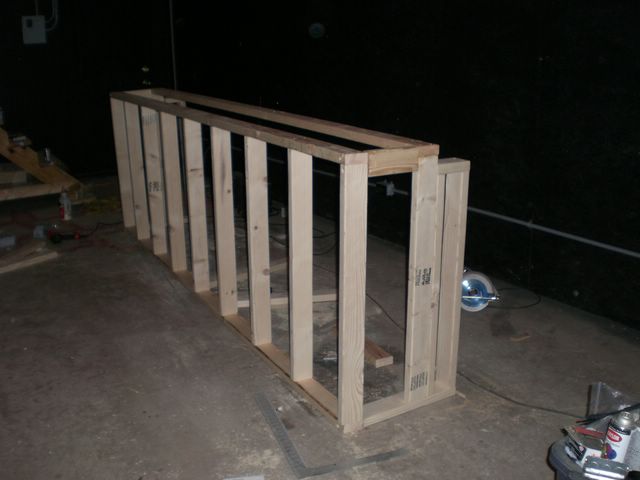
modified to have a drink rail
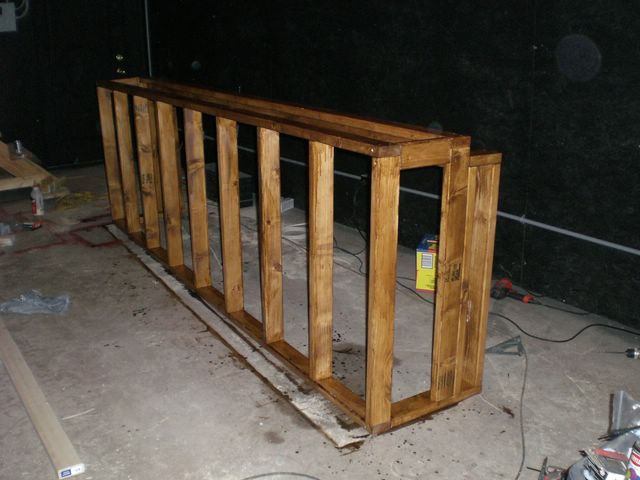
stained to preserve
OCT 23 08
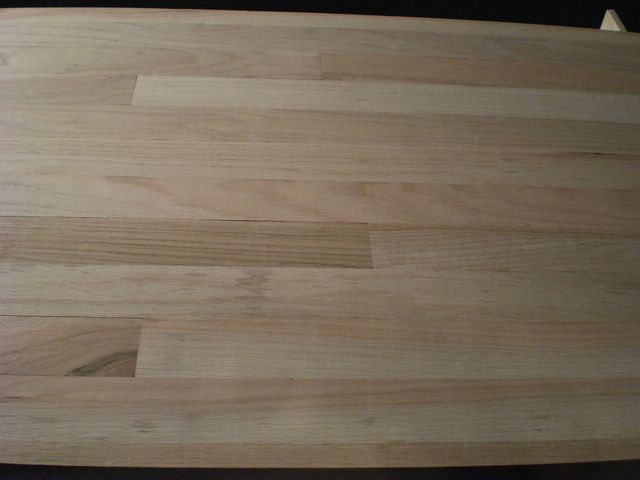
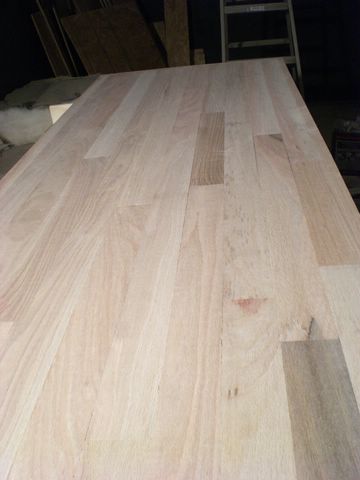
I went to Lowes today and stumbled onto a good deal:
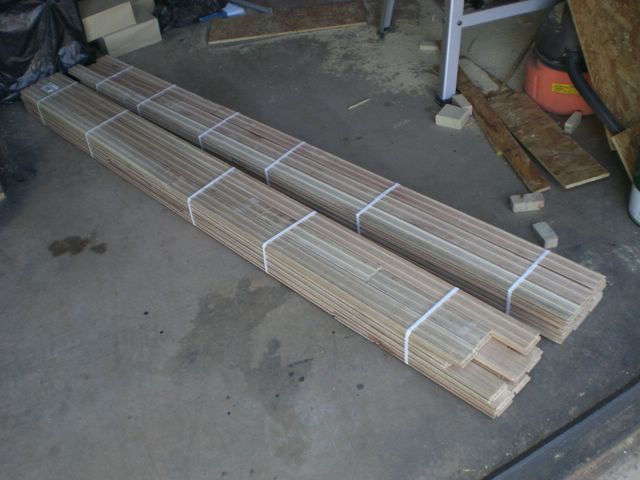
$35 a bundle for interlocking (tongue and groove) oak planks. What a deal! More than enough to do the top.
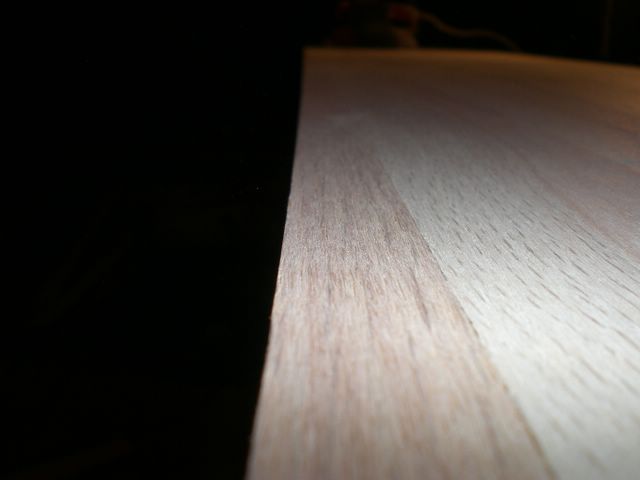
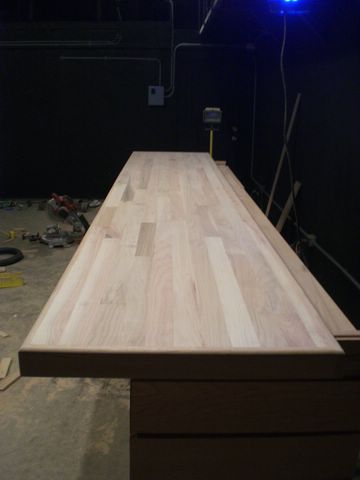
Some of it laid out:
With all the different looking shades and grain - this is really going to turn out nice. I can't wait to be able to stain this and see!
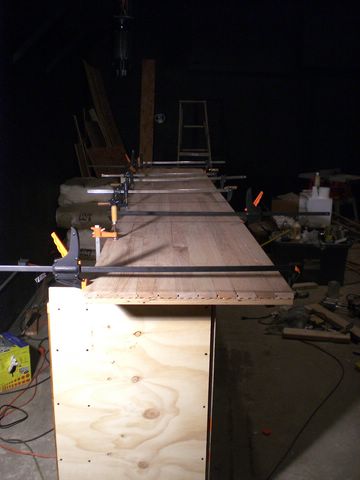
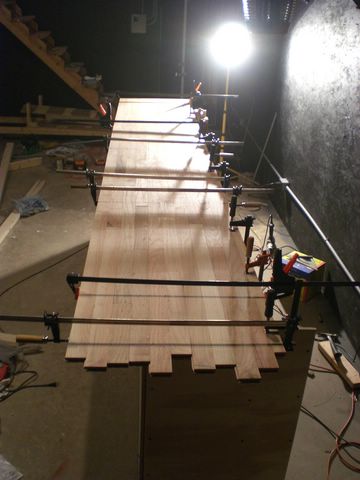
OCT 28 08
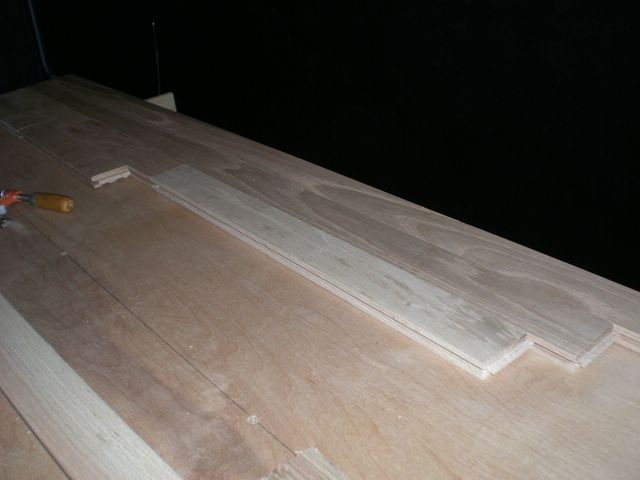
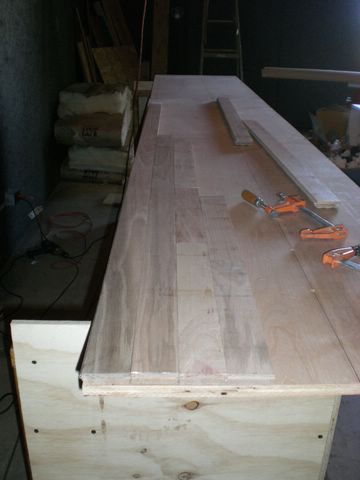
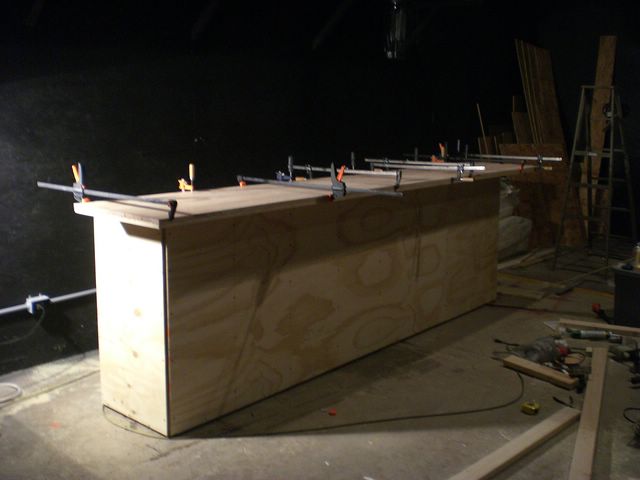
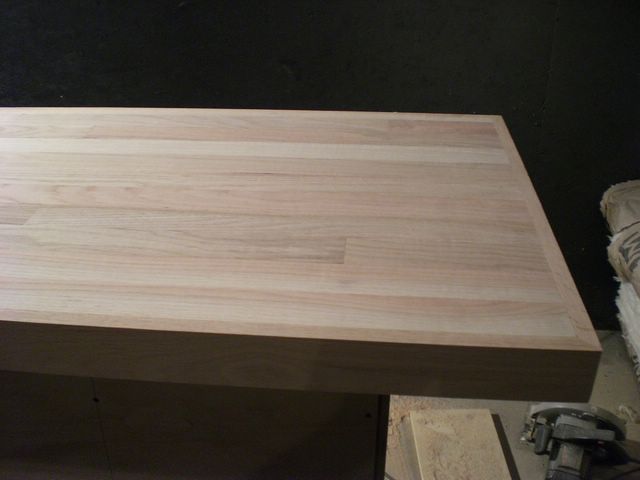
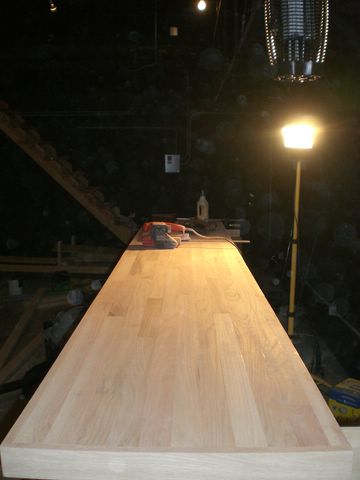
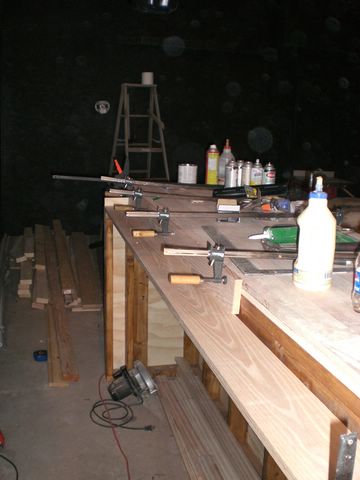
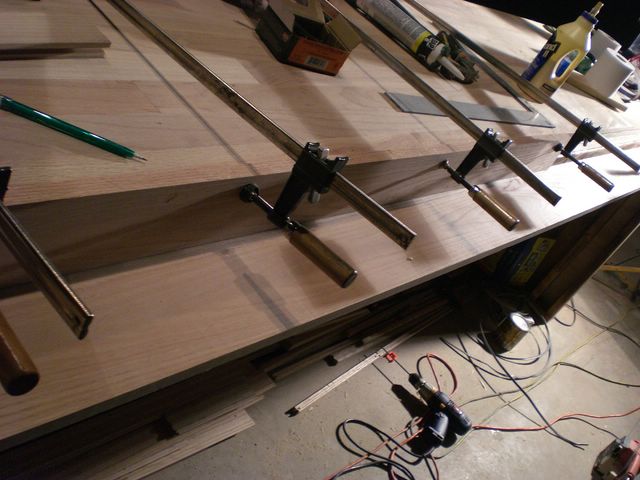
Today I spent attaching the bar surface. In most cases the planks are glued and screwed. I used clamps each step of the way to hold things tight until the screws were in. I wasn't able to use screws on the last row - so it is heavily glued and clamped, I'll pull the clamps tomorrow.
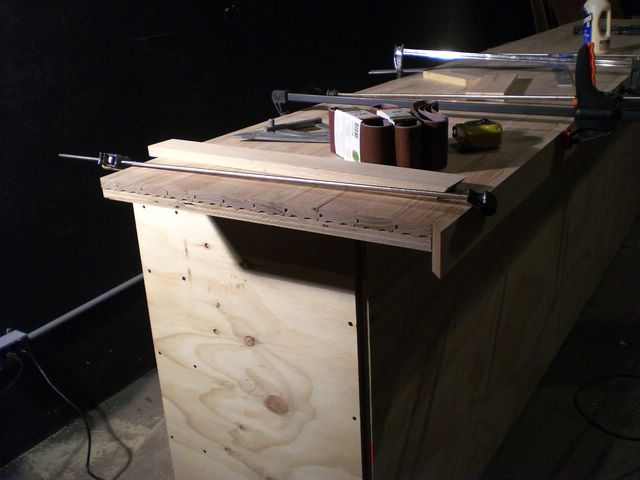
(I'll cut this end flush tomorrow)
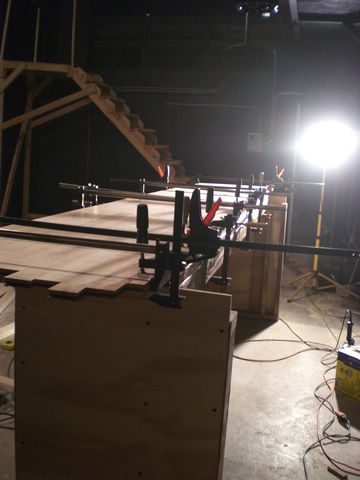
...still need this last end piece glued and clamped tomorrow...
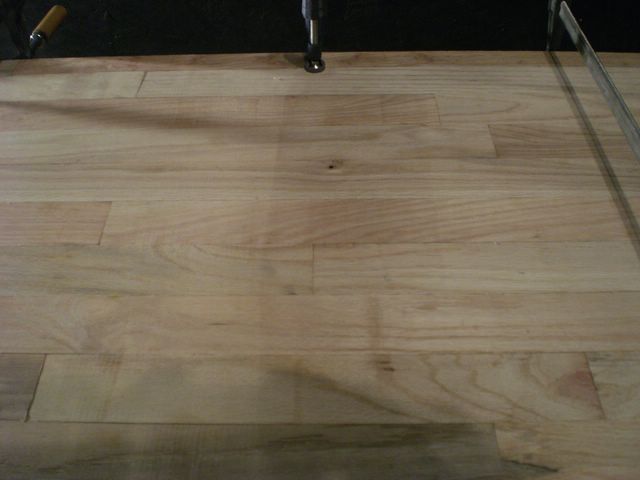
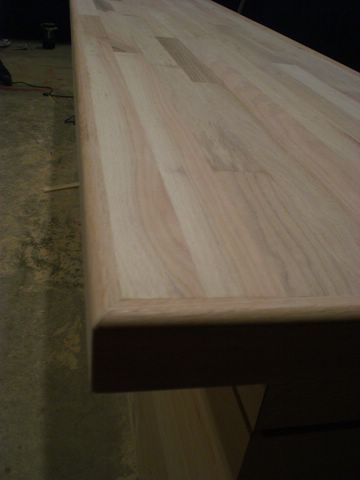
Next (for the top) I'll get an edge border made around the front and sides. After that, do some belt sanding to make it completely uniform. When I laid the pieces, I tried to put the most dissimilar pieces together to have the max impact when it's stained.
Today I also got some rope lighting ordered:
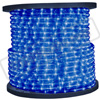
150 ft for about $70 from this place: http://www.1000bulbs.com
I think it will work best to conform with my conceptualization.
I also found a brass place for the foot rest I want:
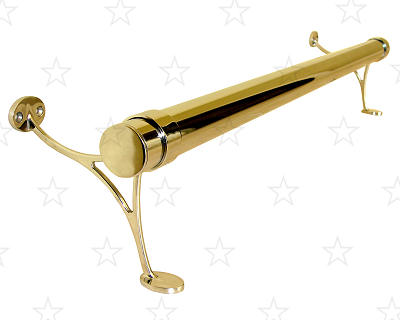
$280 for the kit from: http://www.markstaar.com/
HALLOWEEN 2008
Using my belt sander, I sanded half the bar
surface (40grit, then 80grit, then 120grit)
It's turning out pretty nice! I'm letting the glue dry on the other end
before sanding the rest. I can see I will need some wood putty for some
hair line cracks here and there...

shweet!
NOV 3 08
Got some work done on the drink rail today.
...I'll let this dry overnight...
NOV 4 to 6 08
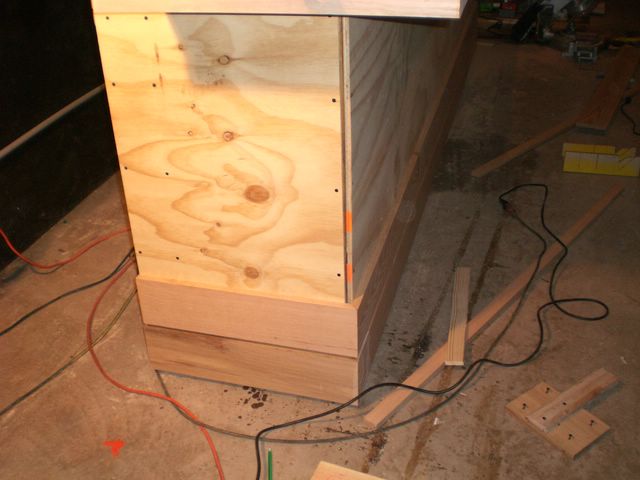
I've gotten quite far now. After the drink rail, I put the base boards on (and at $22 a board I NEED a drink!)
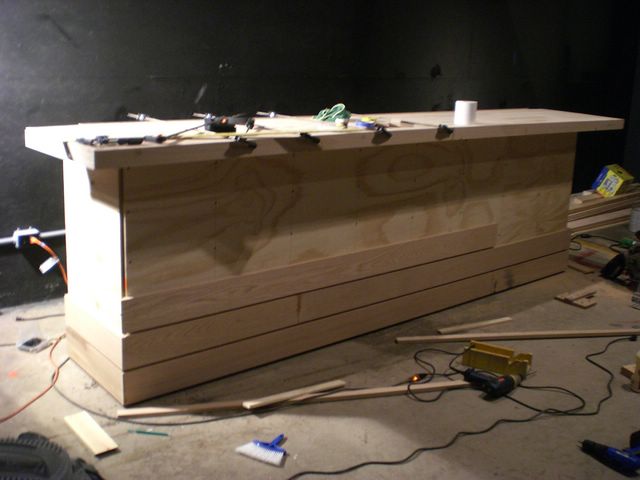
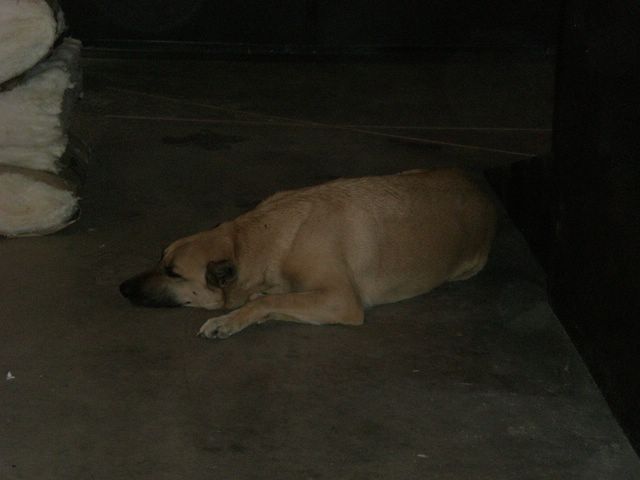
Roscoe supervises

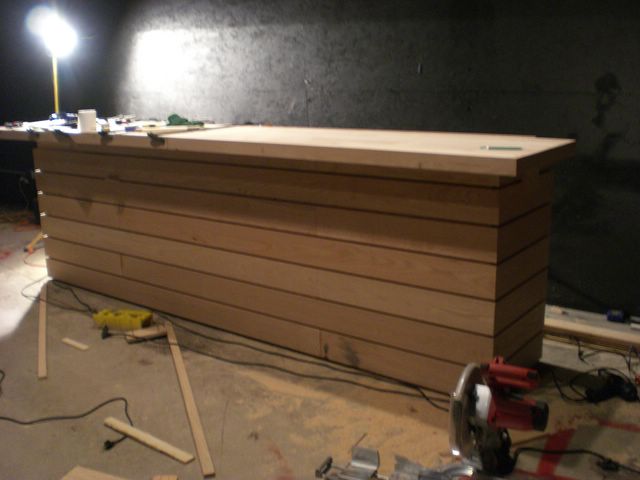
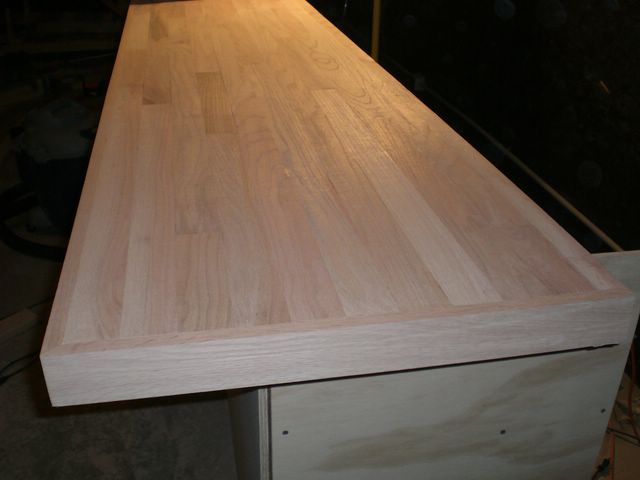
After a ton of sanding and some router work,
I'm ready to stain.
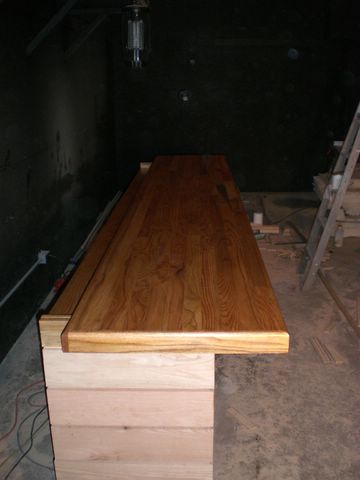
wow!
Done!

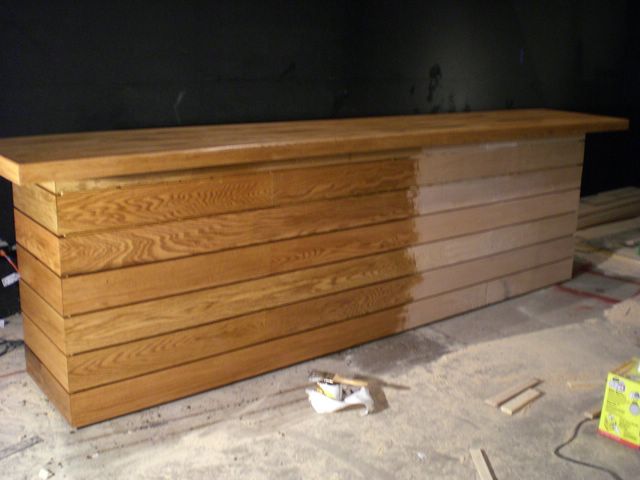
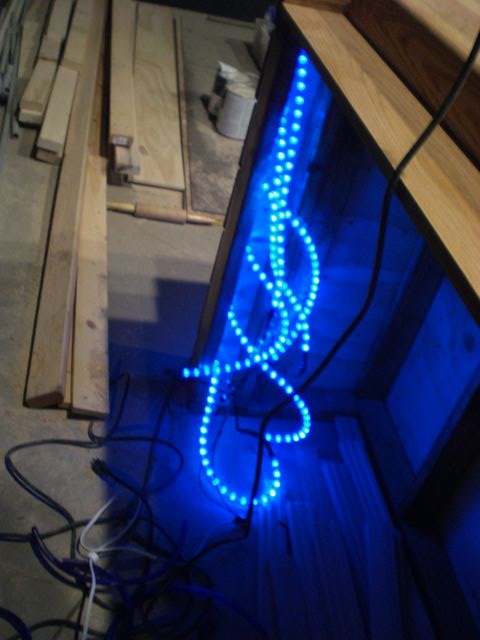
And today, I popped on the first row of rope
lighting.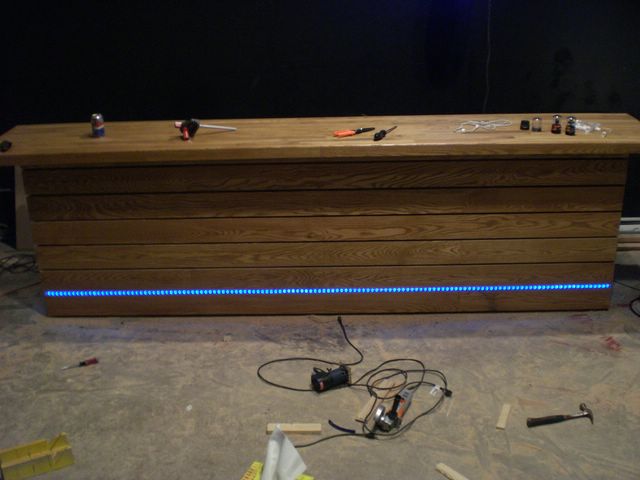
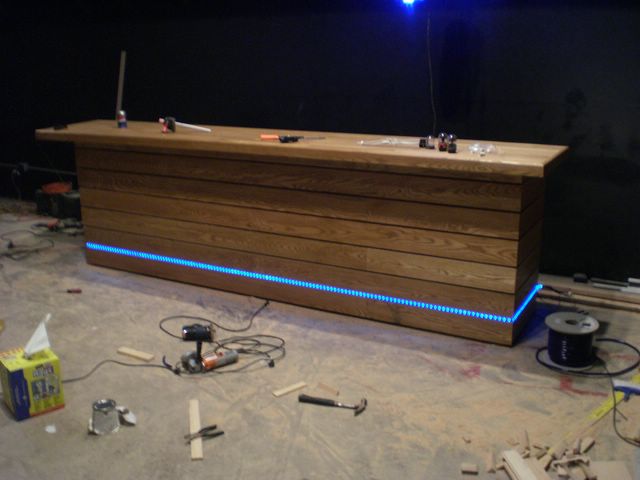

After the lighting is done, I'll be varnishing (polyurethane) it all and adding finishing trim pieces.
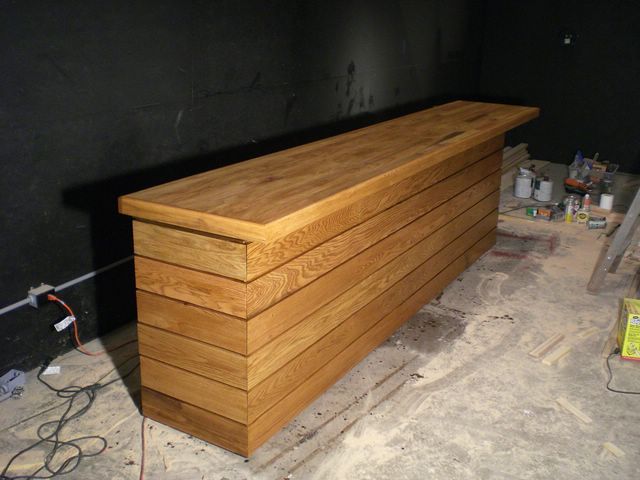
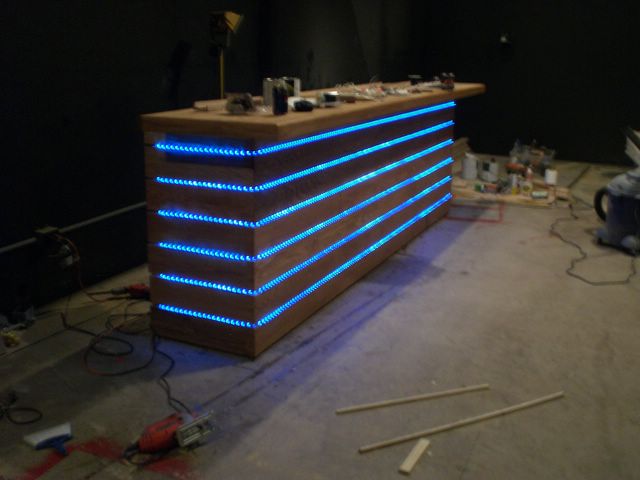
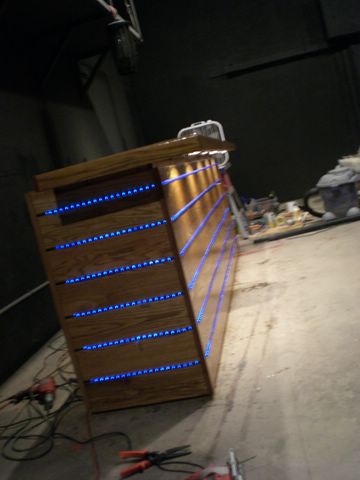
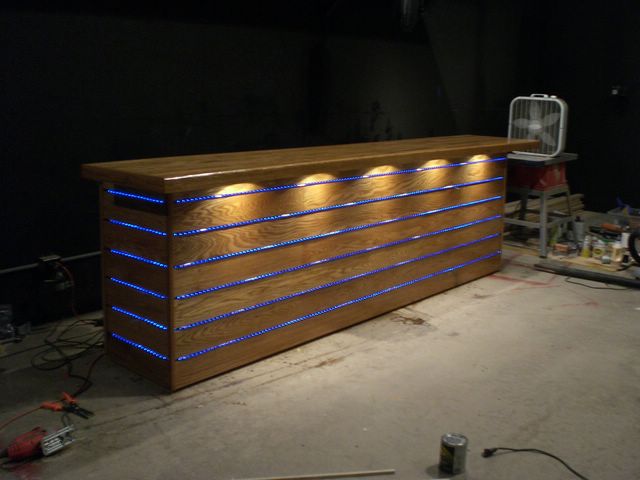
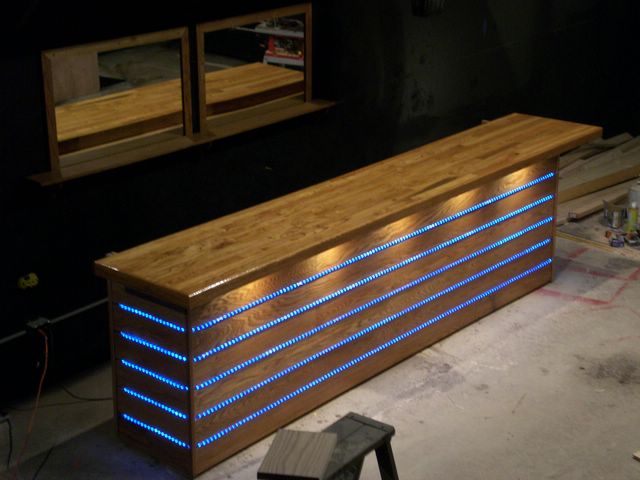
NOV 11 08
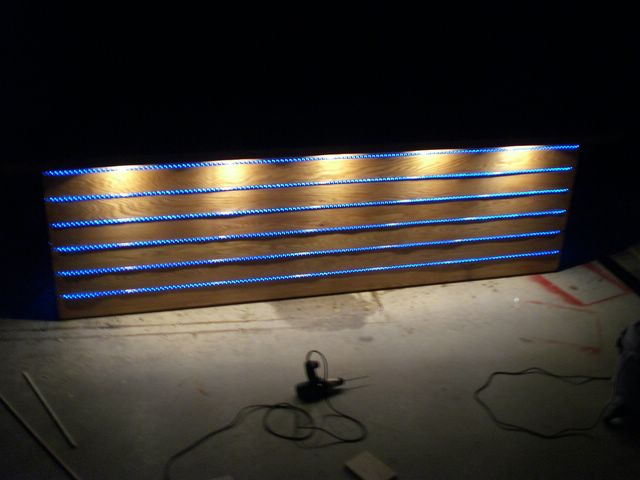
OK - the lighting is done and WOW!
this is where the controls will go (OR a nice shot of some Star Trek plasma
couplings - heh heh)
I also installed some mini spot underneath
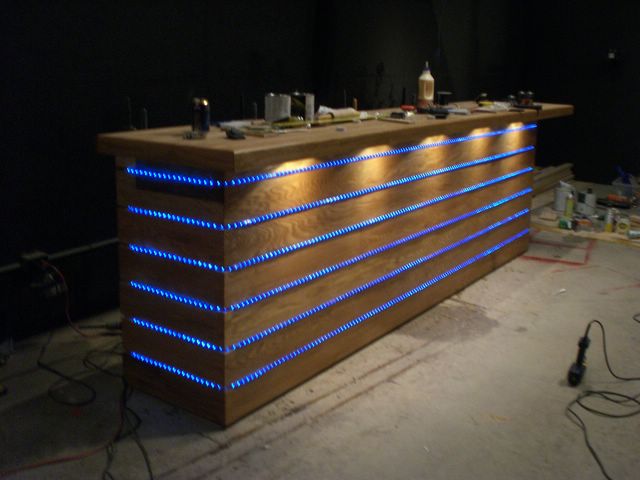
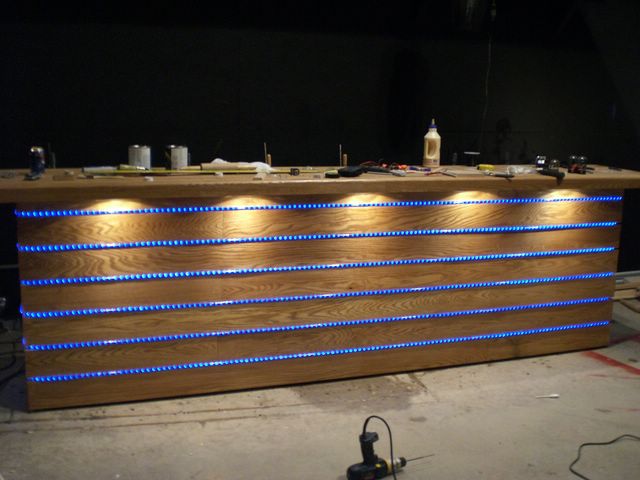
The controls:

sealer and polyurethane is next...
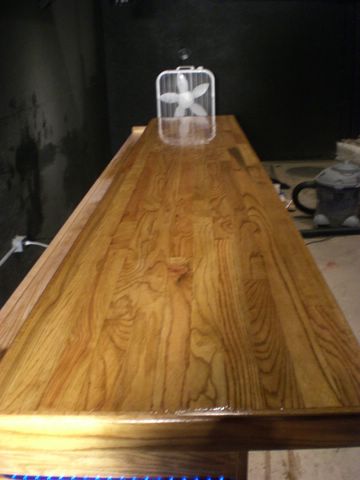
NOV 12 & 13 08
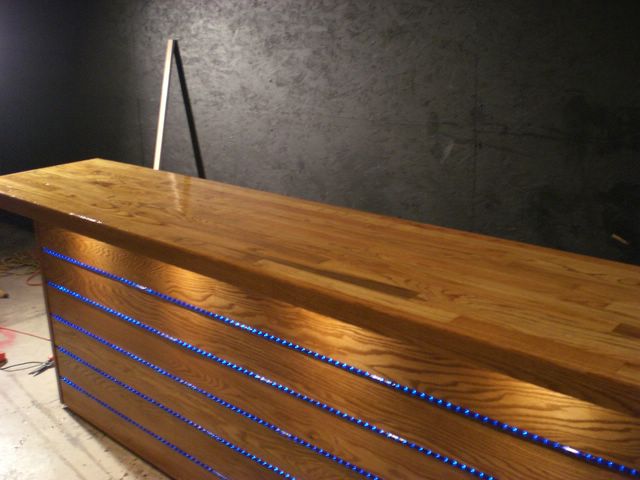
Got some sealing / poly done
the top has 2 coats of sealer, sanded, 3
coats of polyurethane.
It's really hard to get a consistent coat (I've done 2 coats sprayed and 1
brushed)
I'll probably hit it with one more spray coat since that gives the best
surface...
Hmm, similar to this I guess (needs a footrest):
I'll let this stuff dry a good 24hrs...
NOV 18 - 19 08
Built some lockable storage under the bar (still need to post the pictures - oops), and I used left over oak from the bar for mirror frames and a bottle shelf.
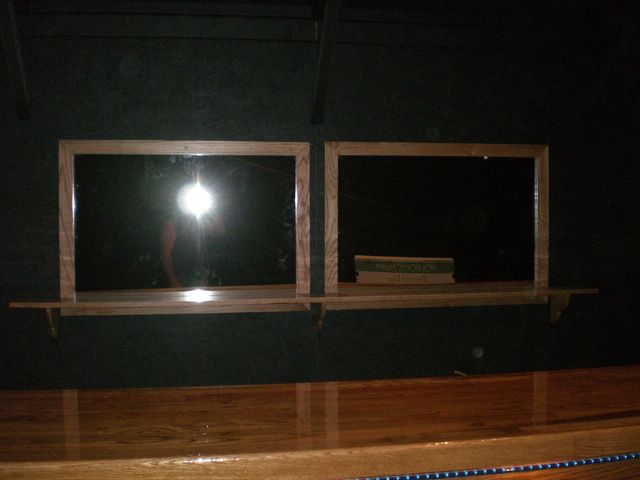
I positioned the mirrors / shelf like this - I want bottles on the shelf to be
completely reflected
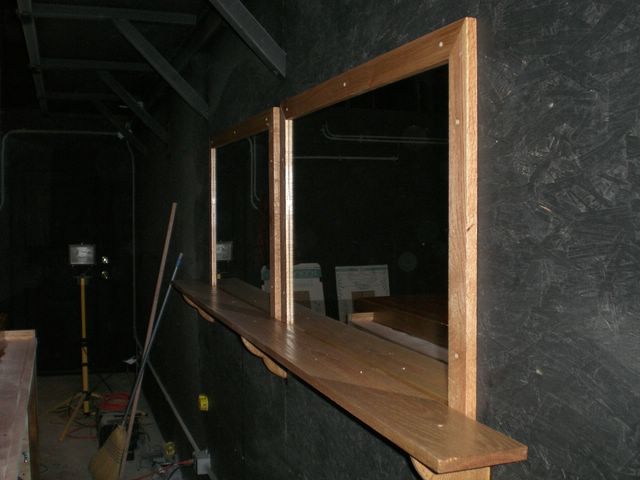
these are 36" x 24" x 1/4" thick - they fit the "groove" part of the boards just
right
the mirrors are offset to the left - eventually I want a flatscreen mounted to
the right of them
the flatscreen would show the same as the main screen - so you can sit at the
bar without turning
SPOILED!