Party
Barn Master Chronology
Contact
info: Matt
This section is the original Partybarn page before I decided to break it down to smaller chunks. It spans from the beginning up through the install of the sub-woofer and covers all of the early work that was completed. Refer to the “Current” page for up to date information...
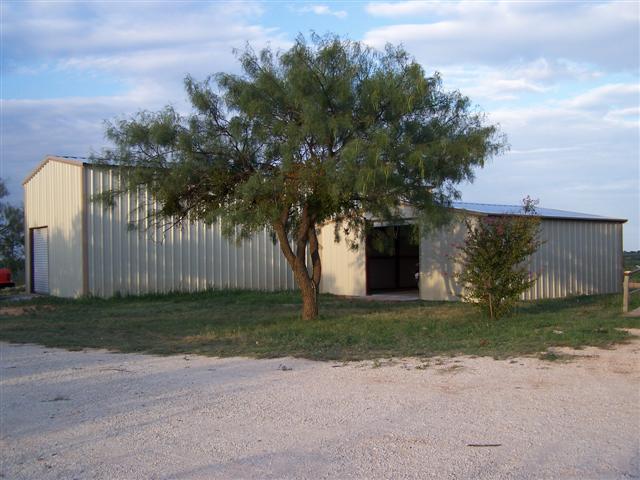
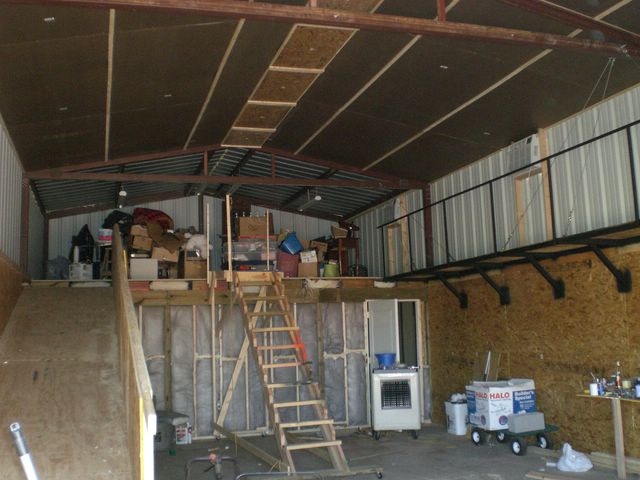
Shortly after moving "out to the country" in 2004 I had a large building constructed (on the left) ostensibly as a workshop and for storage (cost: $14k). I quickly found it was too hot in the summer and too cold in the winter. Considering the volume of the building, heating and cooling would be a challenge. I opted to simply have another, smaller, shop built (pre-insulated) to use for my workshop (on the right). And slowly begin the arduous task of a massive make over of building #1 in September of 2006. When completed, this building (22x50x14ft walls) will house a 300sqf gym and an 1100sqf theater/game room (800sqf with a 300sqf loft). This place will bring new meaning to a "Home Theater"! It will have a 17' screen coupled with a 1080p video projector (controlled from the loft area). Downstairs will have a bar area along with seating and various "fun" things to be added later (such as a pool table/air hockey, dart boards, a universal video game machine, etc) Total cost when completed will be around $35K to $40K. After completion of the main building, a bathroom area will be added on to the Gym area, and will contain a 3/4 bathroom (toilet, sink, shower, closet, maybe a urinal) and will have a dedicated septic.
Stages: (Italics denotes completed)
01) SEP
06 to MAR 07 Complete Gym area
02)
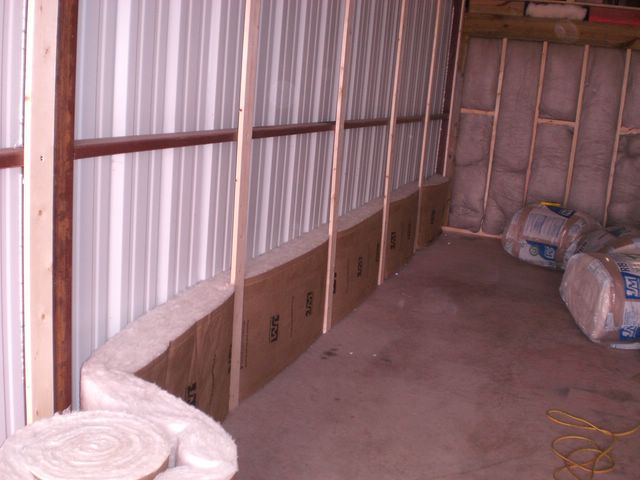
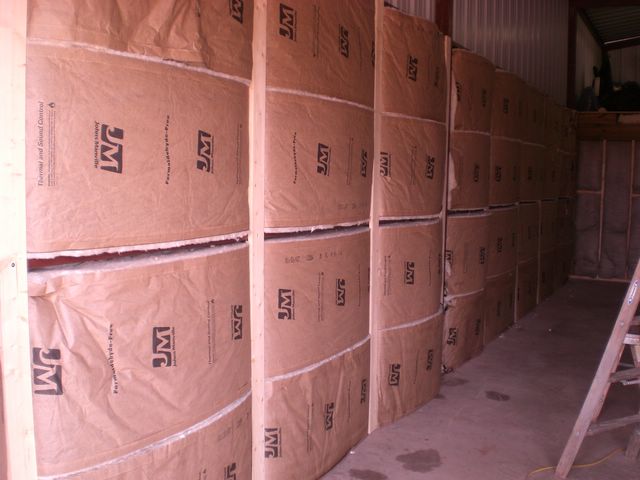
MAR 07 Insulate lower north wall and
OSB
03) APR
07 build ramp frame work and lay floor
04)
APR & OCT 07 Insulate and cover
ceiling on main floor
05) AUG
07 Insulate lower south wall and OSB
06)
SEP 07 Build catwalk for A/C access
07)
SEP 07 Install A/C units
08)
MAR 07 Complete ramp storage
09)
FEB 08 Move crap from loft into ramp
storage
10) JAN 08
Insulate west wall top to bottom and OSB
11) APR
08 Build a removable cover for the roll up door
12)
FEB 08 Insulate and OSB the high sides of
the north and south walls
13) SEP
08 Frame in loft area, install wiring and lighting
14)
SEP 08 Insulate and OSB loft area
15)
SEP 08 Insulate and cover ceiling in
loft area
16) OCT
08 Install fire escape in loft area on north wall
17)
OCT 08 Build enclosure for air circulation
blower in loft area and run ductwork
18) Build
Bar area under catwalk
19) Loft
done SEP 08 - Downstairs
Done APR 08
20) Install
all conduit, wiring, plugs and lighting externally on walls
21)
Install heating system (don't know on this one yet – propane?)
> 30,000 btu heater purchased, gas
line run, still need final set up however...
22)
Purchase / install 16' projector
screen on west wall
23) Build
computer control station in loft and install /
install projector - Rackmount
computer enclosures purchased Feb 08
24)
Build movable wall section to have option of isolating loft > I
don't think so Tim...
25) Have all
floor area carpeted with a low cut dark carpet or dark InOut
carpet
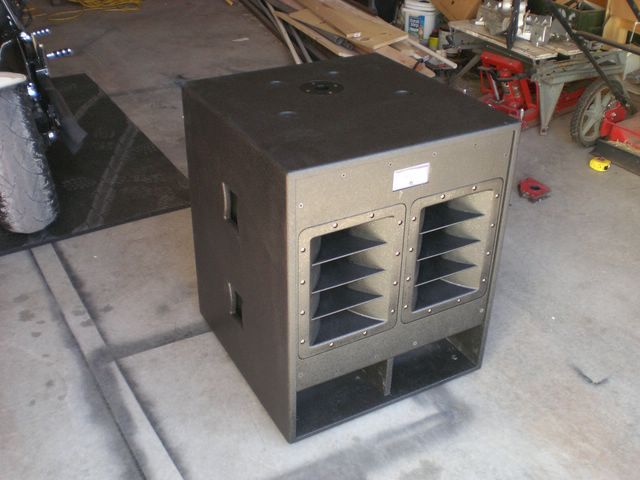
26) Install
surround sound system
27) Install
acoustic tiles in strategic areas on walls to help the sound system
out a little
28) Populate
with tables, chairs, and fun stuff
29) Take
a vacation > done
30) Start on the whole
bathroom addition thingy for steps 31 to 40! < the septic is now
in, waiting for time to build the bathroom now...
Here are some conceptualizations:
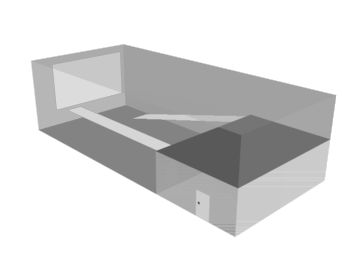
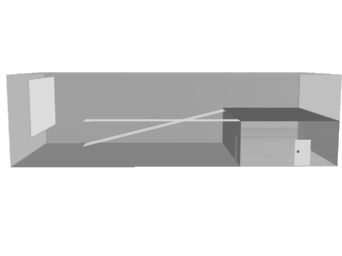
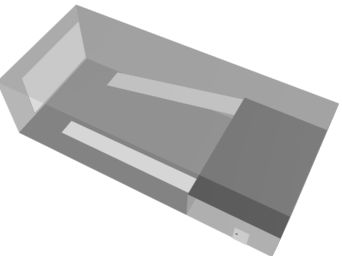
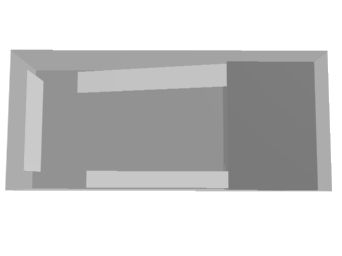
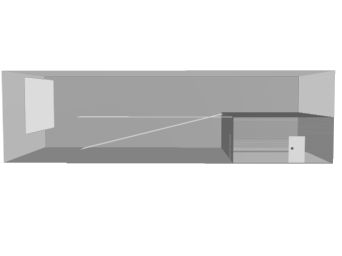
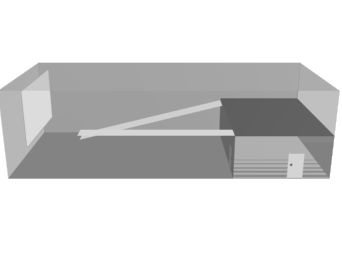

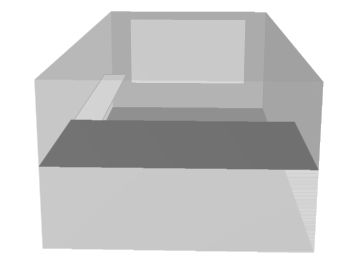
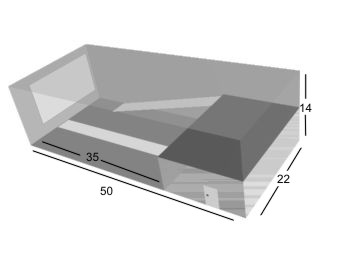
dimensions
in feet
Let the games begin!
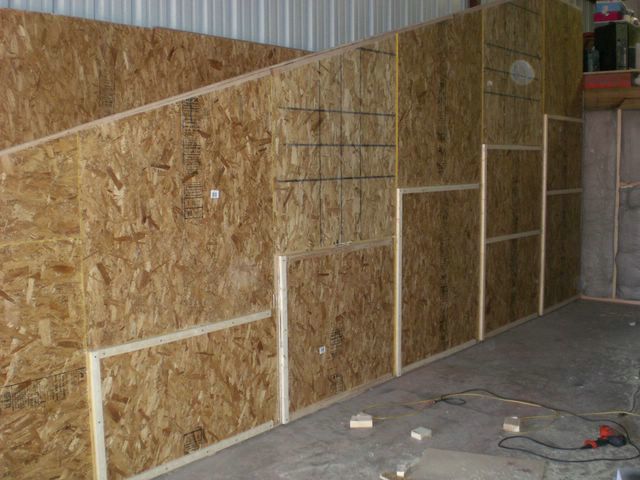
MARCH 2007
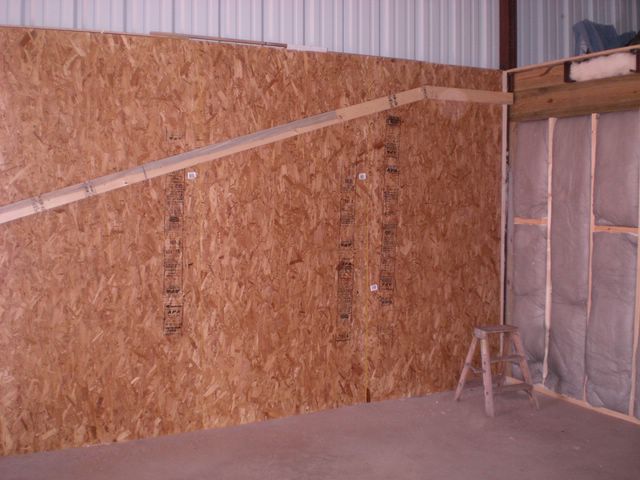
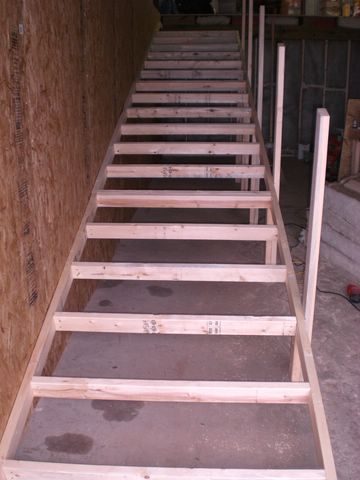
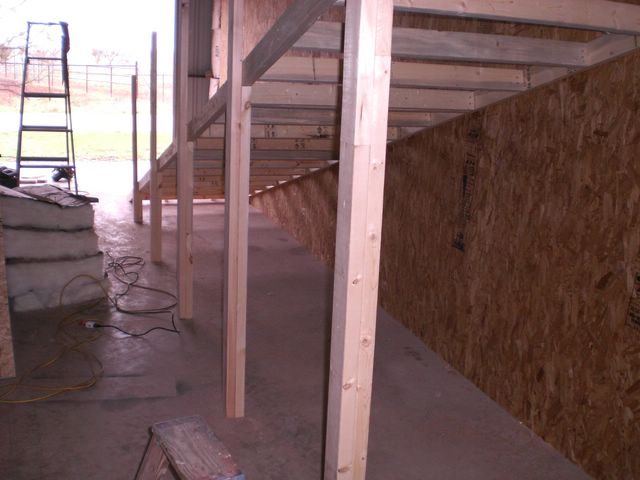
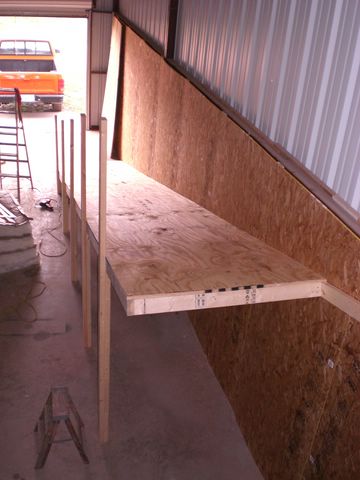
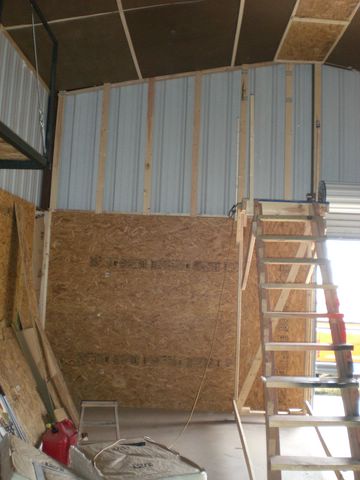
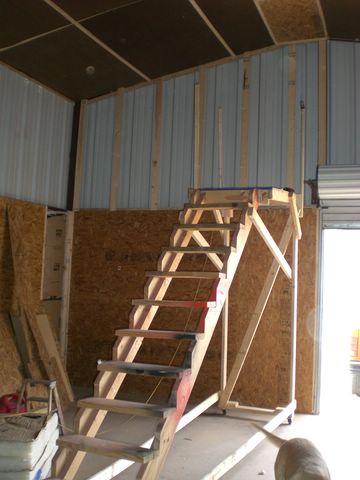
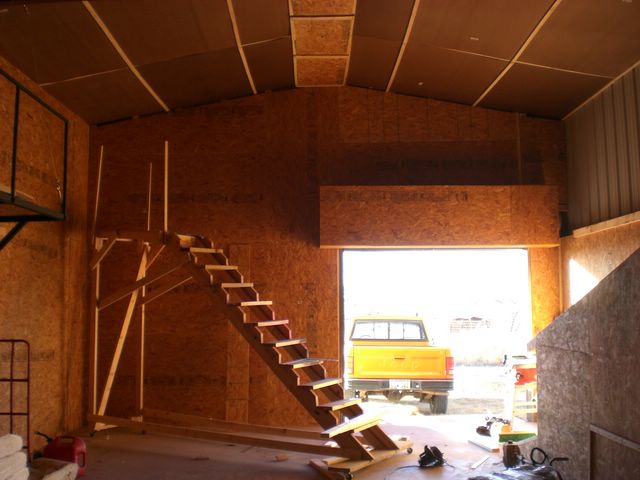
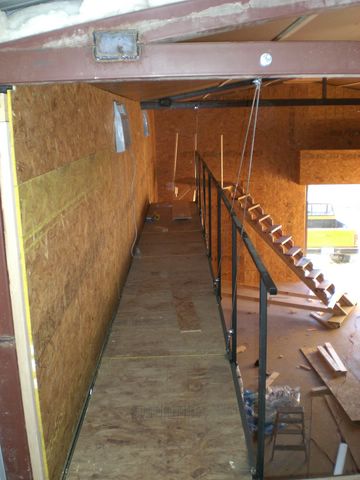
The first step is to prep a wall for "The Ramp". The Ramp will be used to access the second floor as opposed to stairs to help instill a Movie Theater ambiance. There will also be storage under the ramp.
Installed 1x4 slats

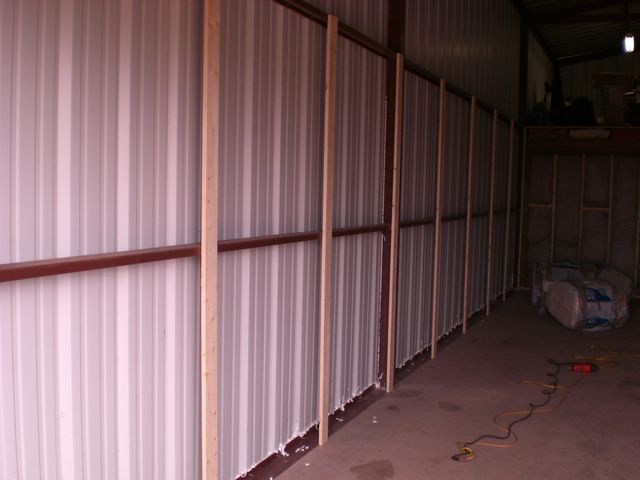
Insulate
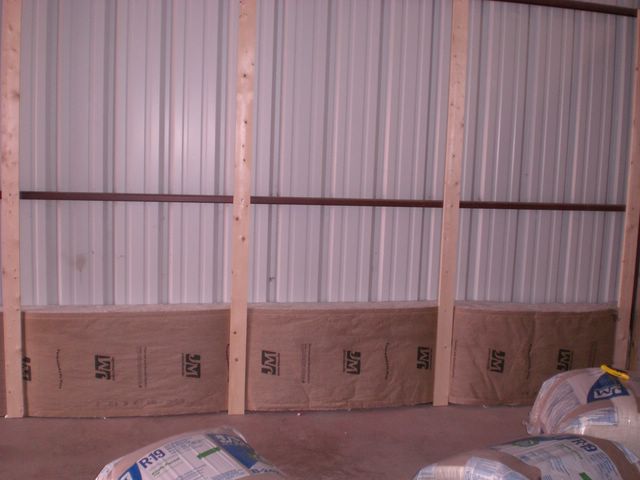
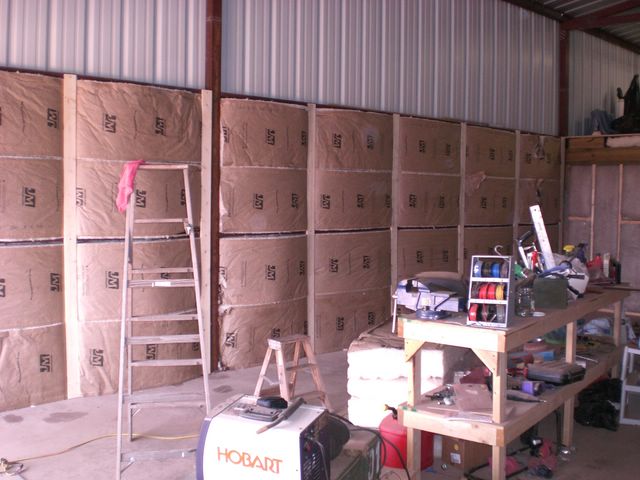
Add some OSB
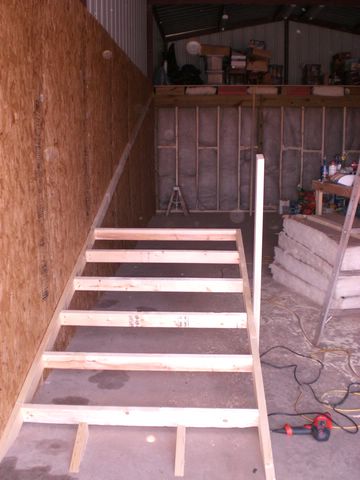
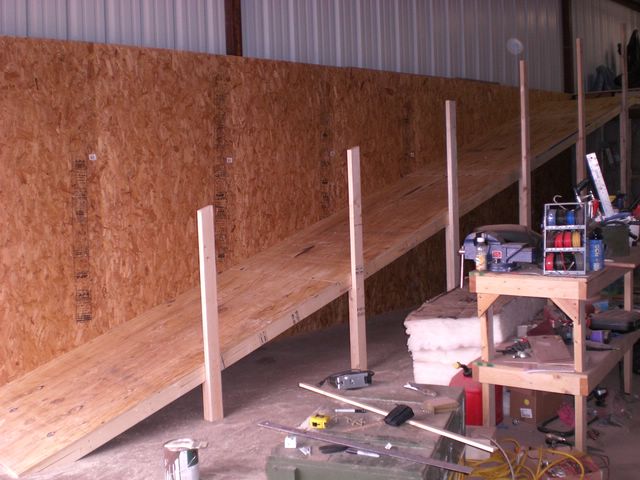
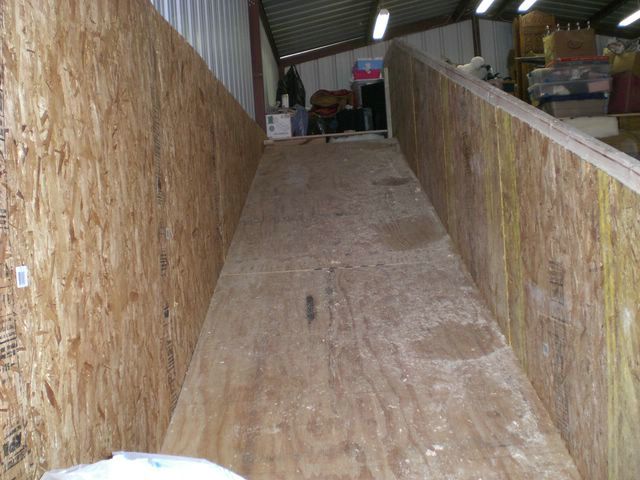
Set my first support after determining the angle
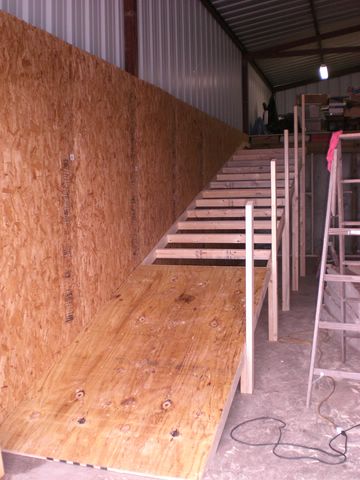
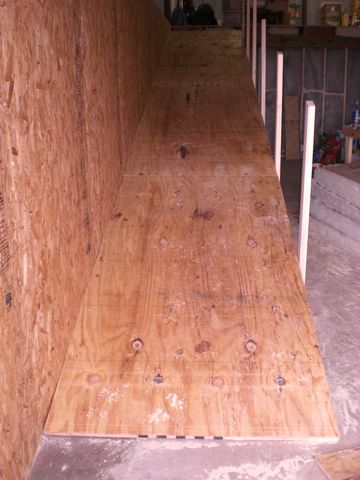
Begin the ramp!
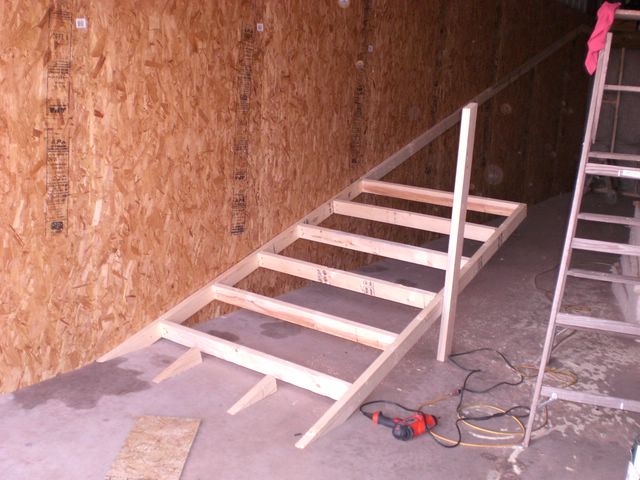
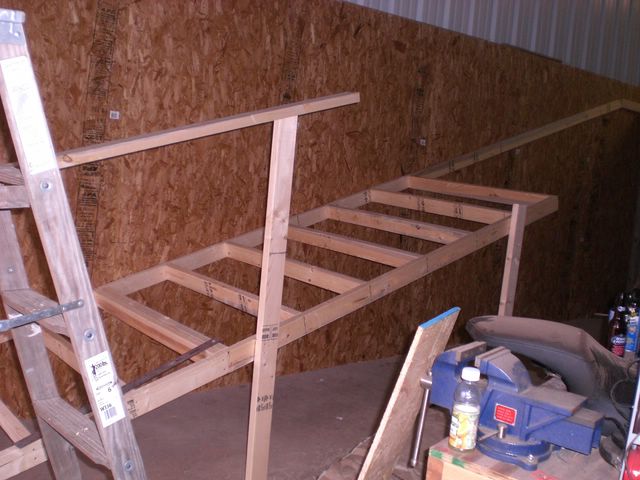
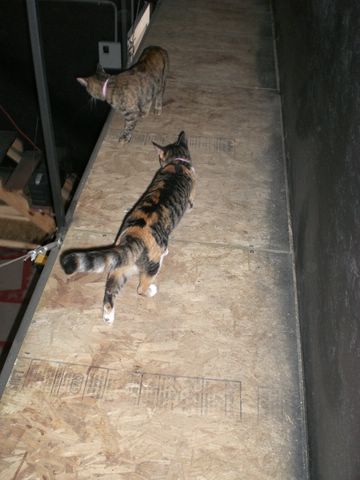
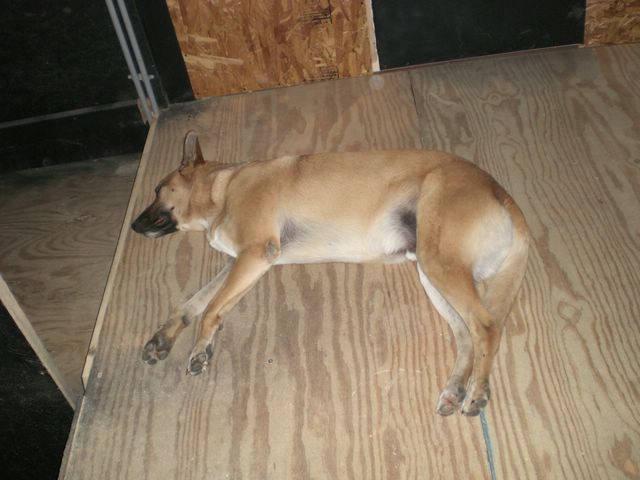
Consult with the Supervisor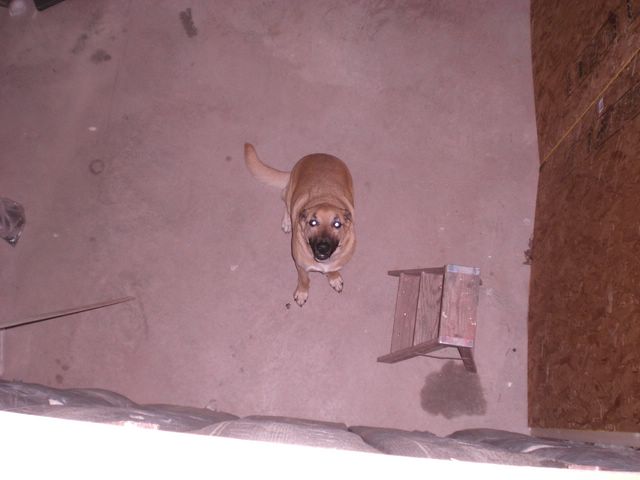
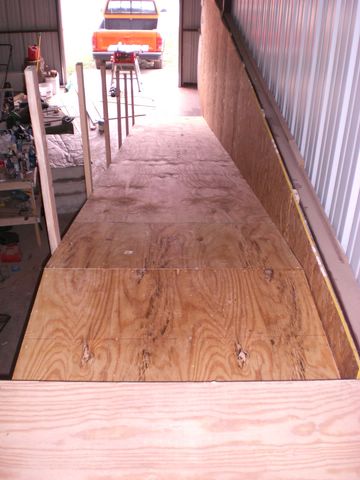
Lay the plywood

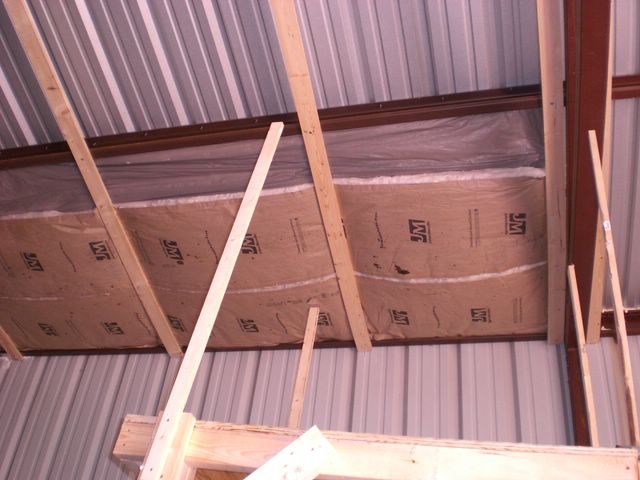
April 2007
Got some insulation done on the dreaded ceiling. I built a wylie-coyote-style thingy out of the old set of steps I had. It's working good for reaching high places!

After getting the support slats installed, I started weaving in the insulation:
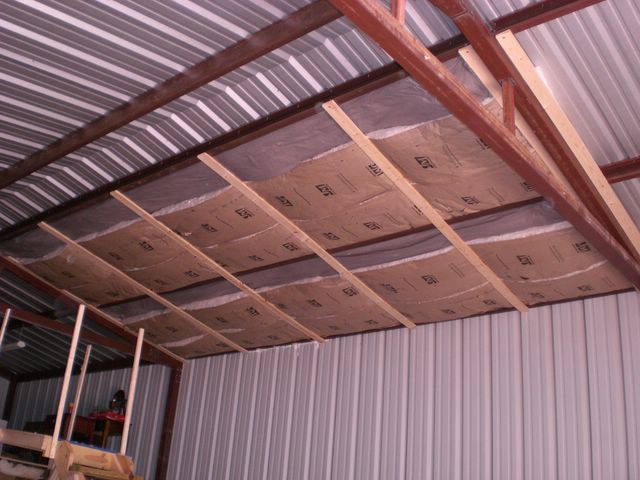
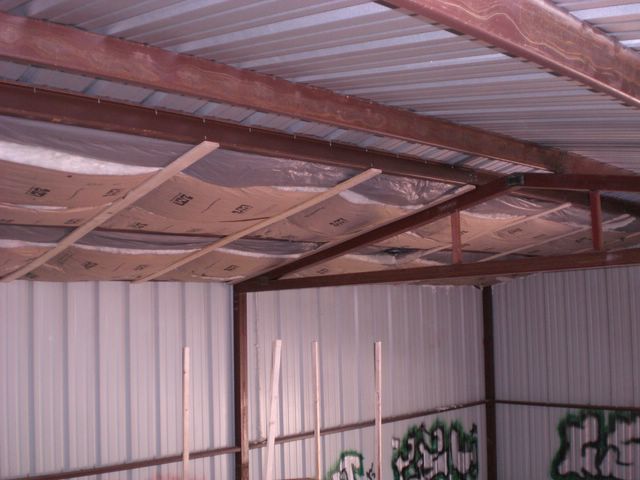
I put up a couple pieces of press board that serve as my "tiles" to see how well it holds (so far so good btw):
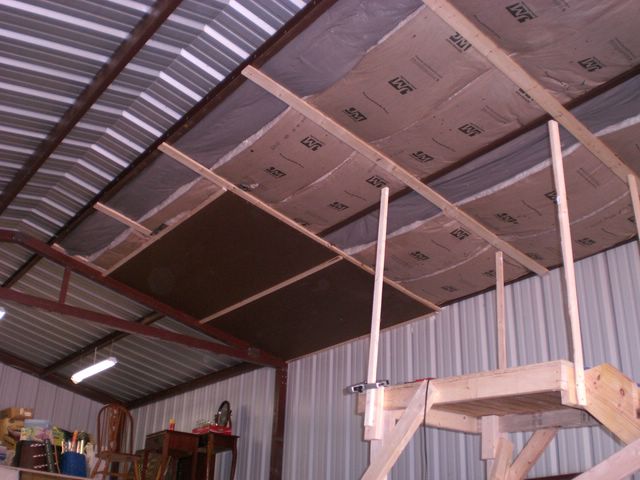
...and on to something more fun for now...
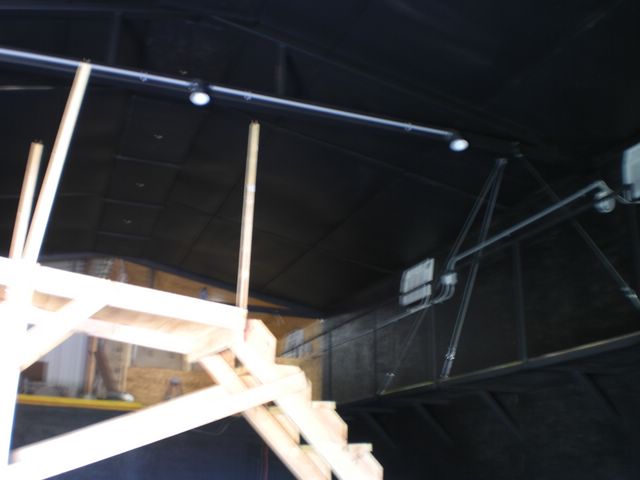
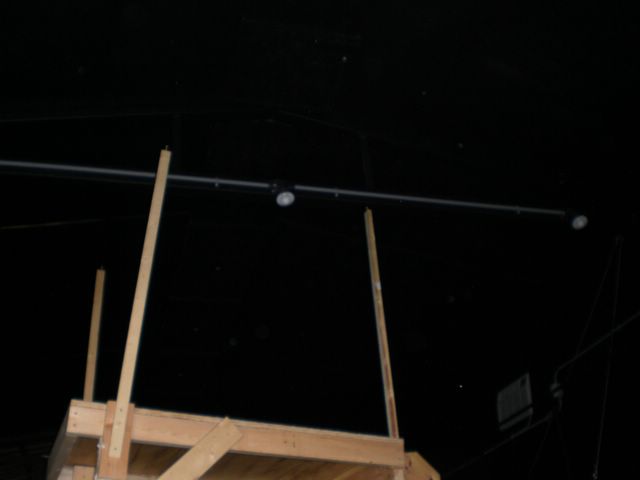
Aug / Sep 2007
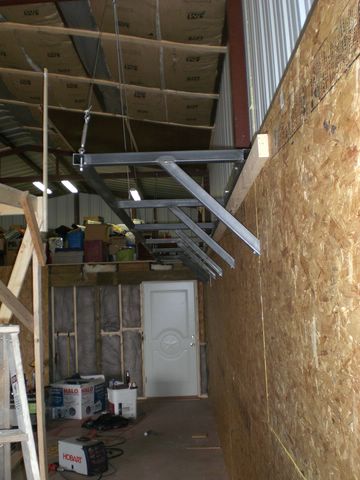
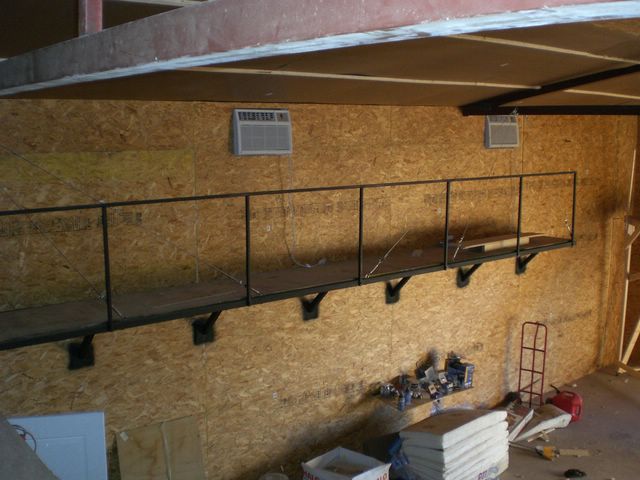
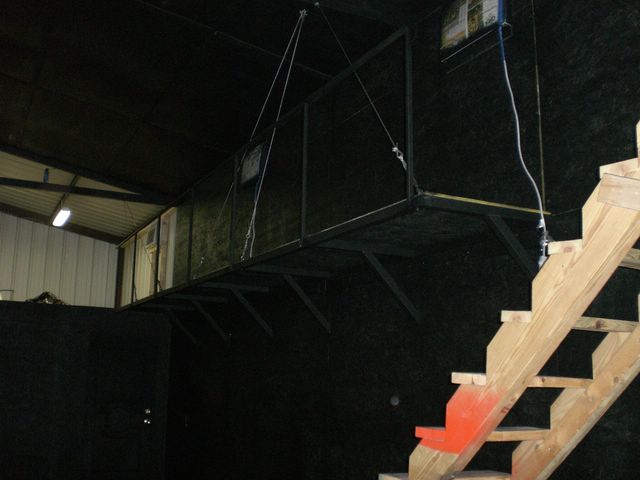
THE CATWALK
I WAS going to have a 4 ton A/C unit installed for cooling. But for $4000, I decided to investigate an alternative. I ended up getting 3 large window units. Each one has a 1000sqf capacity. 3 should cool things down nicely. The only problem is they need to be high off the ground to be most effective. So what I need is a Catwalk for easy access to 2 of the 3 units. The other unit will be in the loft area - so it's good to go. I'll have about $1200 into the units+catwalk. Much better than $4000 me thinks.
First I picked up about $200 in steel from a local supplier:
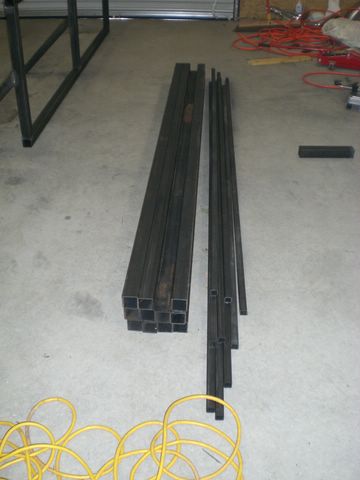
And made 3 of these:
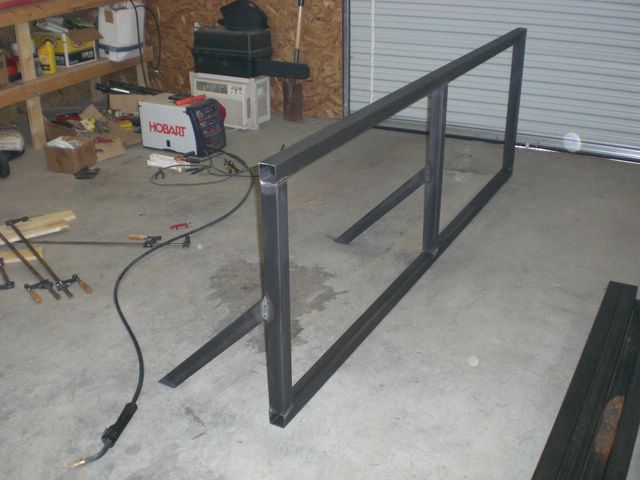
Set in place:
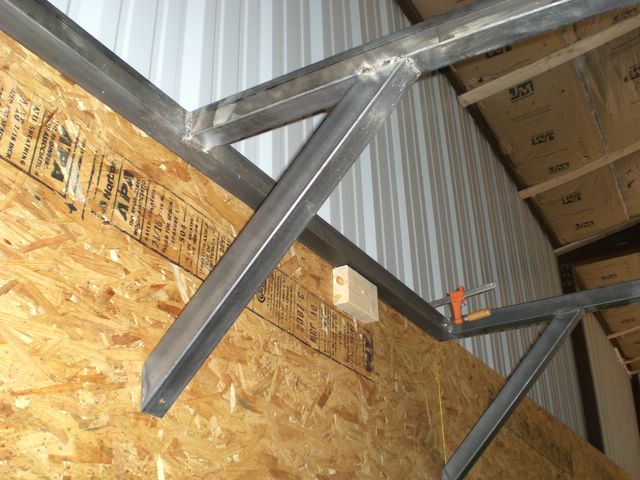
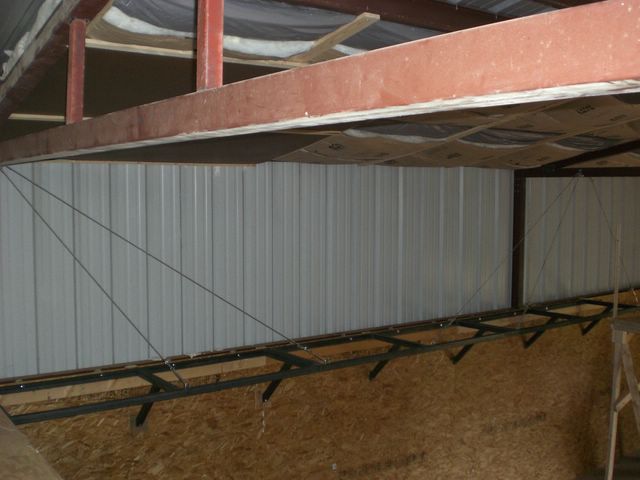
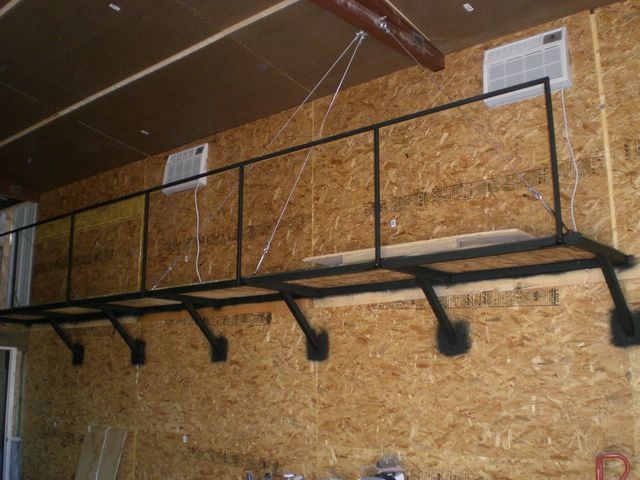
Add some cable supports (like a suspension bridge!)
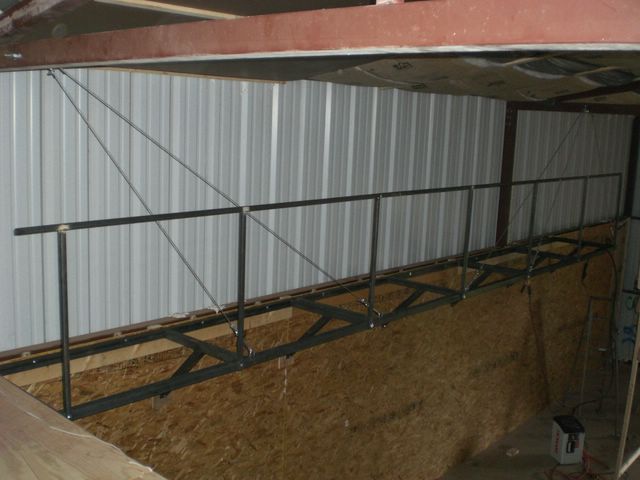
And then welded on a railing:
Next I installed the floor (about
32" wide) and primered it all black: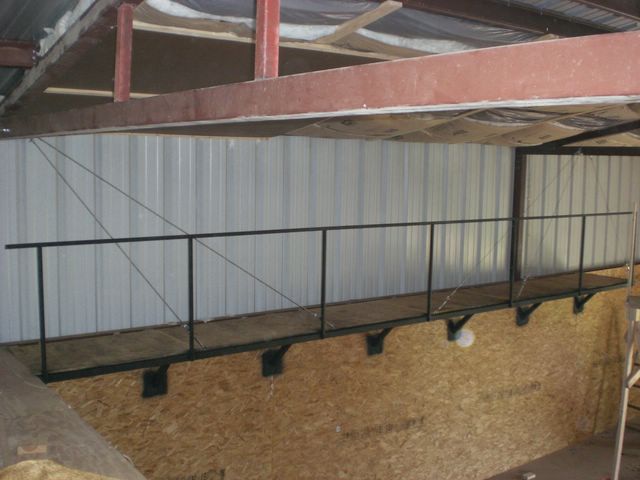
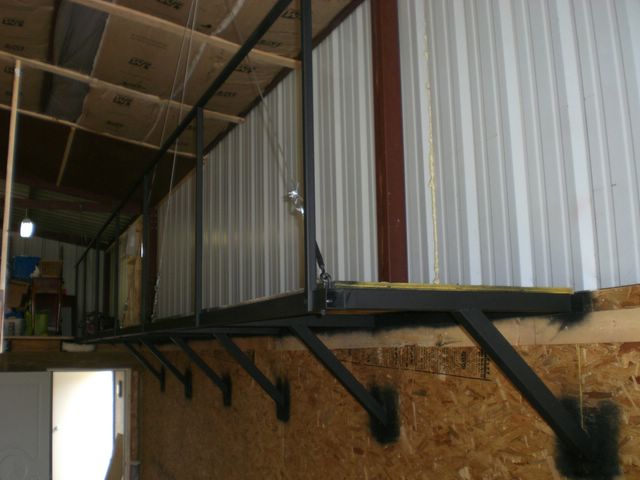

It turned out to be solid as a rock! Very sturdy. I like that it has no floor support to get in the way.
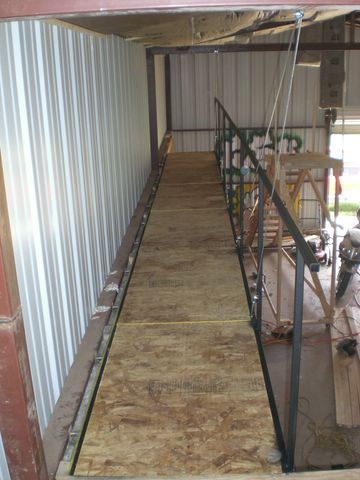
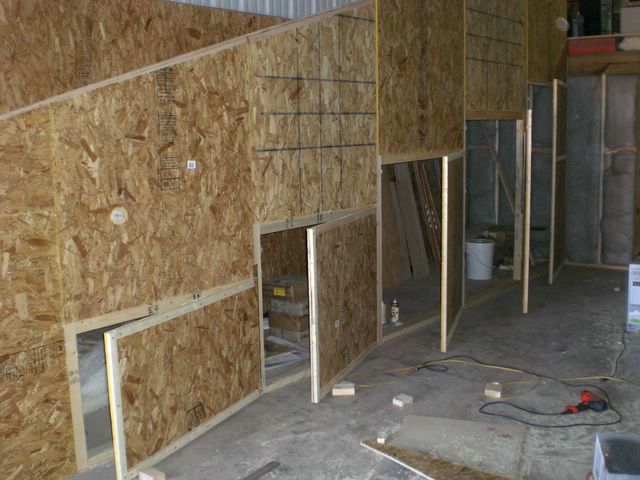
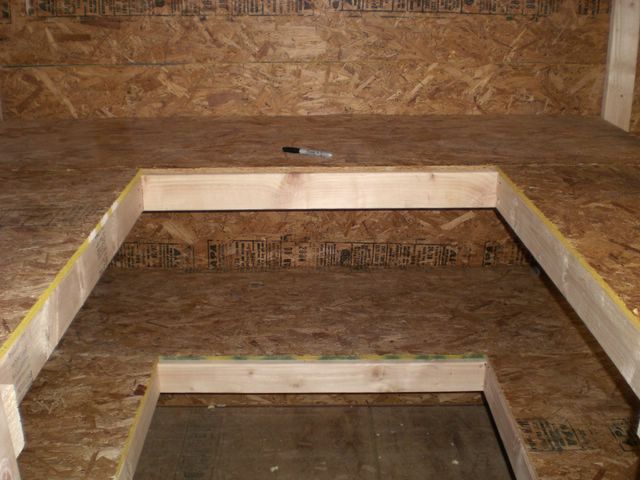
SEP 2007
Got some work done on the under-ramp storage.
Before I started:
Now:
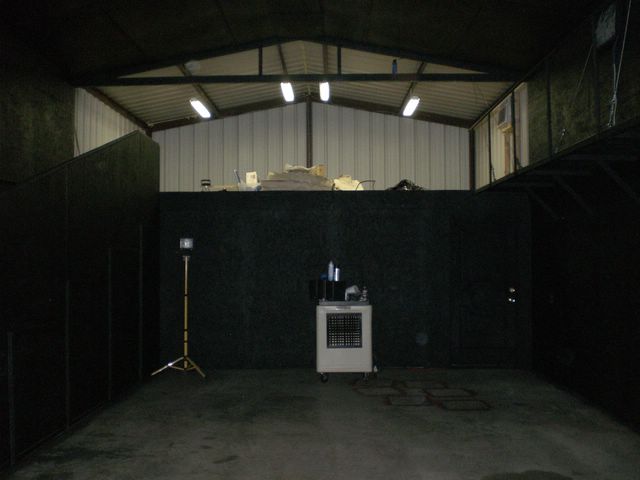
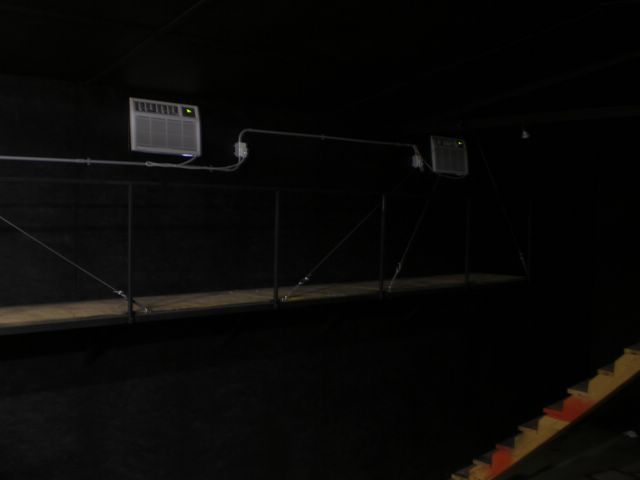
SEP 2007
Got the A/C units installed:
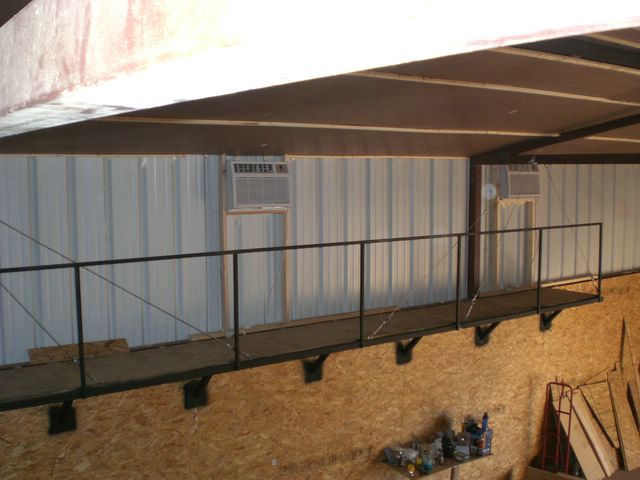
There are 3 all together. The volume of the Party Barn is about the same as a 2200sqf house. Each of the 3 units can cool 1000sqf, so three ought to do well. This past summer, with our homes central air off line - we cooled most of our house (1700sqf) with just one of these! I'm quite sure 3 will be sufficient.
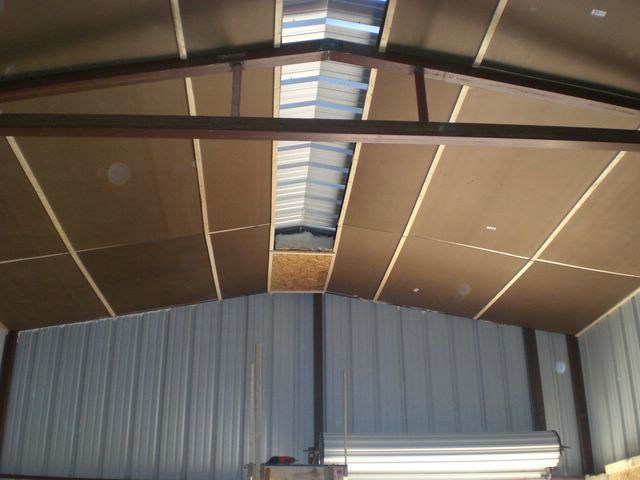
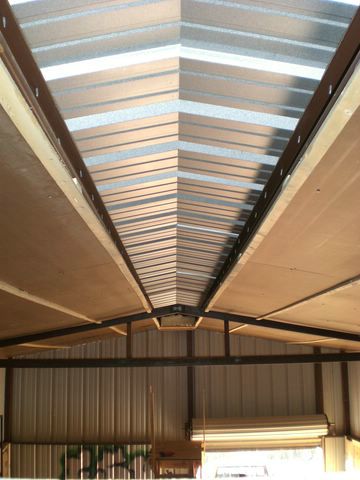
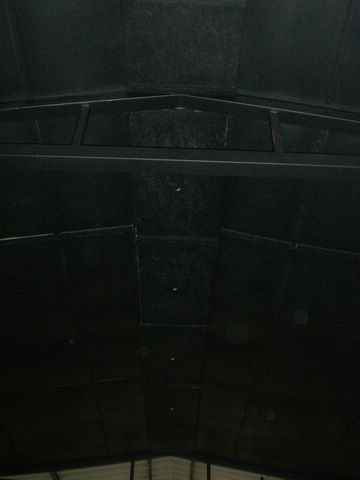
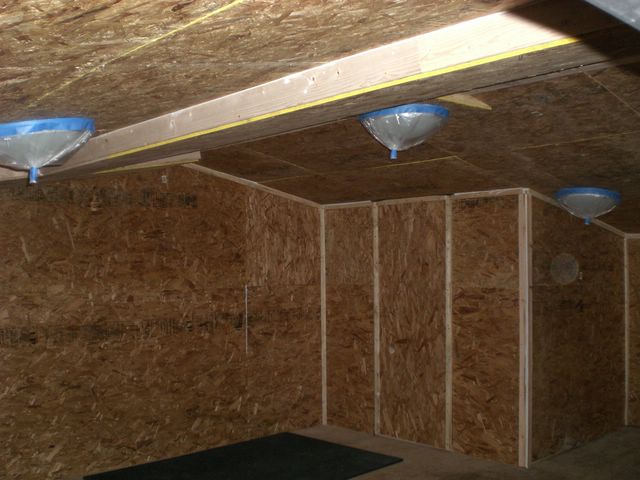
OCT 2007
Got much more done on the ceiling. Finished putting the "tiles" up over the main floor. Really a LOT of work lifting that stuff over my head!
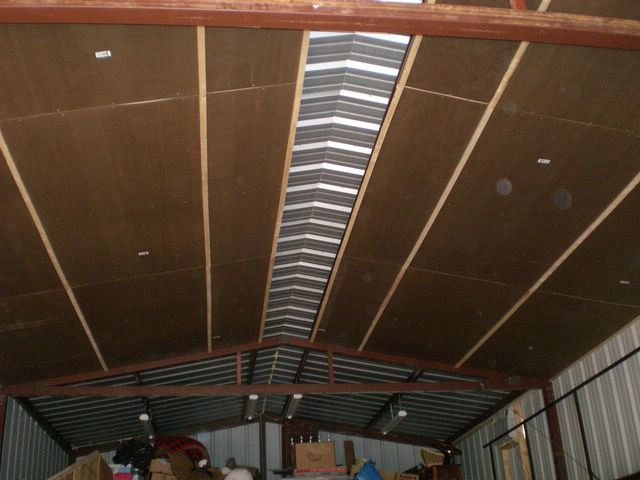
NOV 2007
Ceiling finished!

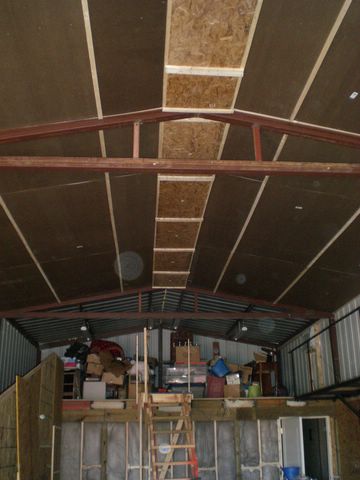
...now getting started on the back wall...
The inspector examines some
materials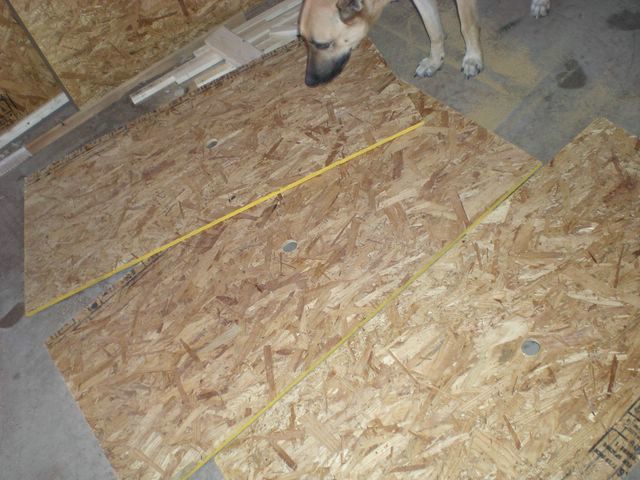
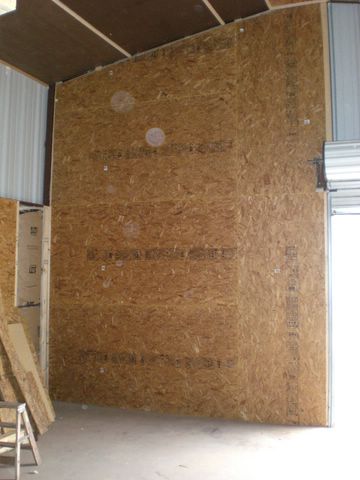
JAN / FEB 08
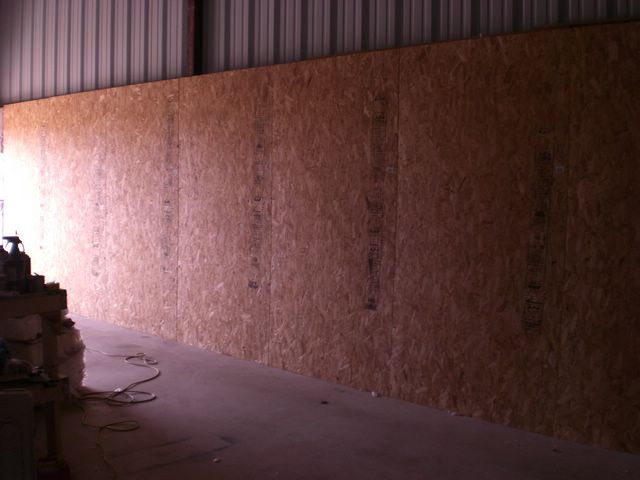
"...miles and miles of
OSB..."
- M Westfall, 2008, while removing splinters from
hands...
;-)
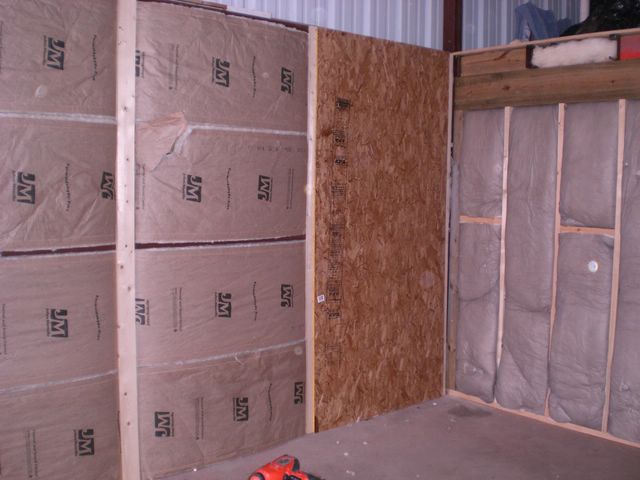
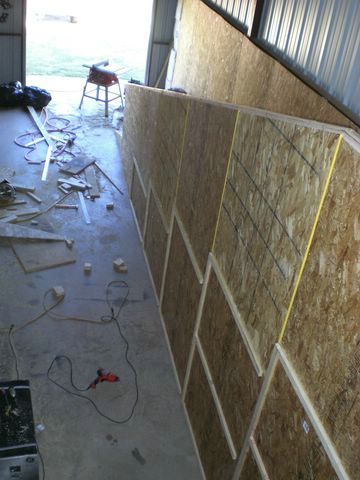
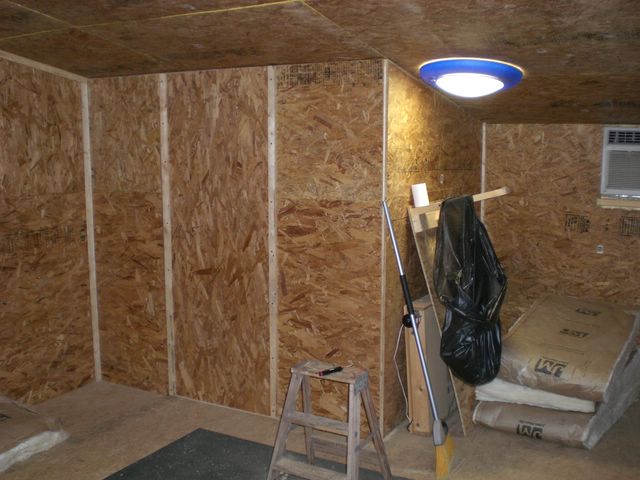
West wall OSB and insulation complete
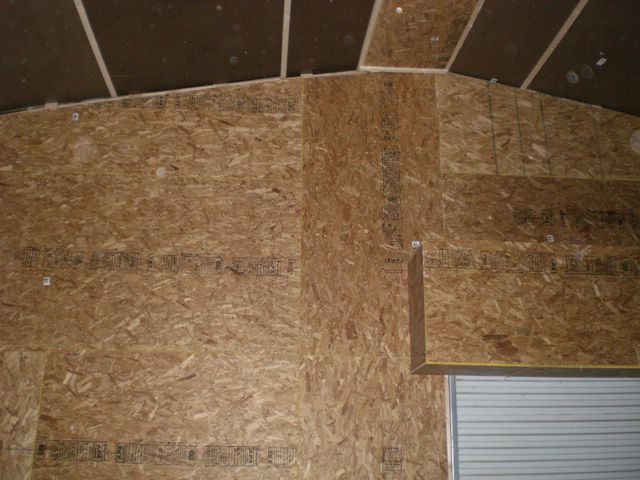
Next, got the south wall done as well
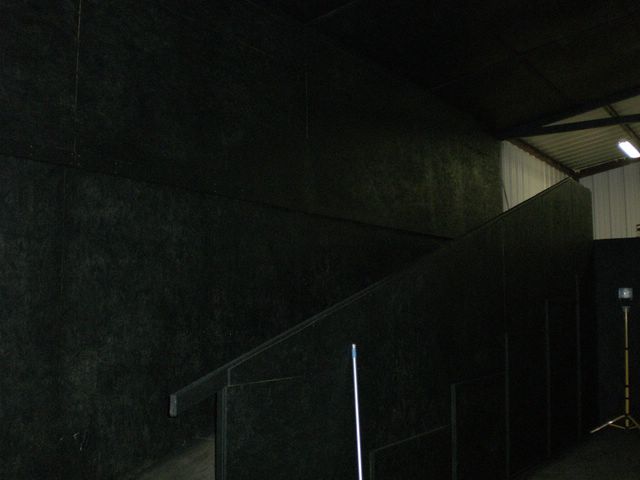
Ah, the meaning of "Cat Walk" at last...
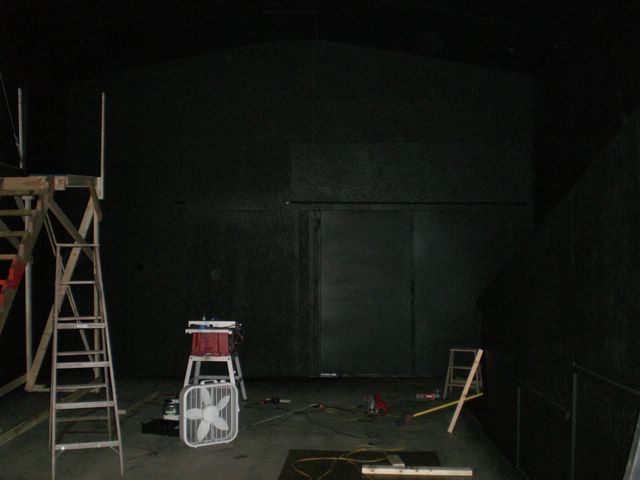
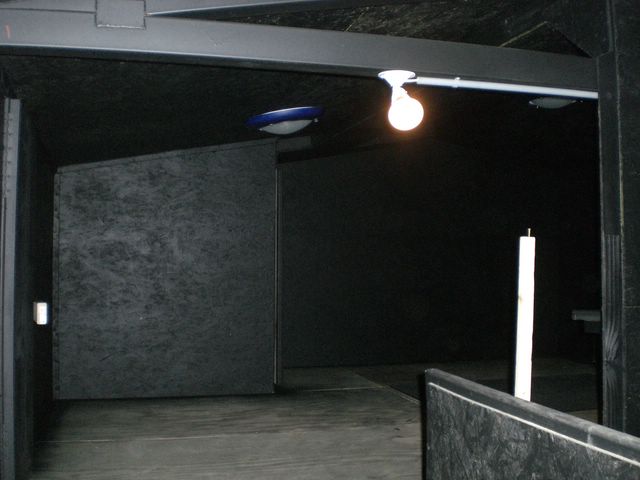
APR 08
After getting some odds and ends done, I decided to paint the downstairs area before starting on the loft area:
The whole point in painting it all flat black is to keep reflectivity down. Well, it works. It was tough to get good pictures...
(still awaiting me to build a
sliding door to cover/insulate the roll up door...)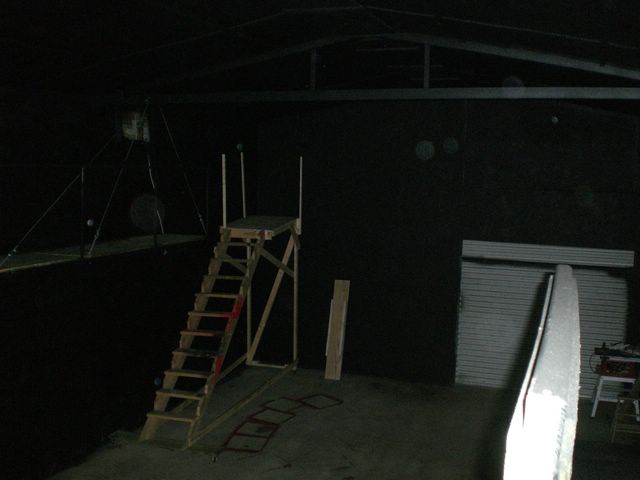
Got the front wall OSB'd (the
insulation has been done for a year - it was a quick and easy job) -
and then painted the door.
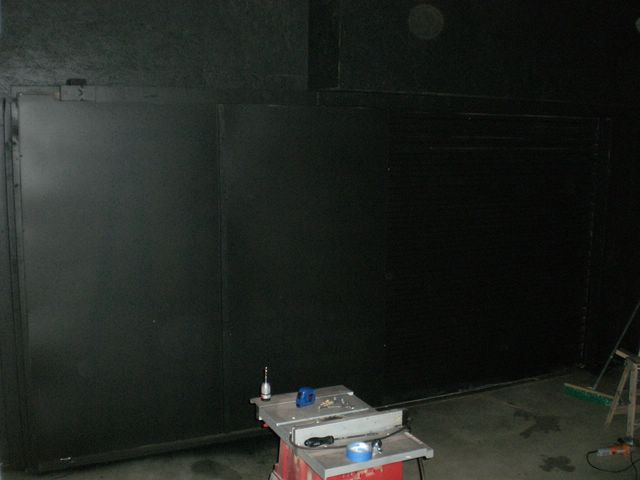
Next, I built the rolling/sliding door to cover/insulate the 8' rollup door. Here's completed pictures:
This is the completely OPEN
condition: outer door up, and inner door open (hard to
see!)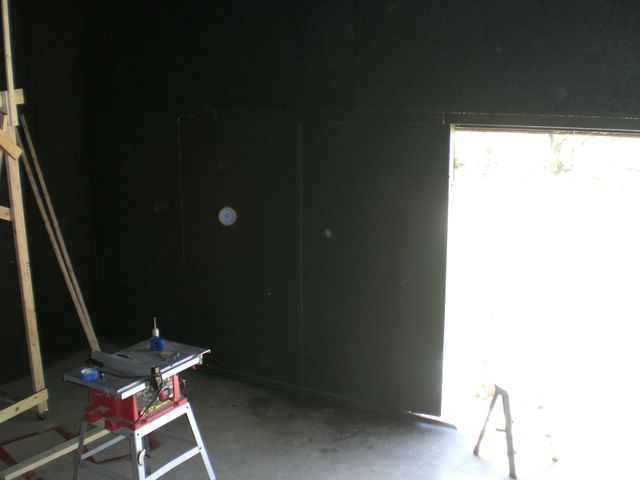
...this
will allow me to still get big stuff in and out if need be...both
doors will normally be closed and sealed.
...with the outer door down and
inner door still open (slid to the left of the picture):
...both doors closed: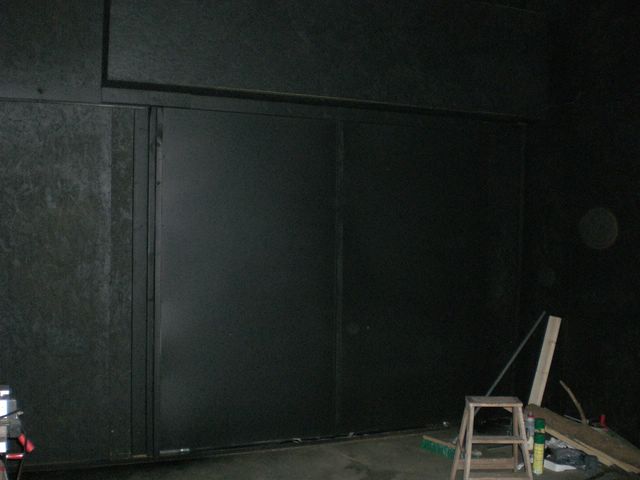
...the door rolls on a track of
angle iron: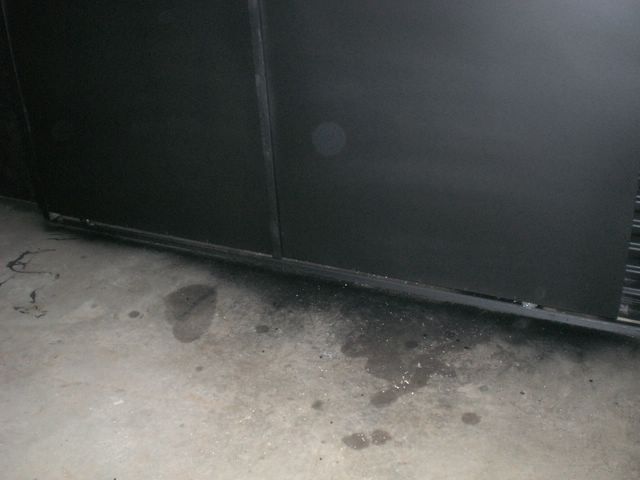
It's WAY dark in here now! Yikes!
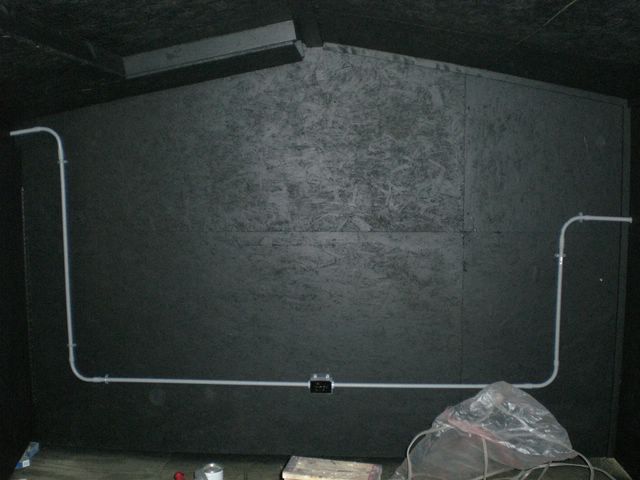
JUN 08
I ran 160 feet of 6/3 (50 amp)
wiring as well as Cat5e, coax and a water line out to the building
(upgrading from its 30 amp line). Two 30 amp line split from
the Gym breaker box will supply power for the 3 AC units and the
remaining power needs of the Partybarn (lighting, AV equipment,
computers, icemaker, fridge, etc). Partybarn computers will
have net access via the cat5e connection from the house.
Satellite TV will be through the coax.
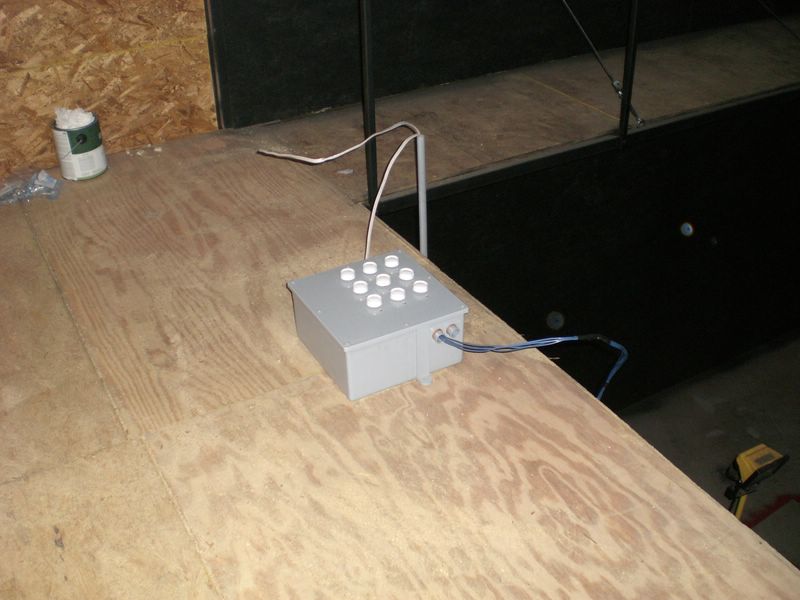
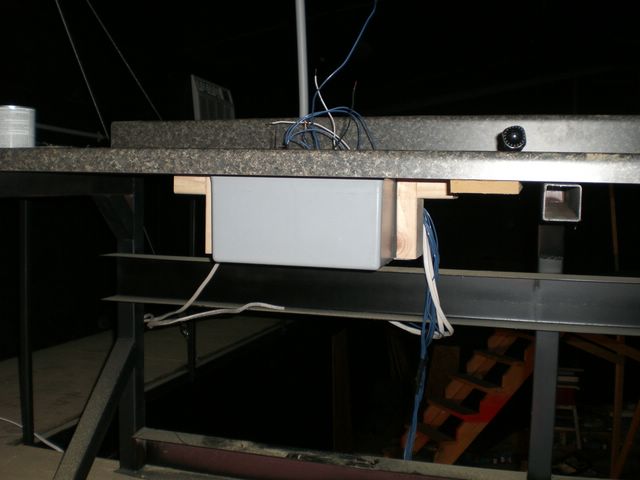
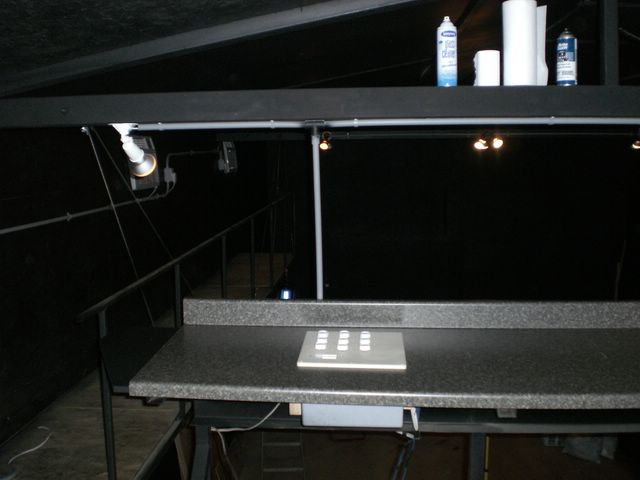
Downstairs
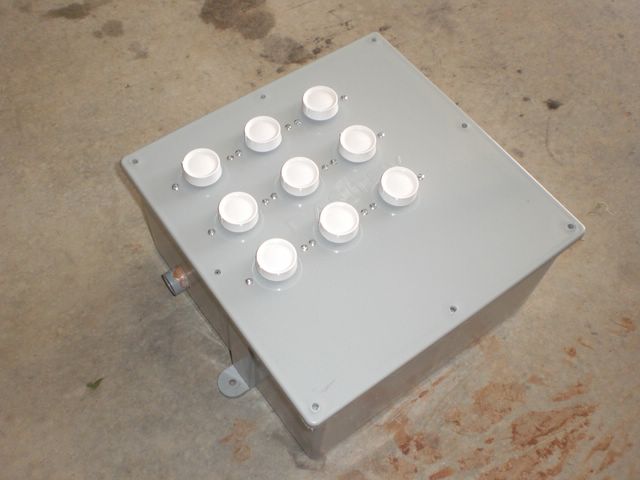
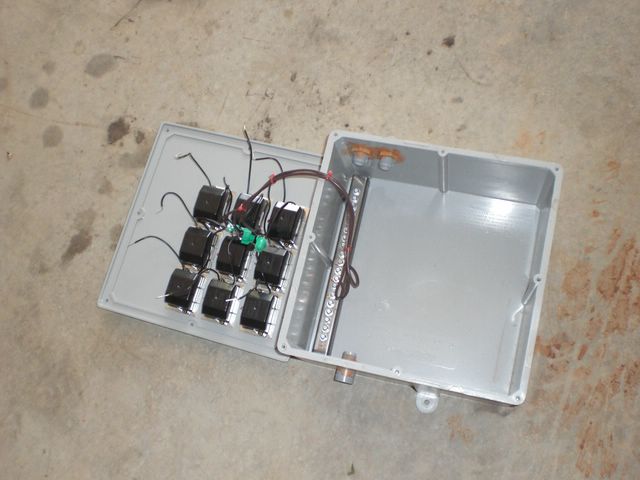
lighting has begun. A custom control box for lighting and other
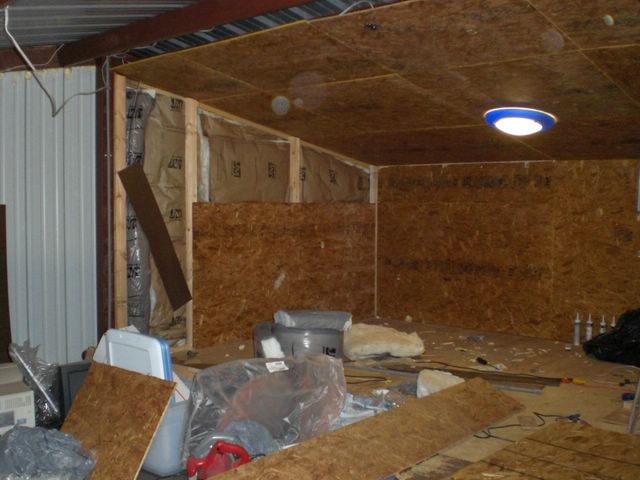
future functions is mostly complete. The loft area framing is
now half complete as well as routing all the wiring.
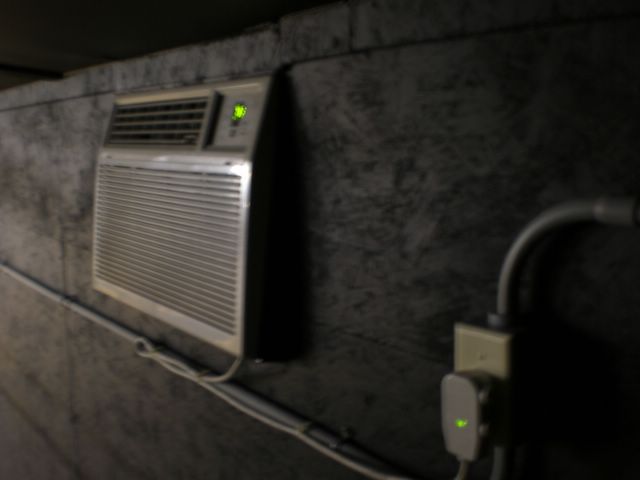
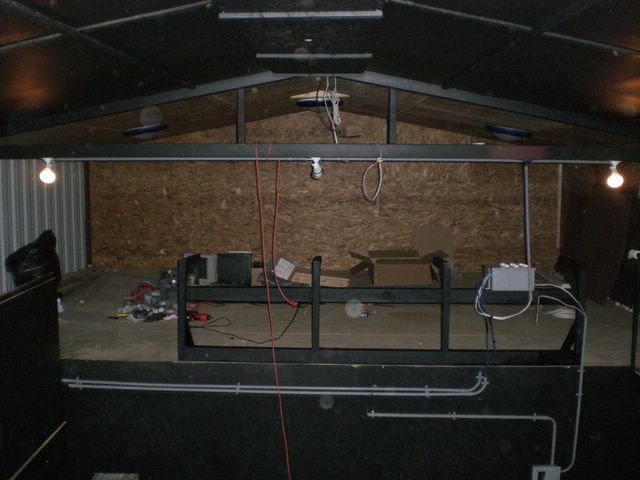
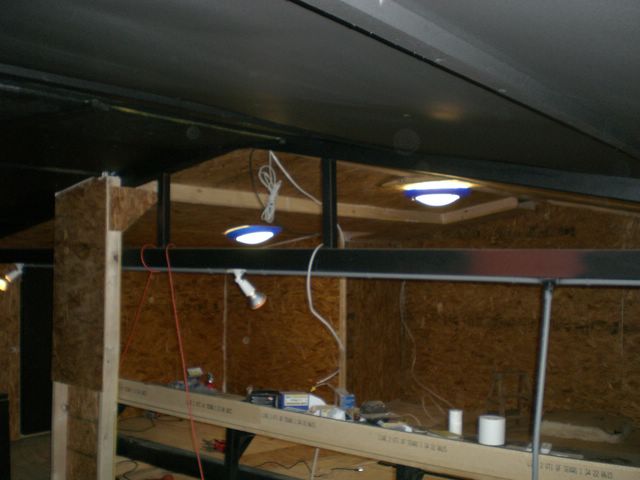
Some AC unit shots:

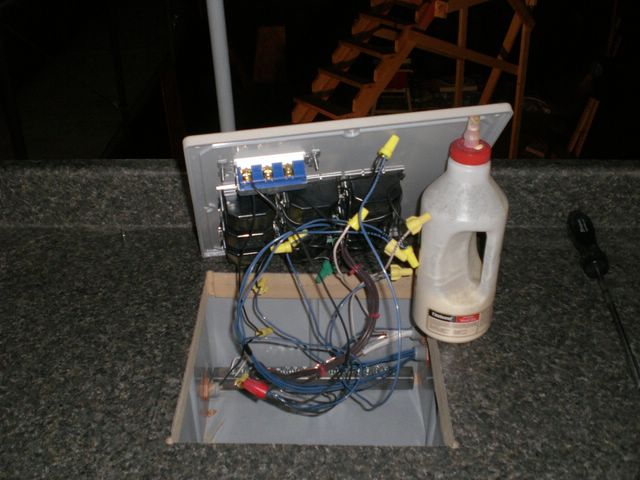
The control box (currently has 9 dimmers installed)
The loft area as of now:
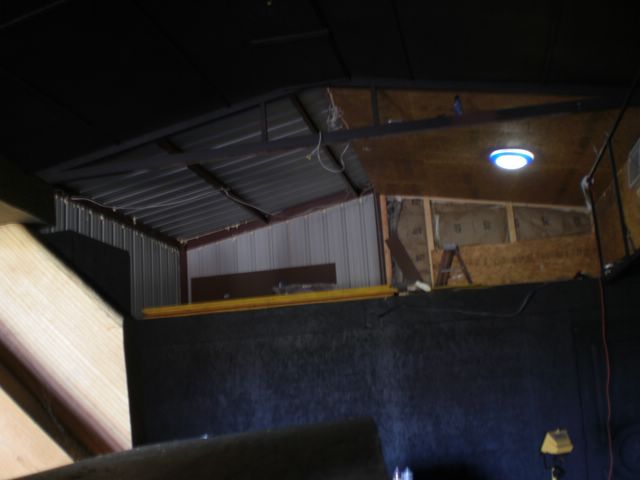
...and downstairs lighting:
(hard
to see because of all the darn black paint!)
We've hit the mid 90's outside and despite the insulation not being complete - the 3 AC units can turn the place into a meat locker!
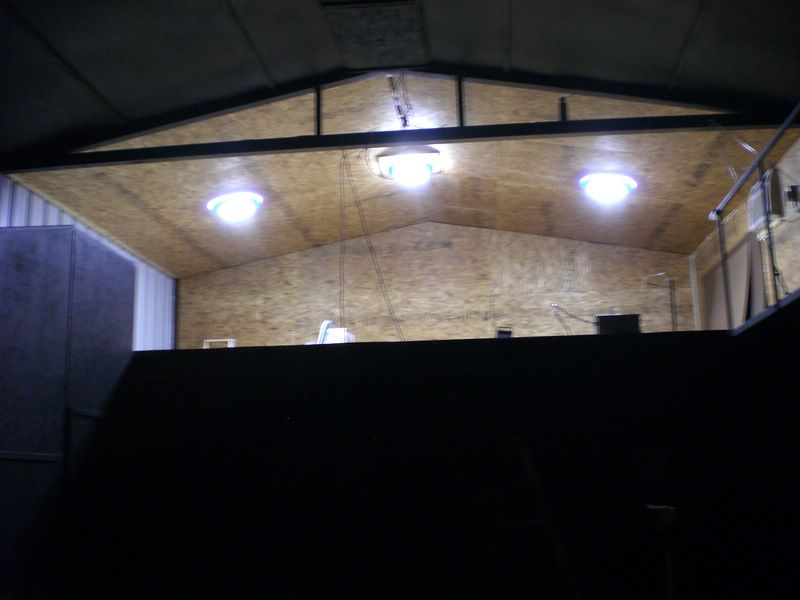
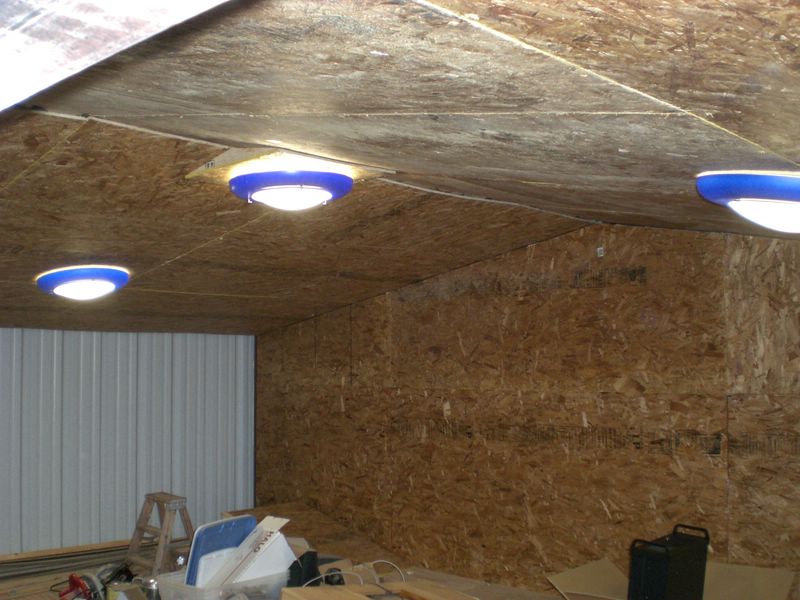
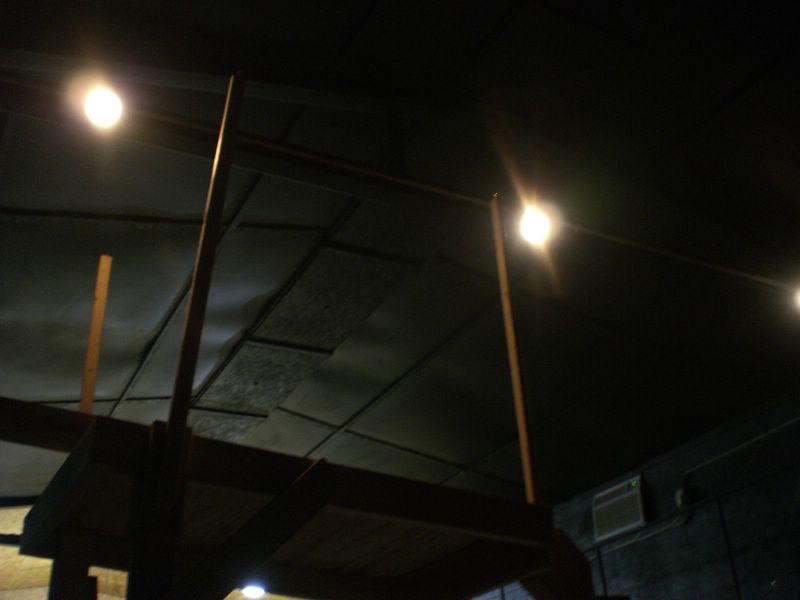
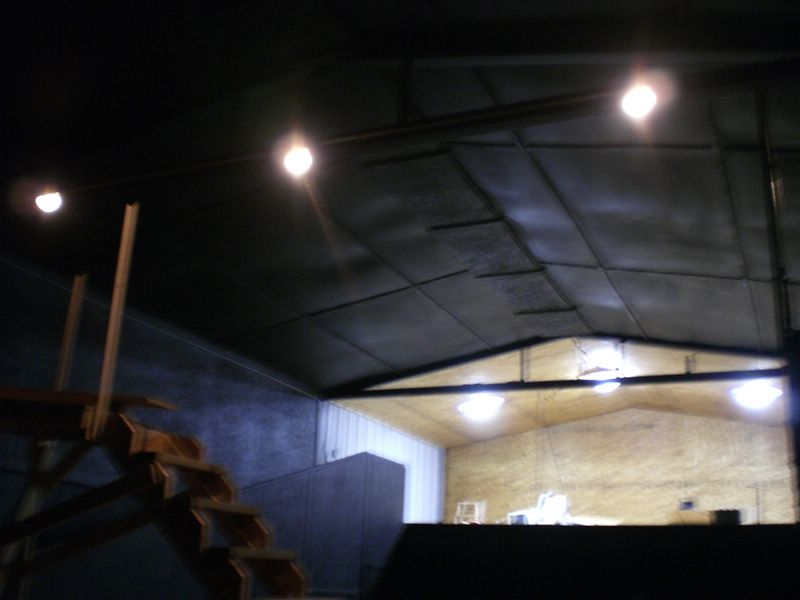
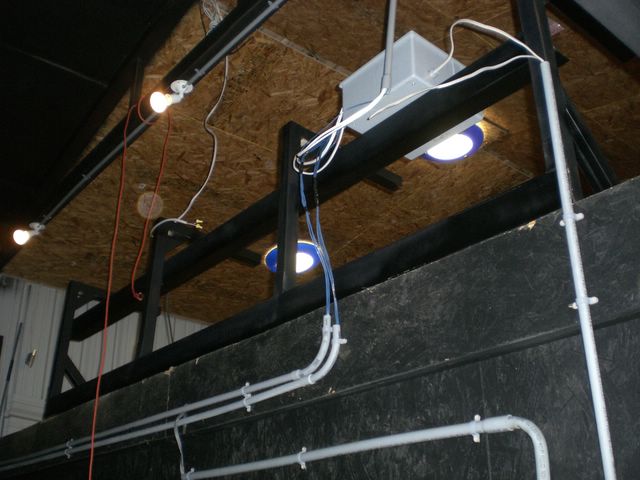
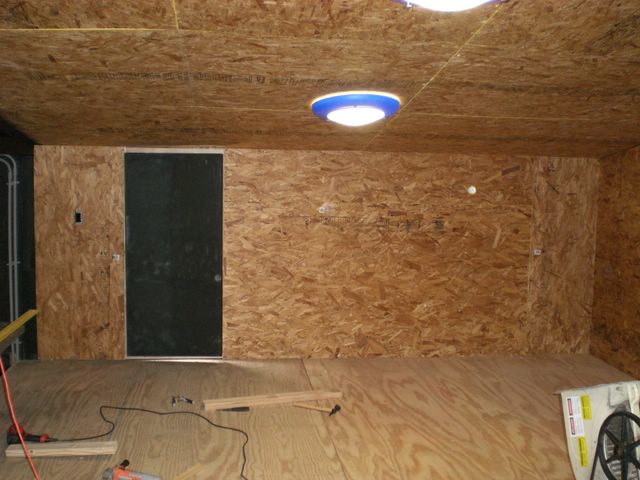
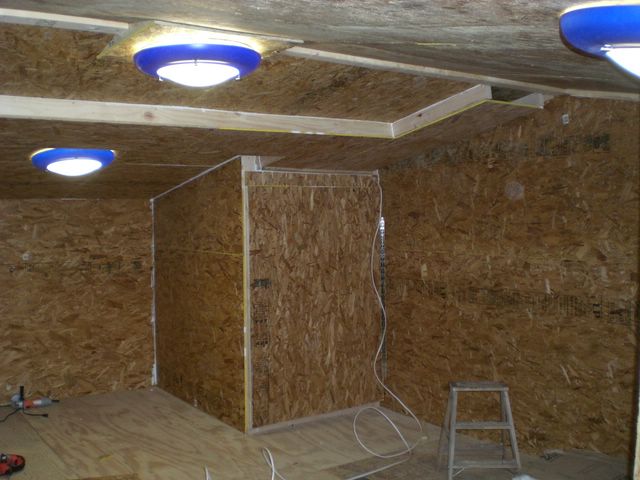
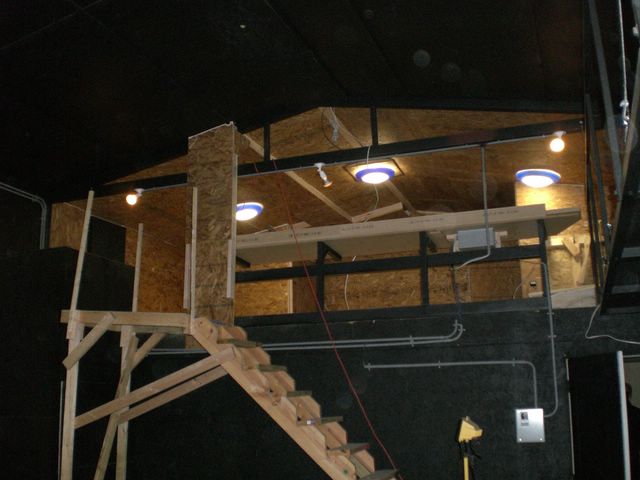
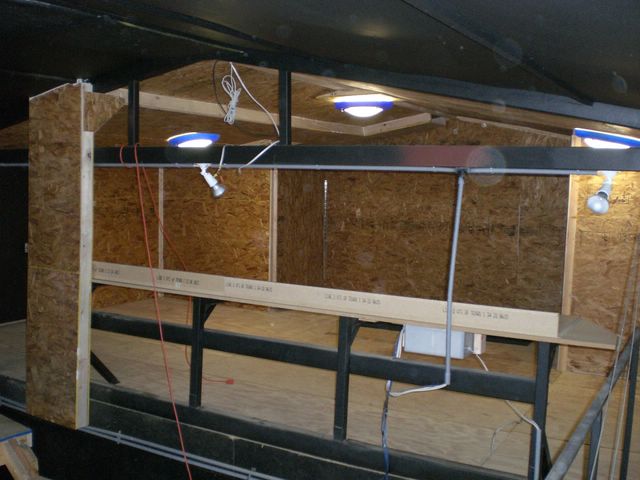
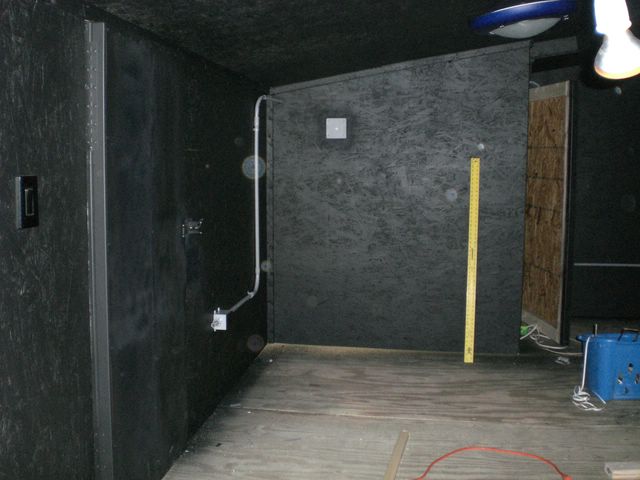
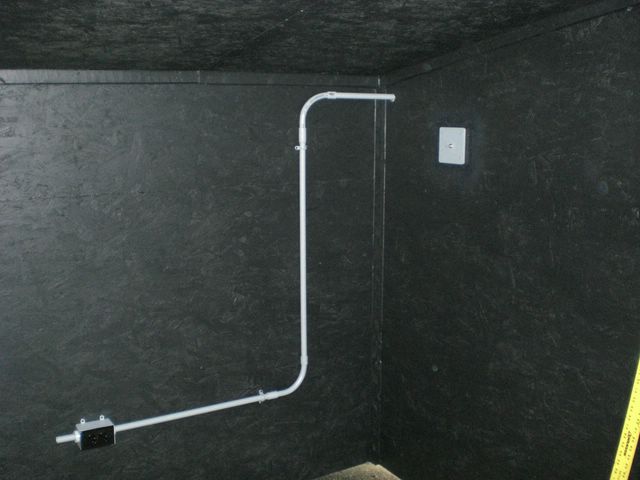
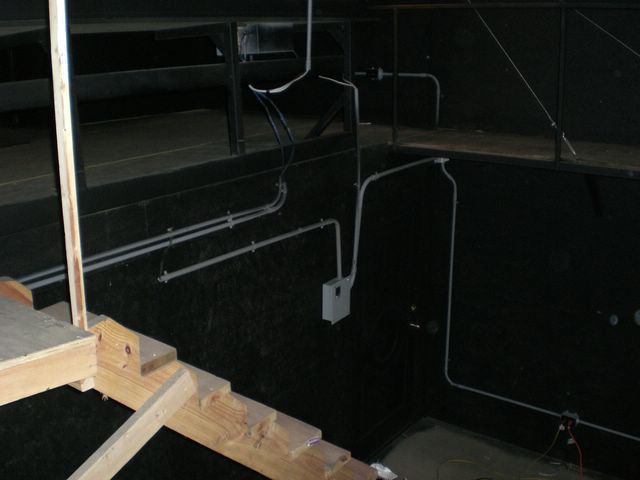
JUN 08
More OSB done upstairs. The final wall section will be completed after the fire escape door is installed. More conduit and wiring run as well as a new junction box. The 3 new lights for upstairs installed.
I
connected the control box to test it out. It works just fine.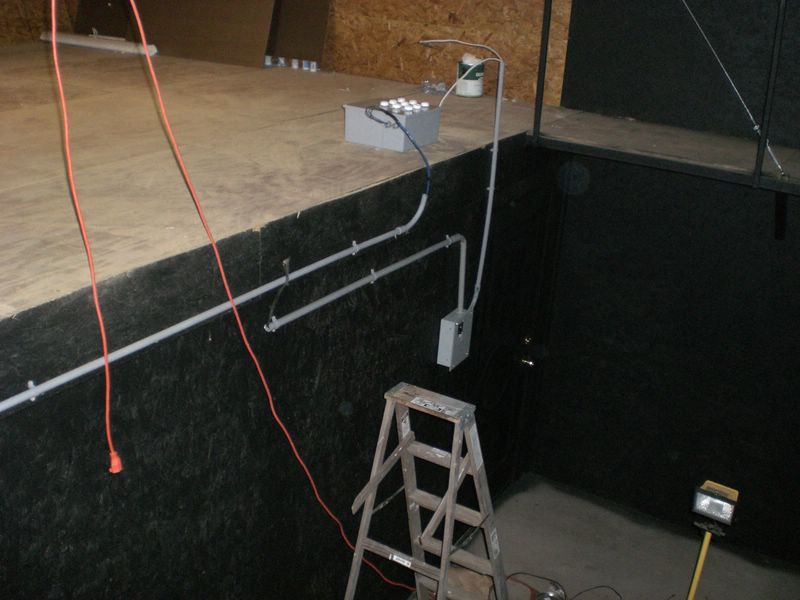
Roscoe inspects some wiring...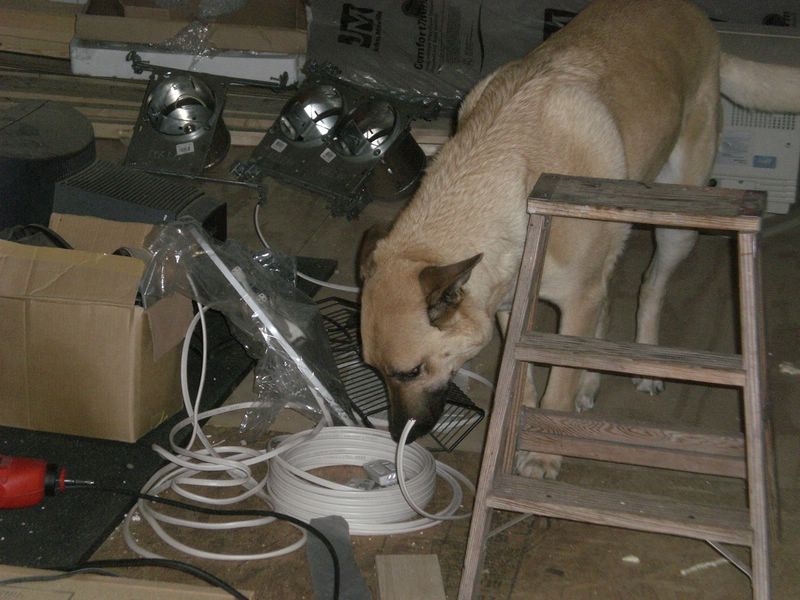
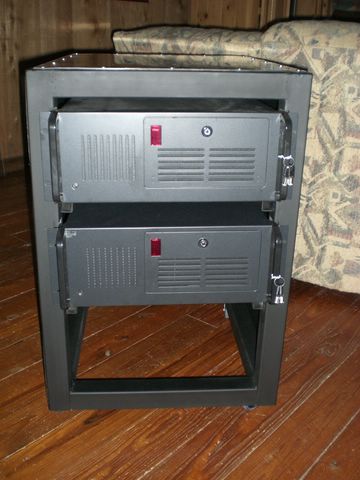
Here's one of the rack mount cases
that will be used for the A/V computer system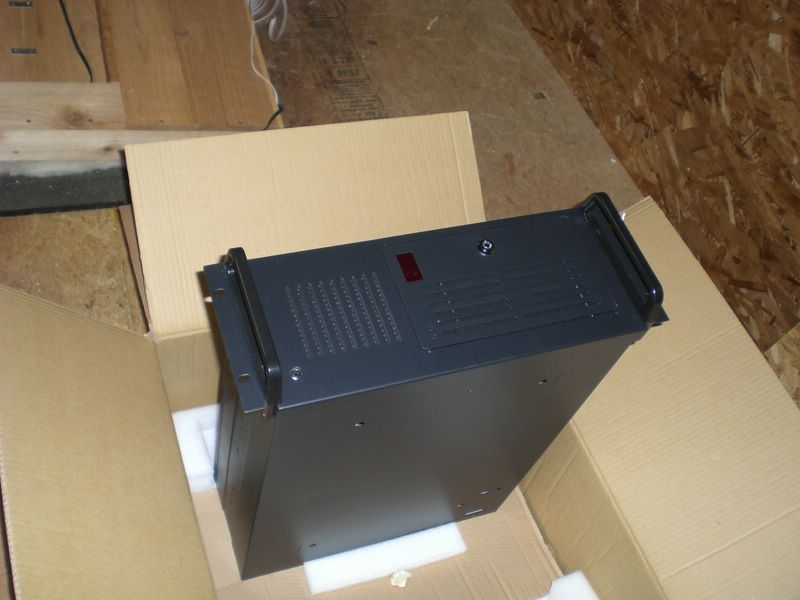
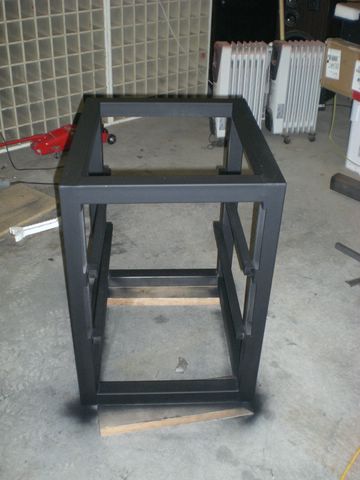
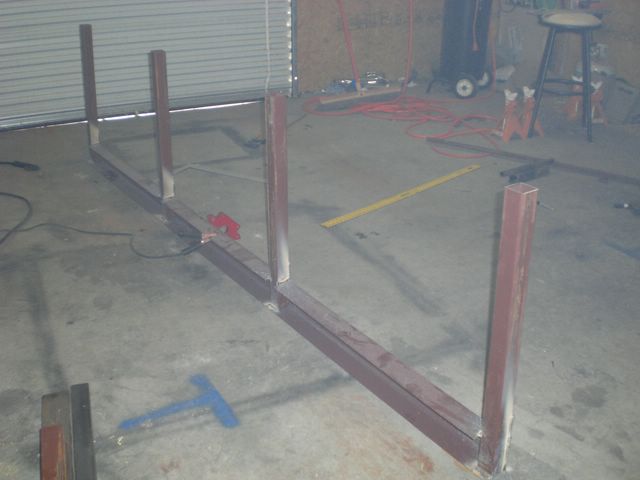
JUN 25 08
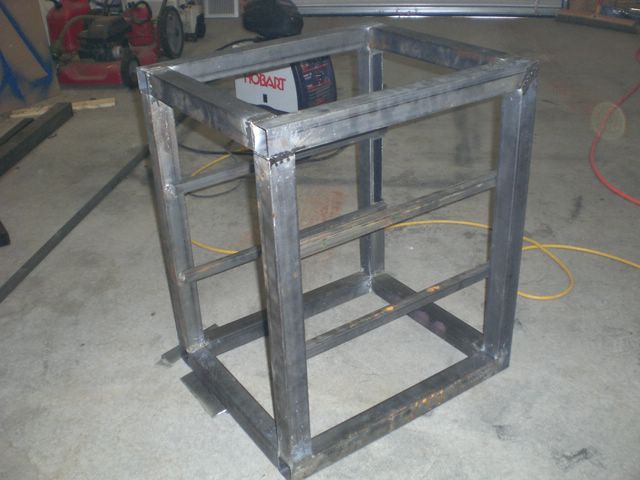
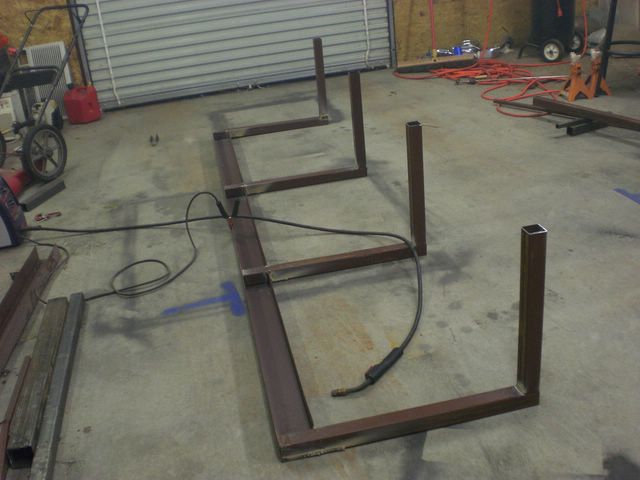
Before I can build the control desk in the loft, I needed to build the computer cabinet - so that means more welding! woohoo!
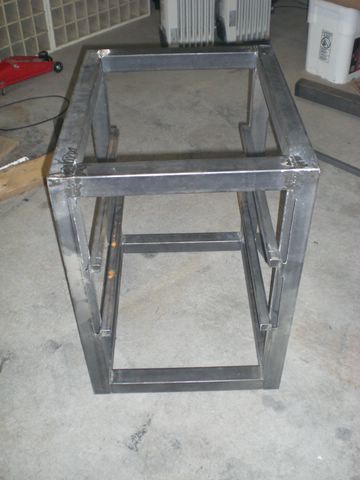
The dimensions are: 24" deep, 20"wide and 30" tall (with rollers about 33" tall).
...right after cutting and welding:
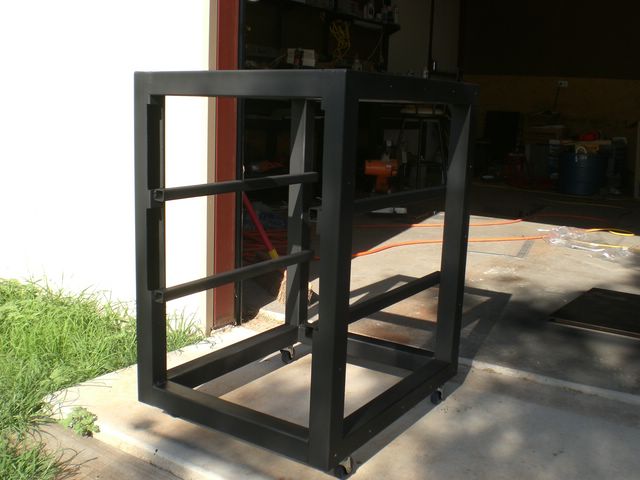
...painted:
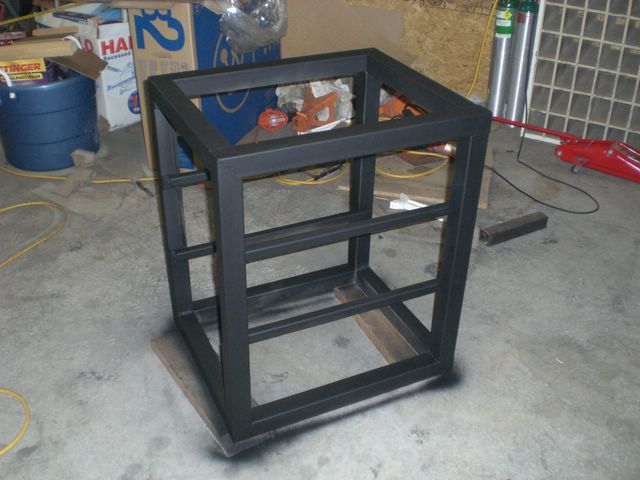
...install casters:
...cut (broke) some plexiglass to fit and drilled:
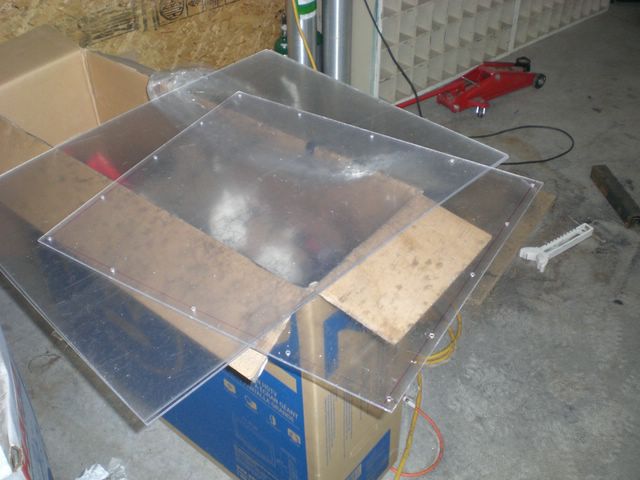
...painted back side:

...installed top / sides and computers:
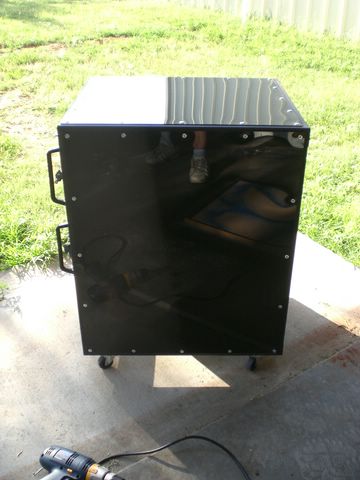
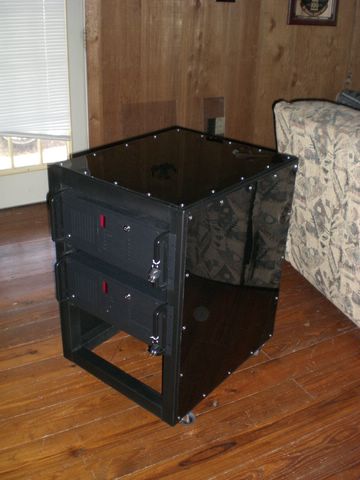
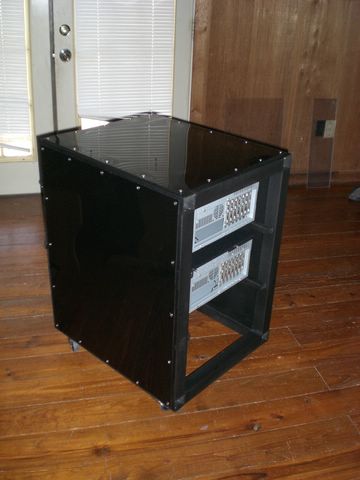
...I still need to put a bottom of some sort on. Underneath will house two back-up power supplies.
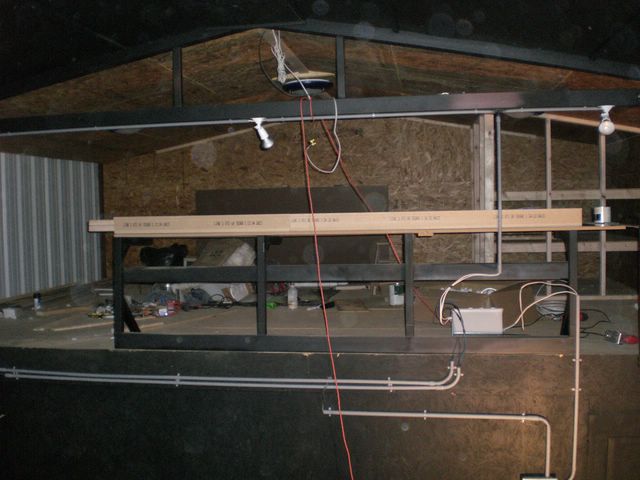
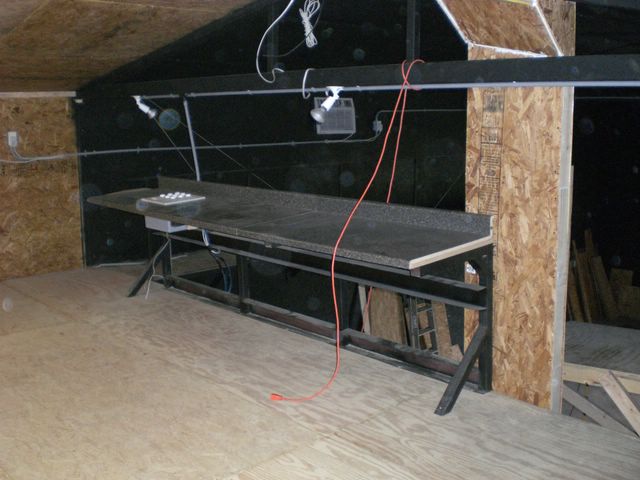
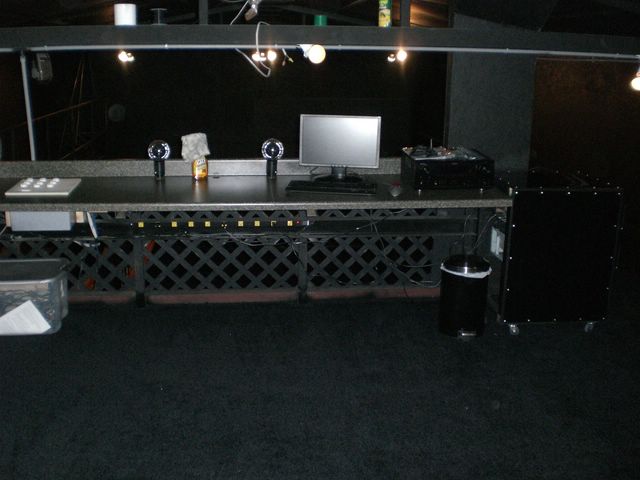
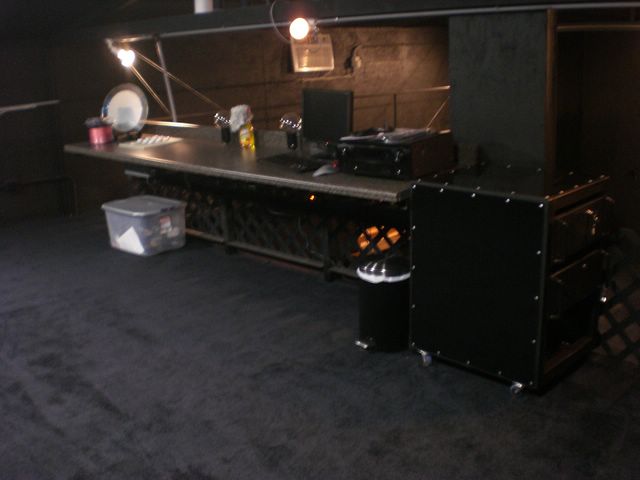
SEP 1 08
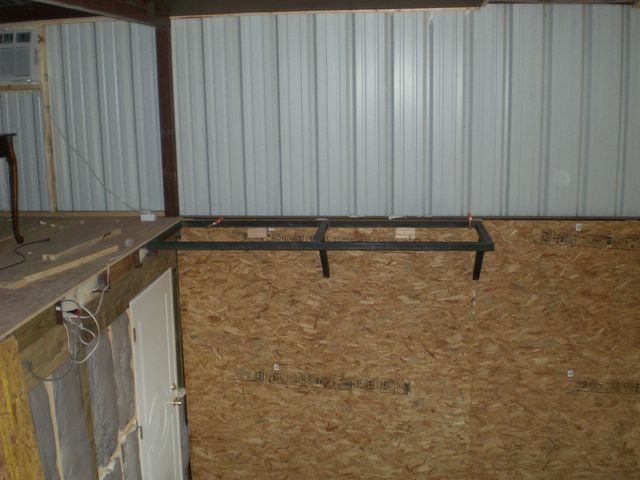
I finally got started on the control desk. The desk will sit on the edge of the loft overlooking the rest of the building. It will have associated computer hardware (monitors, keyboards, etc) as well as the sound system components. Next to the desk is will the above mentioned rack will set.
I had some interesting restrictions/requirements in the design. First, I wanted to only use materials I already had on hand. Next, the weight of the desk needed to distribute it's weight to the floor and to both ends (to avoid any clutter underneath. Hence the use of the heavy 4" C purlins (kind like a C channel) to keep things rigid. When done, it can be screwed down to the wood floor and provide plenty of support.
I built the framework in the shop.
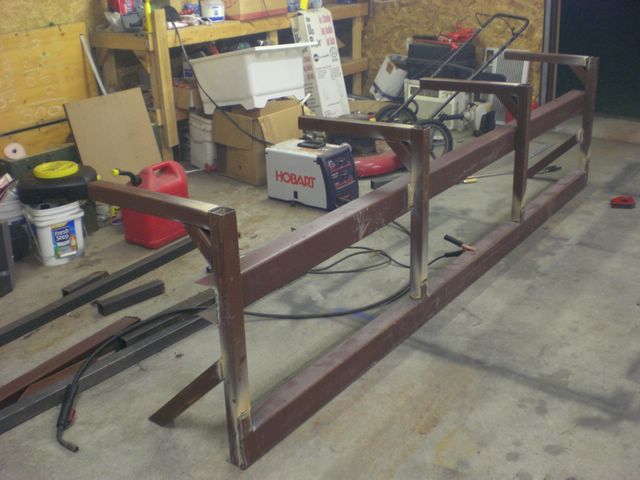
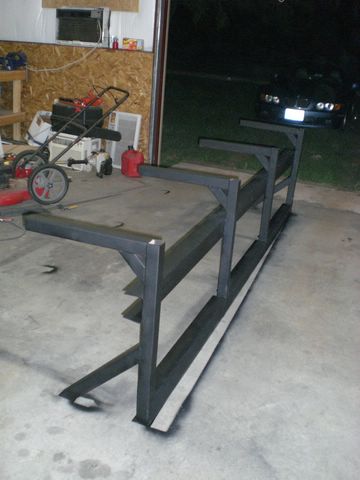
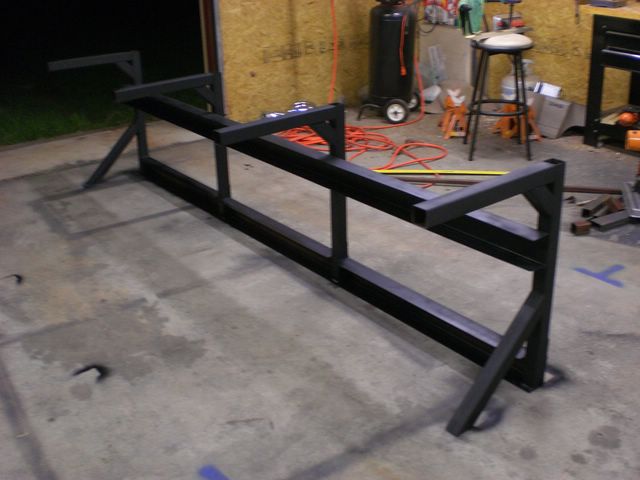
...installed
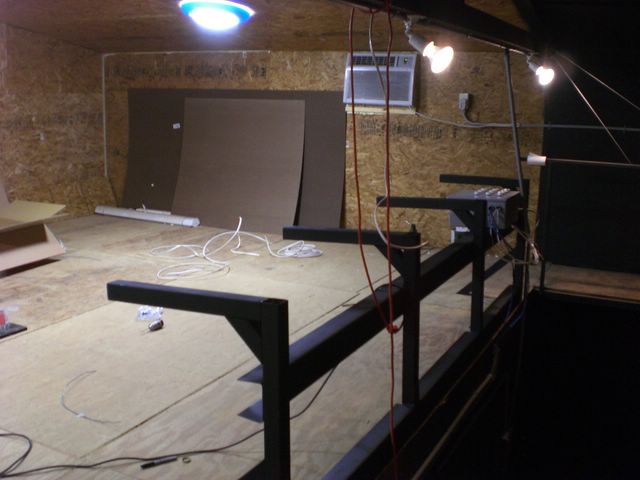
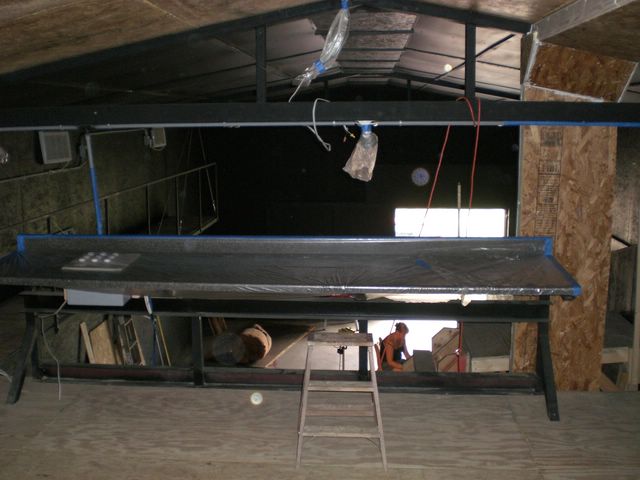
SEP 15 08
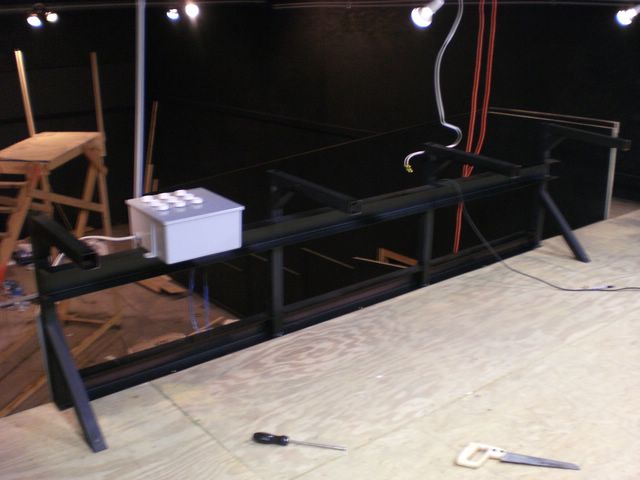
I ended up installing a pre-fab top. It was simply the cheaper route and will work just fine.
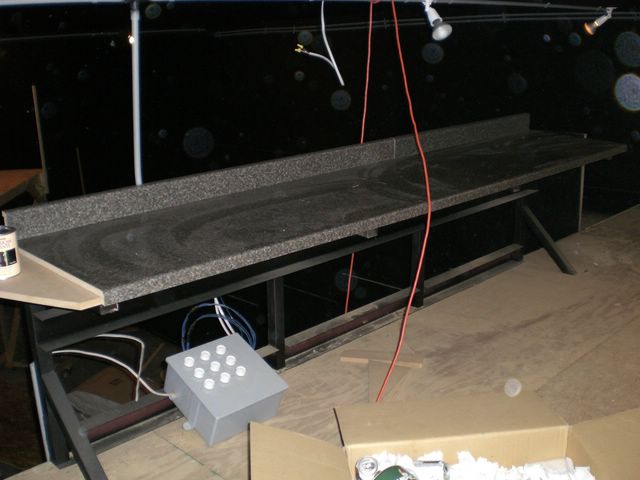

Cut the hole for the control box and got it installed...
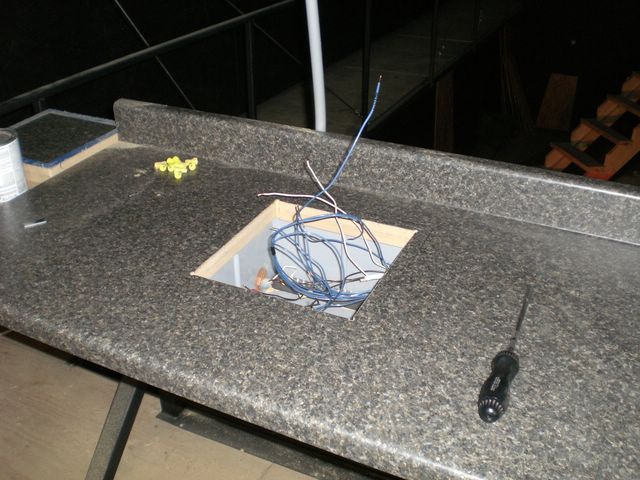
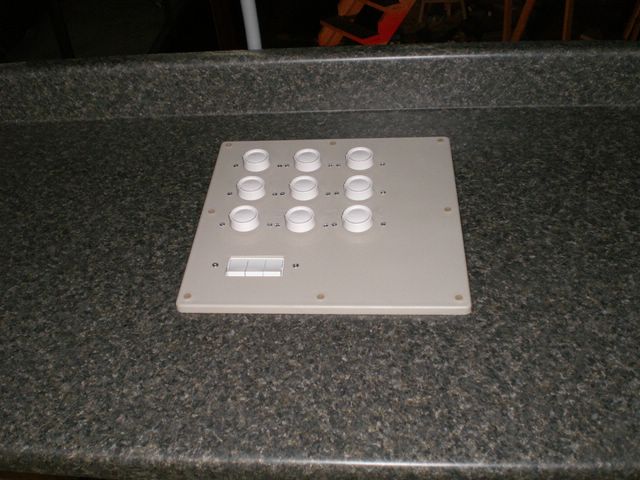
I opted for a three in one switch. The first one on the left turns all the dimmers/lights off. The second one will control plugs that will be mounted on the top rear of the desk. The third will be for future use...
I also did some miscellaneous trim
stuff. The peak of the ceiling needed a custom cut piece, so
that's done now.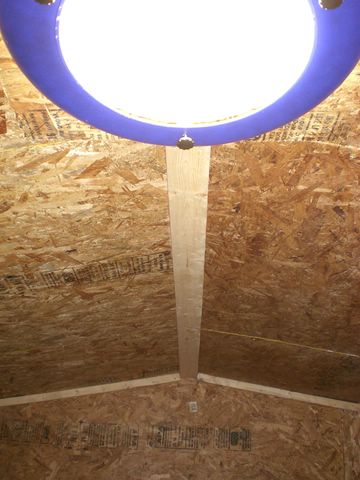
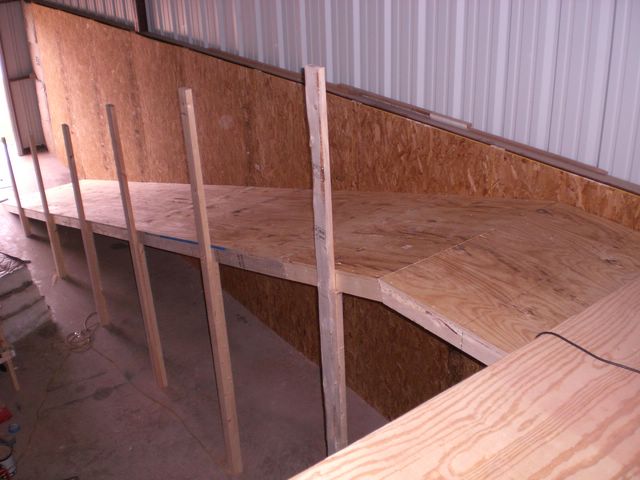
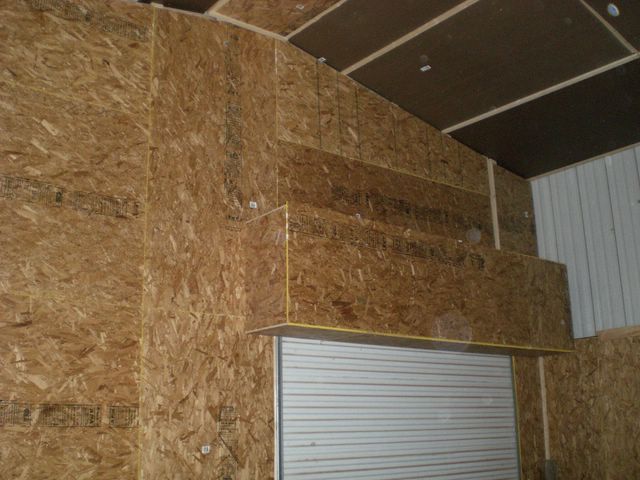
Next, I started on the upstairs
storage room. It's in one of the corners where the ceiling is
quite low - good for storage.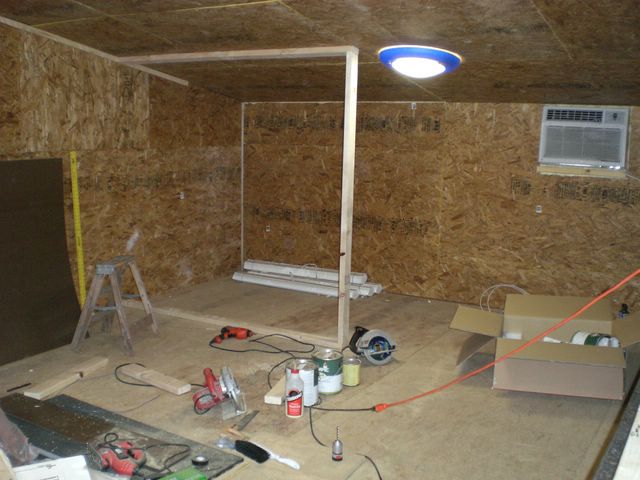
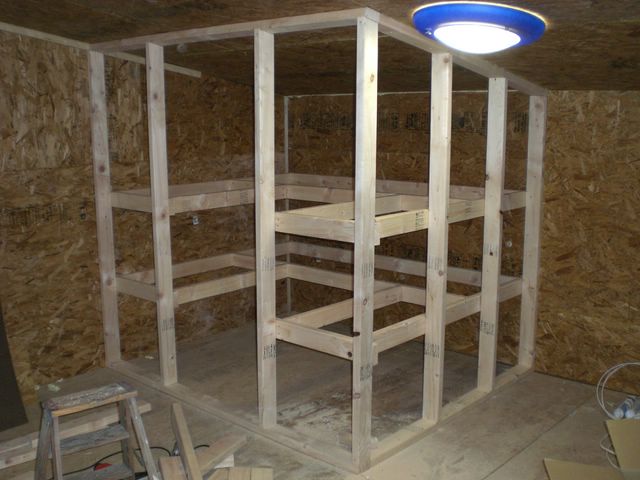
...put the shelves in...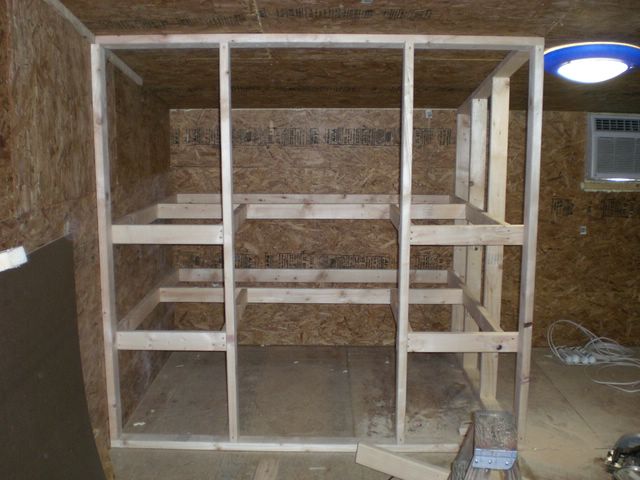
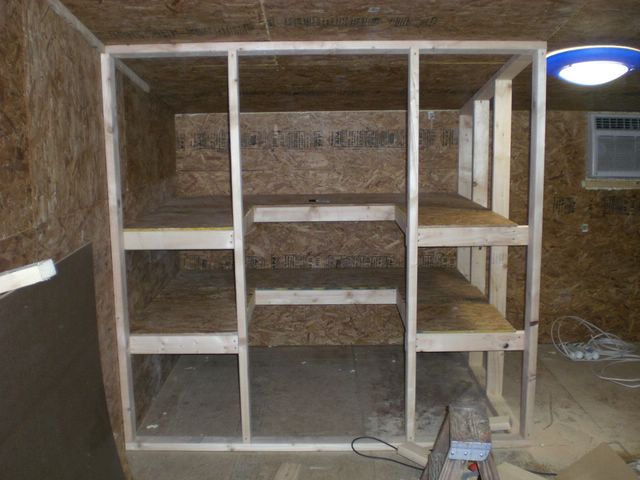
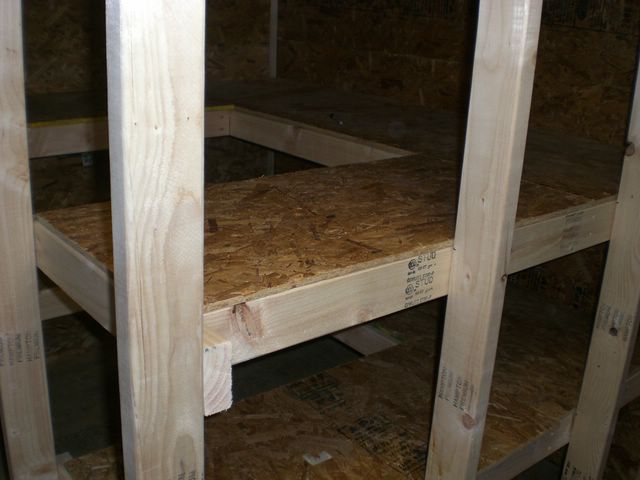
It's all ready to have some walls put on now...
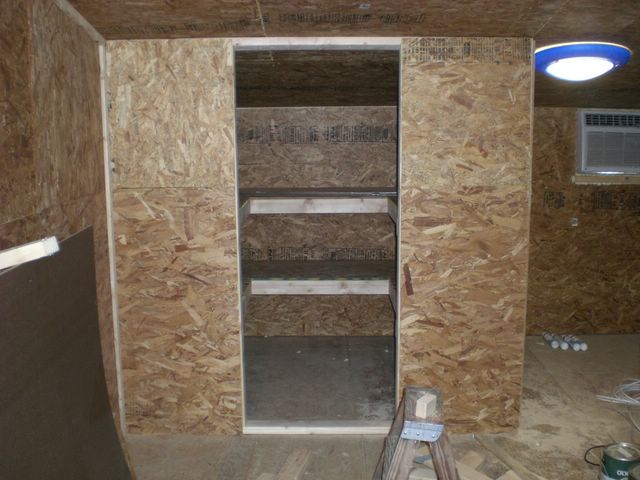
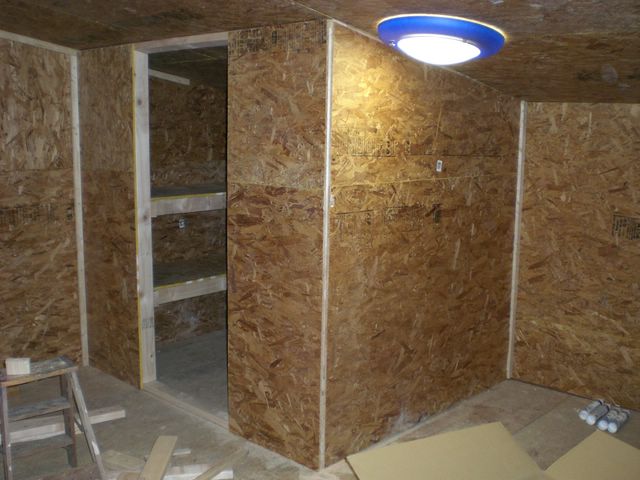
SEP 19 08
...got the walls put on today along with some trim pieces...
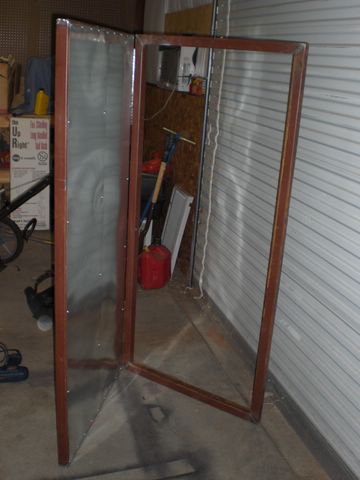
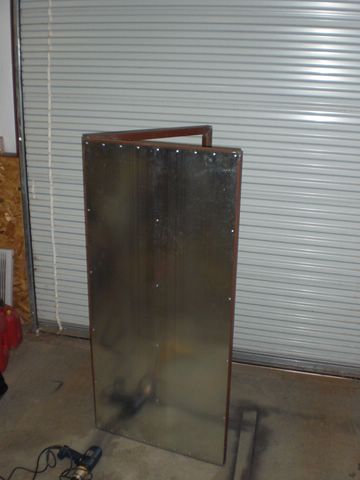
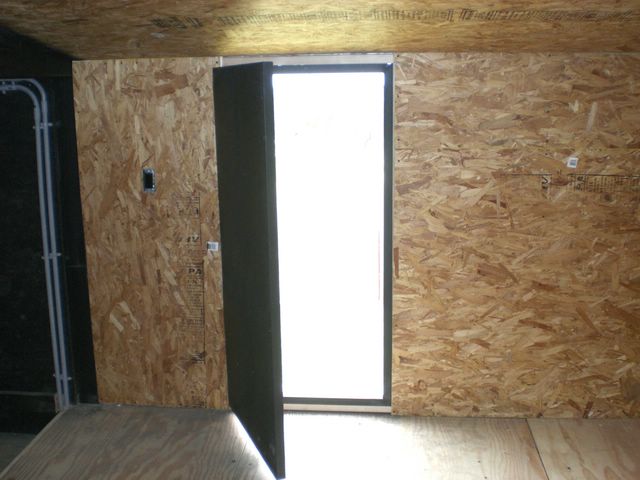
OCT 06 08
I got the fire escape door built and
mounted. This door had to be custom made since 5' tall doors
seem to be scarce. heh heh
It wouldn't make much of a door
for normal use - but is better than nothing in case of fire!
...painted...
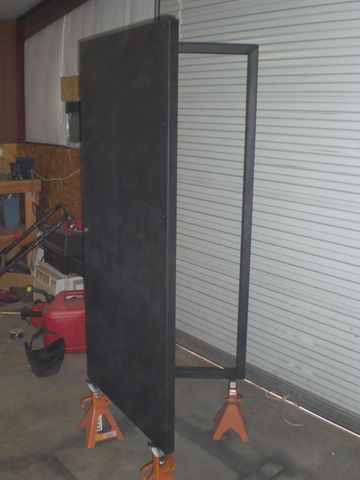
(I
also got this last wall insulated and osb'd)
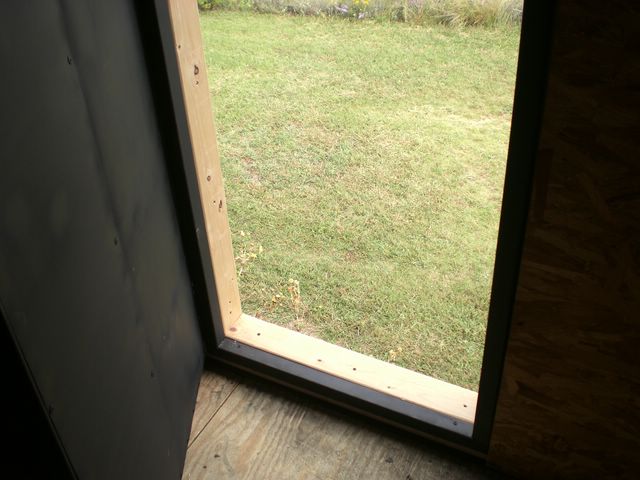
Watch
that first step!
(I
still need to install a latch and a seal...)
I made the door for the upstairs storage too:
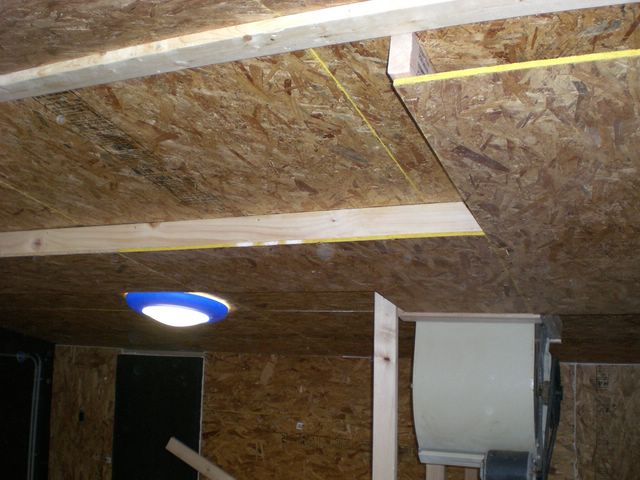
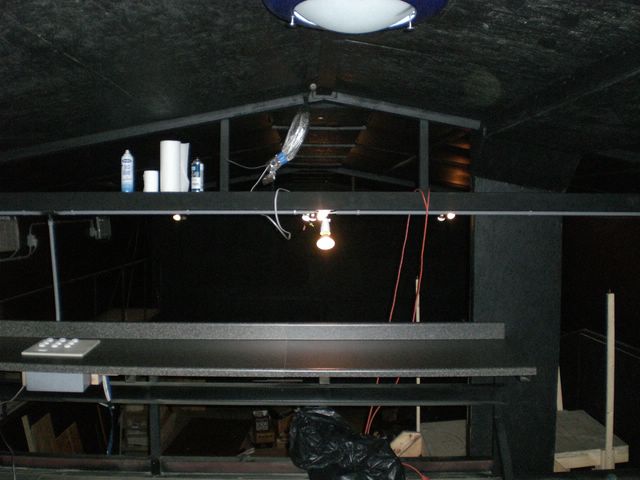
Next up: build a small closet to house a blower for air recirculation:
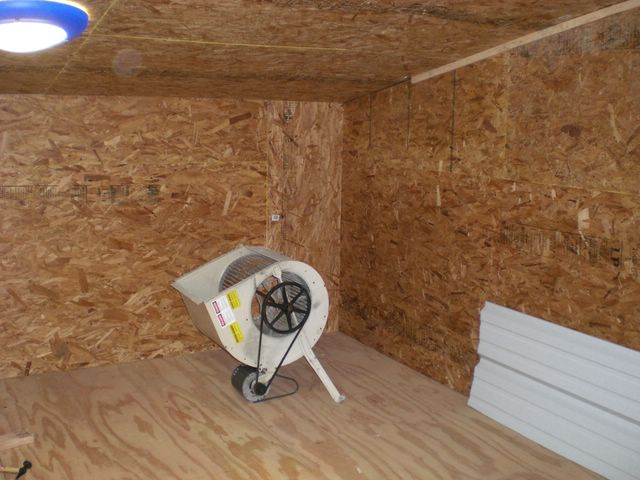
(5000
cfm blower from an evaporative cooler...)
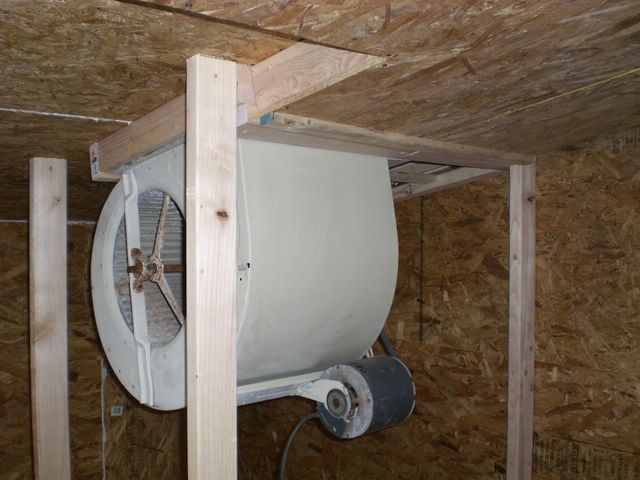
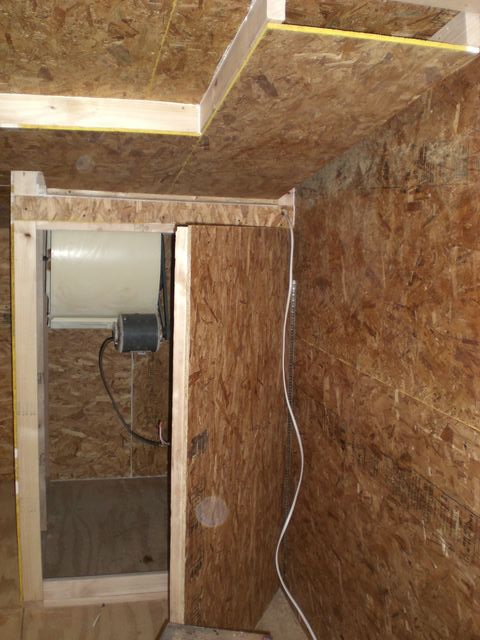
OCT 07 08
Major work done on blower room:
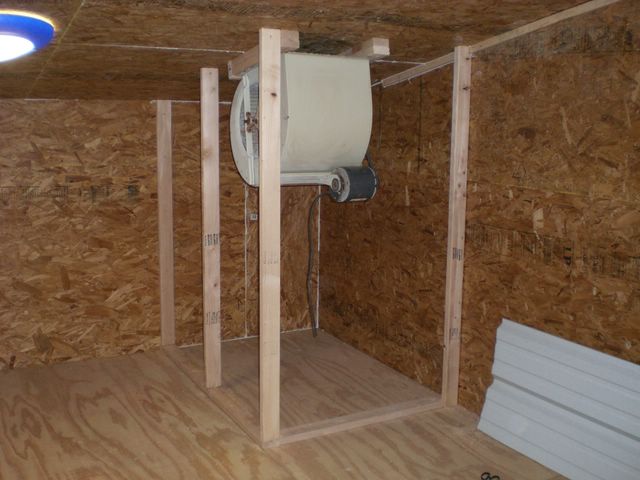
framework
built, blower mounted (yes it's removable if need be)
The way this is going to work is, the blower will depressurize the closet it's in. A duct running to the peak is the only route for air to go in. The air is sucked in from the peak through a filter and then pumped back out to an adjacent duct. From there it will be routed down to the main floor. This way, warm air from the top will be constantly pumped down to the floor. This will help equalize the temperature throughout the building.
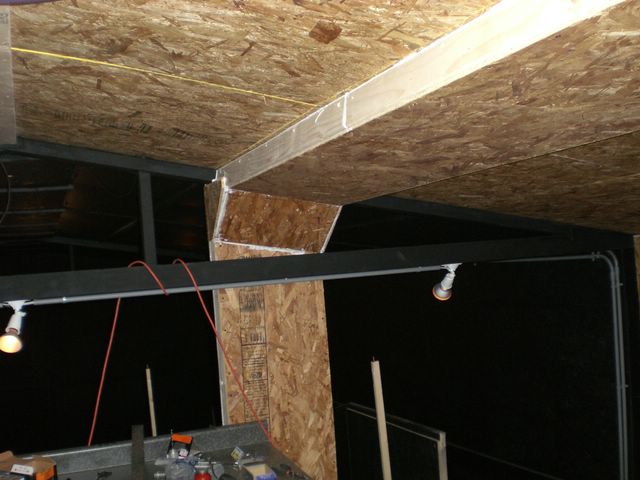
duct work:
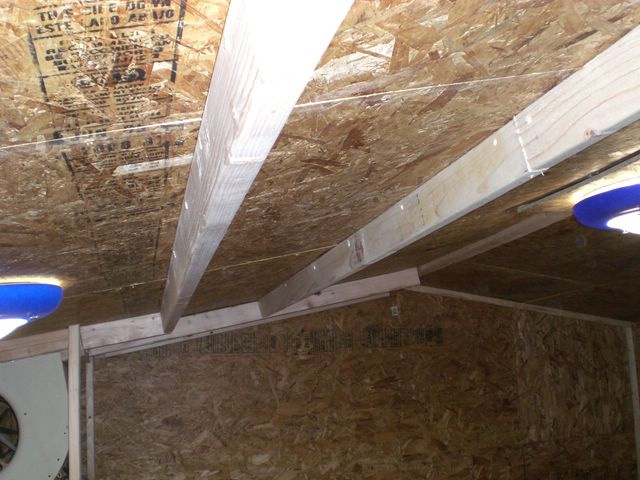
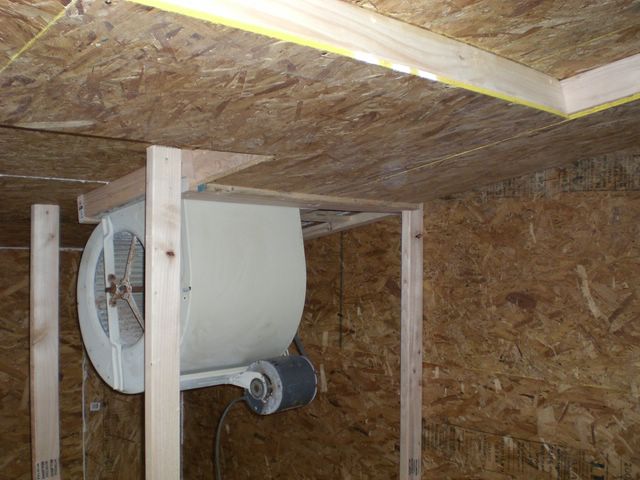
...where the filter will go:
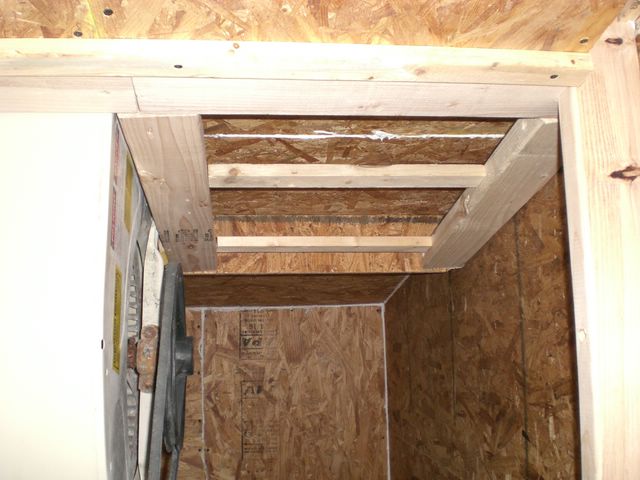
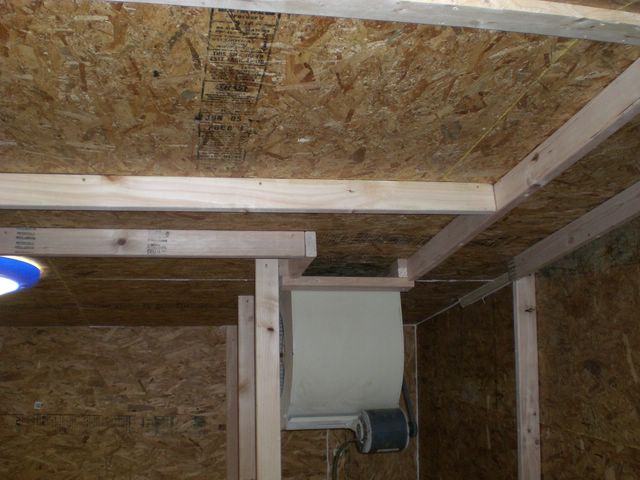
OCT 8 08
Got the closet walls/door on and started on the duct work that will channel down to the floor:

I tested the blower out. After oiling the bearings, it seems to work just fine, good air flow. I need to mount a switch for on/off and one for low/high...
13 OCT 08
Pen got the upstairs cleaned up and I got it ready for paint.
masked...
The supervisor doing what they do best!
...and the painting is done!
It really turned out nice!
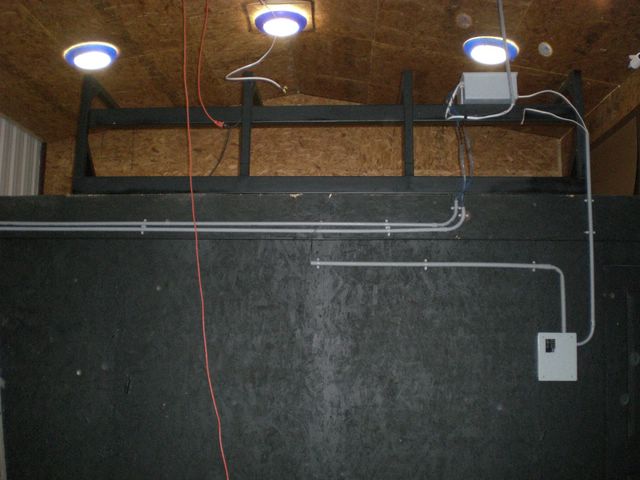
15 OCT 08
I got the upstairs wired. Conduit run, lighting in the closet, power to the blower. Also, the wiring started for downstairs:

I'll be getting the control desk it's own isolated power also...
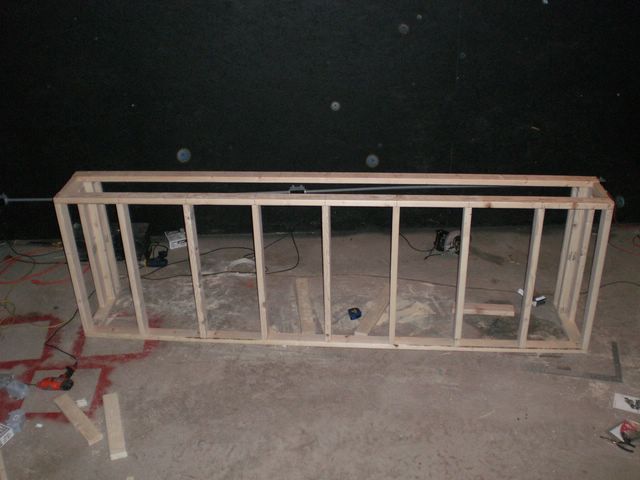
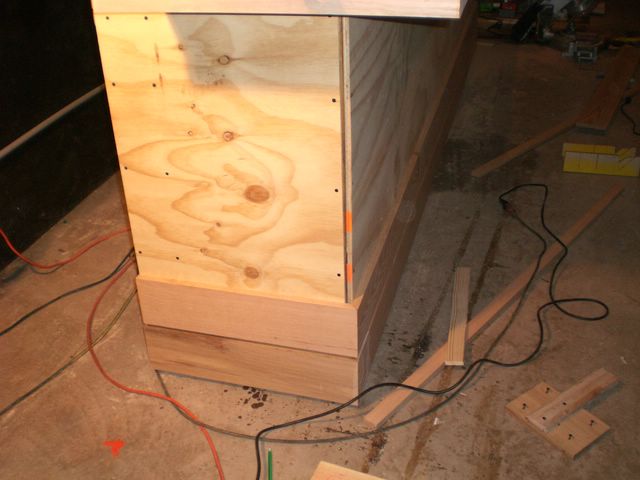
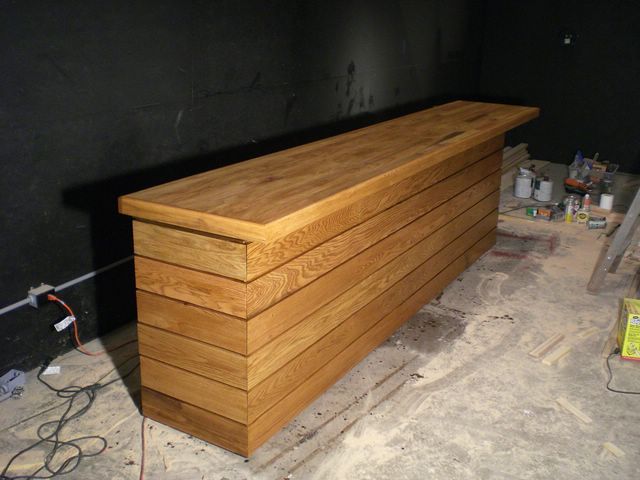
OCT 21 - 22, 08
The Bar.
Some specs:
Table height: 42"
Length:
12'
Depth: 24" + 6" drink rail
Knee space: 8"
I did some conceptualizations of what I want the wet bar to look like:
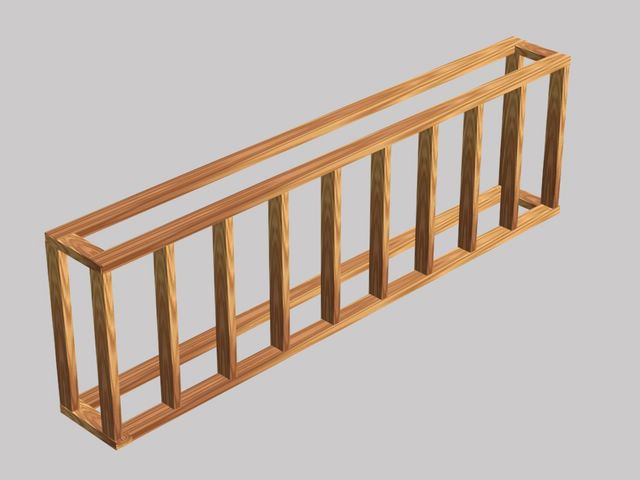
basic
frame
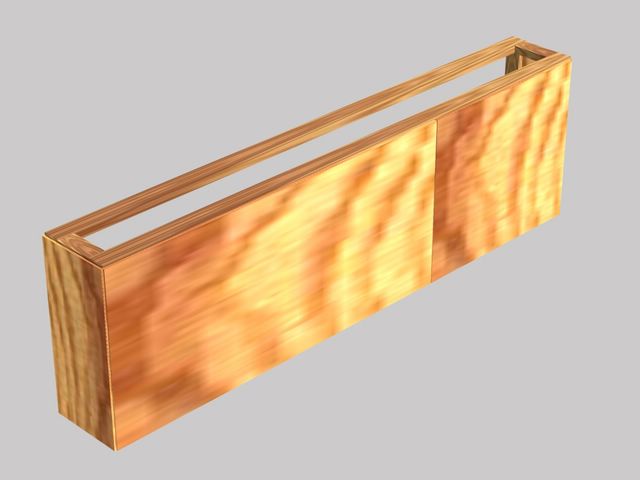
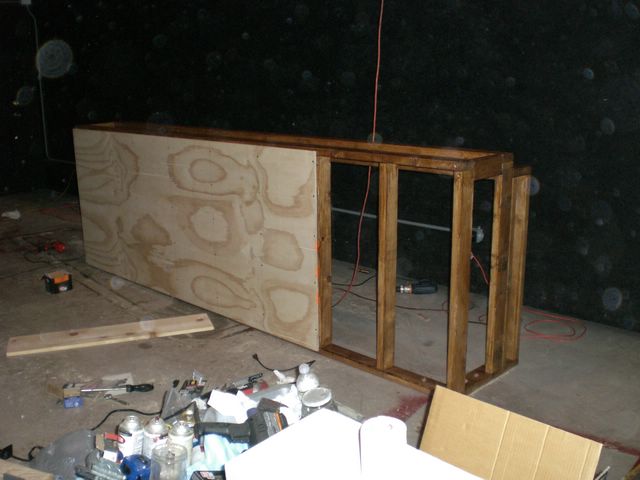
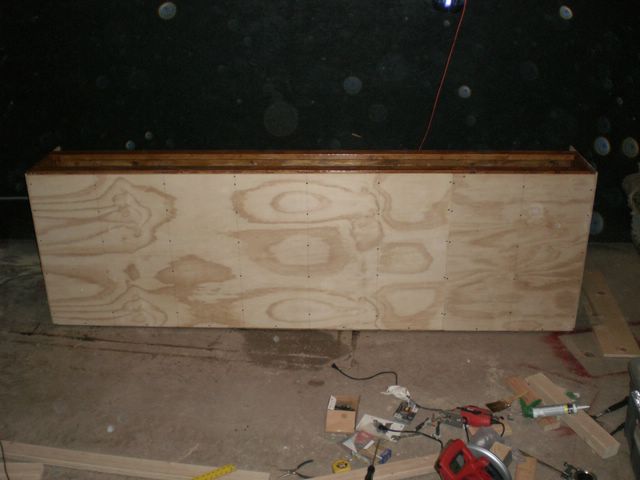
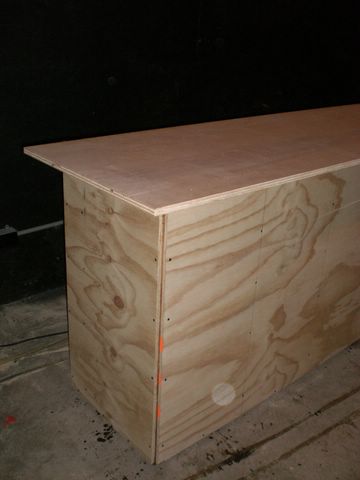
add
some plywood
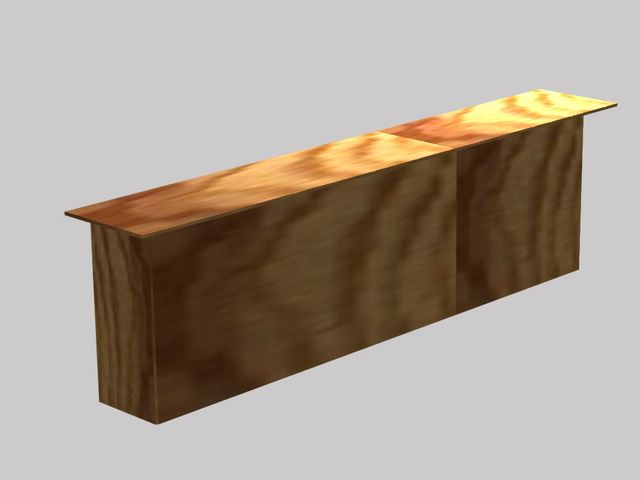
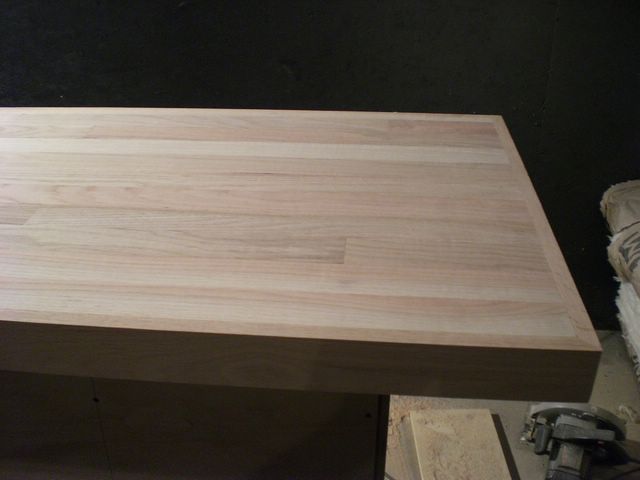
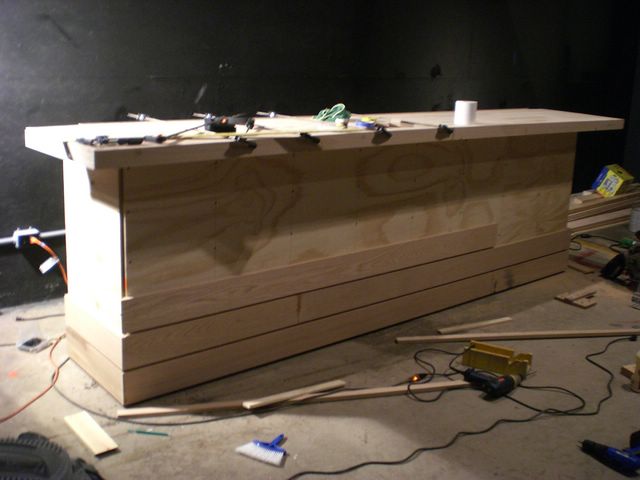
a
hardwood plywood top
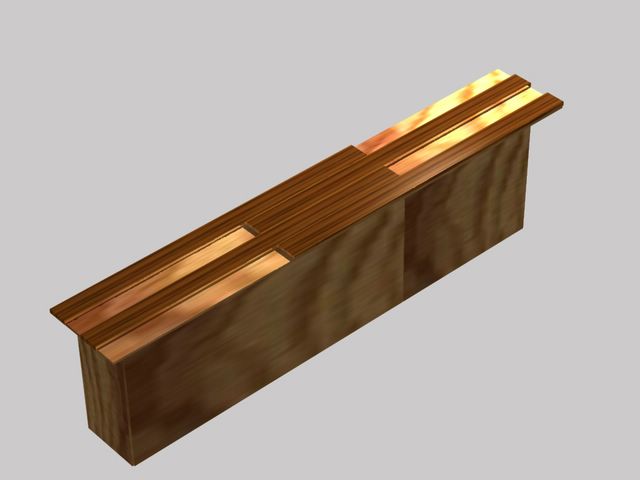
add
oak planks
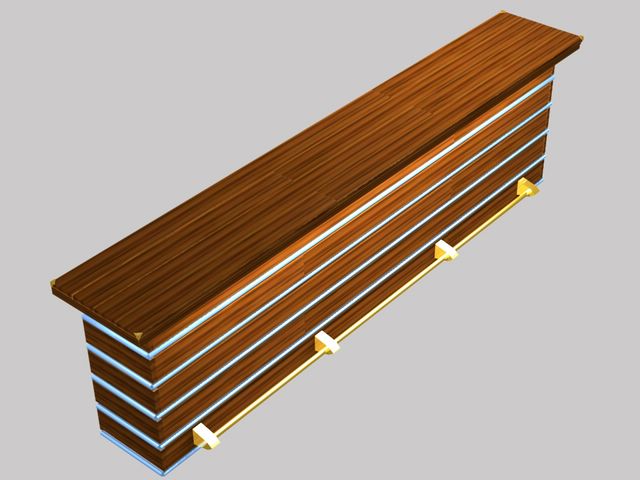
finished
off with brass accessories and fancy lighting
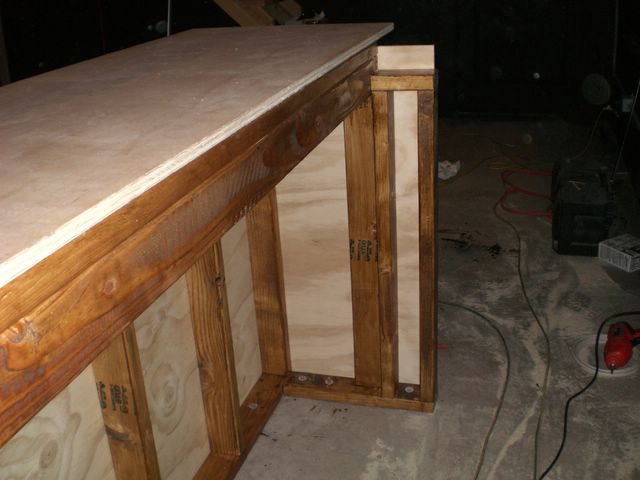
...the actual progress today:
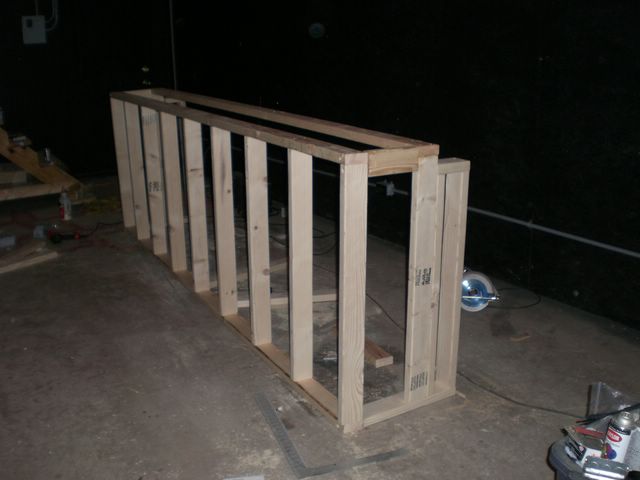
modified
to have a drink rail
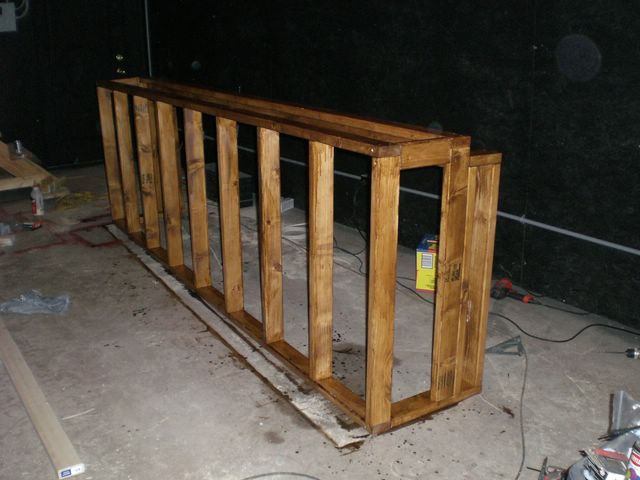
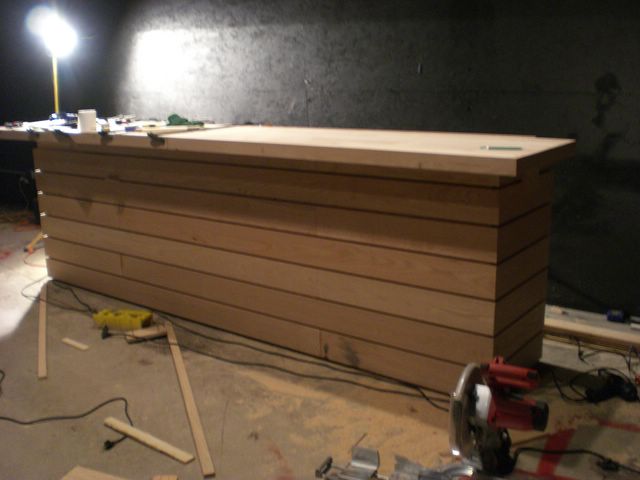
stained
to preserve
OCT 23 08
I went to Lowes today and stumbled onto a good deal:
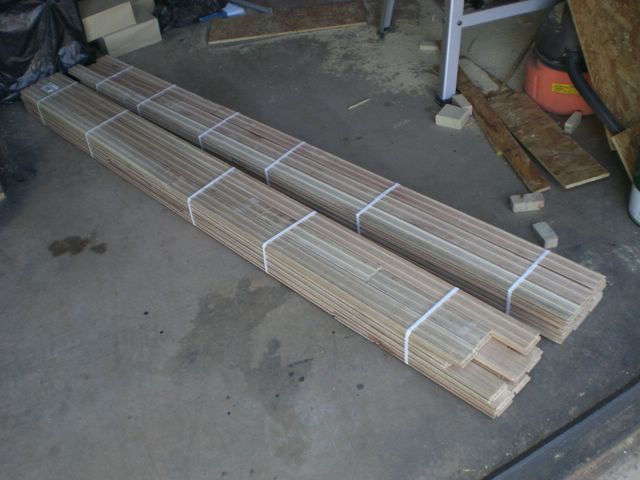
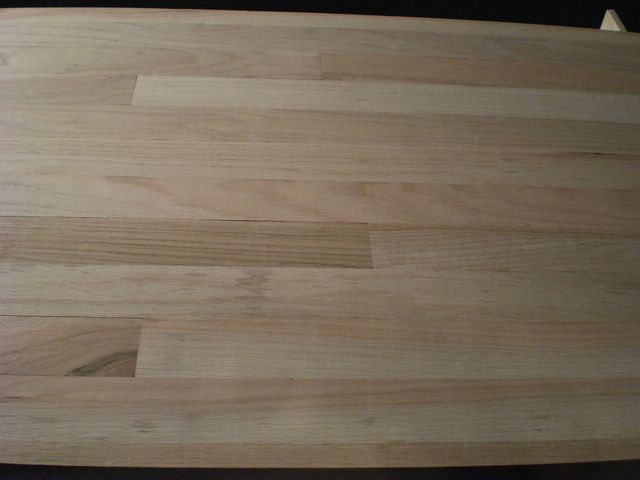
$35 a bundle for interlocking (tongue and groove) oak planks. What a deal! More than enough to do the top.
Some of it laid out:
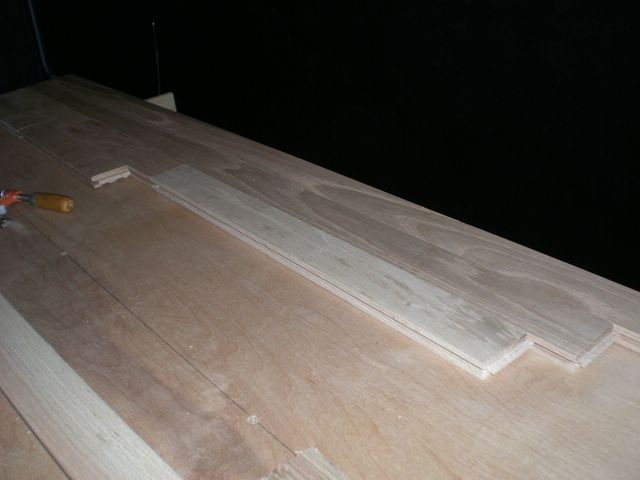
With all the different looking shades and grain - this is really going to turn out nice. I can't wait to be able to stain this and see!
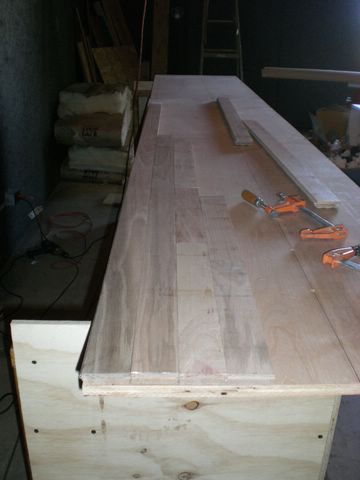
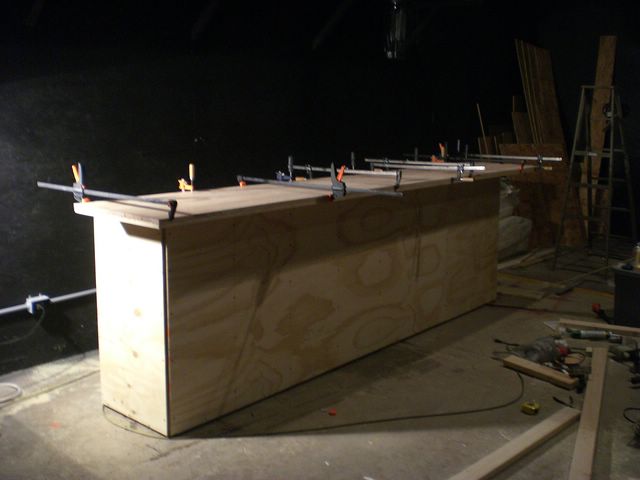
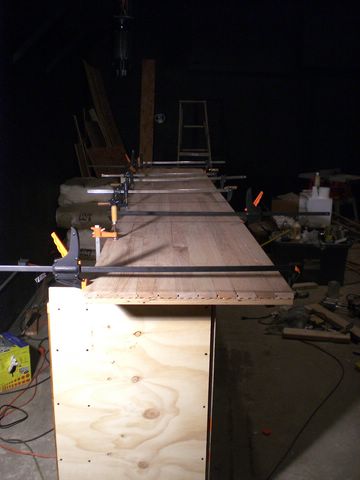
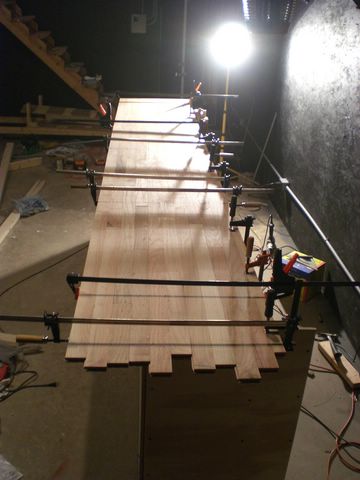
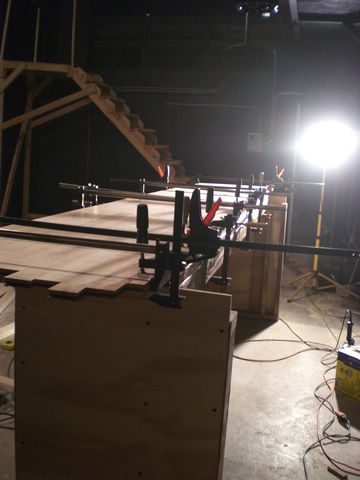
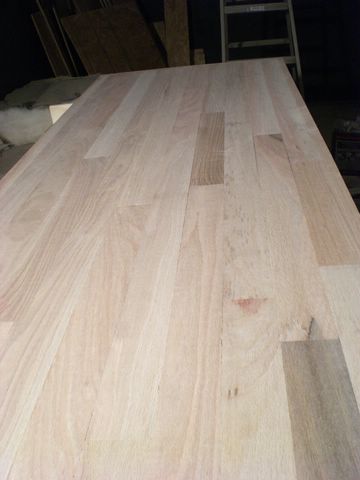
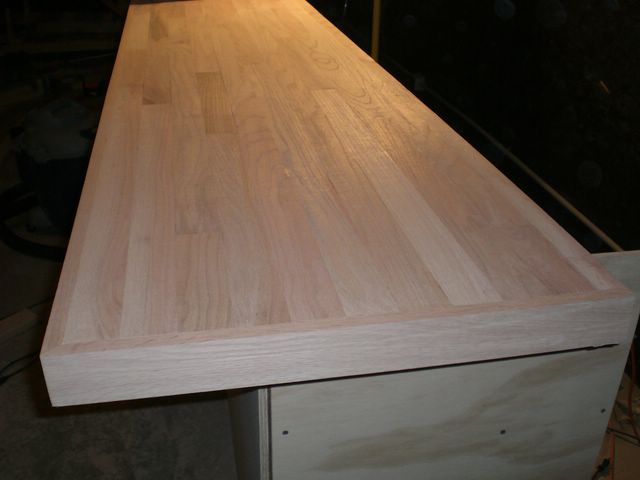
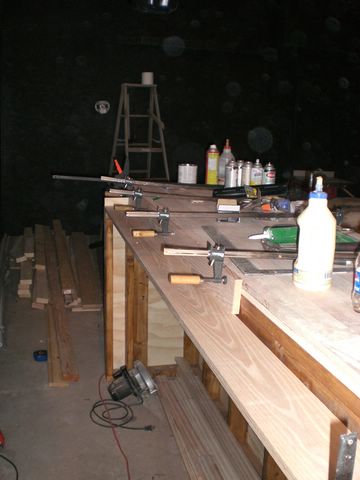
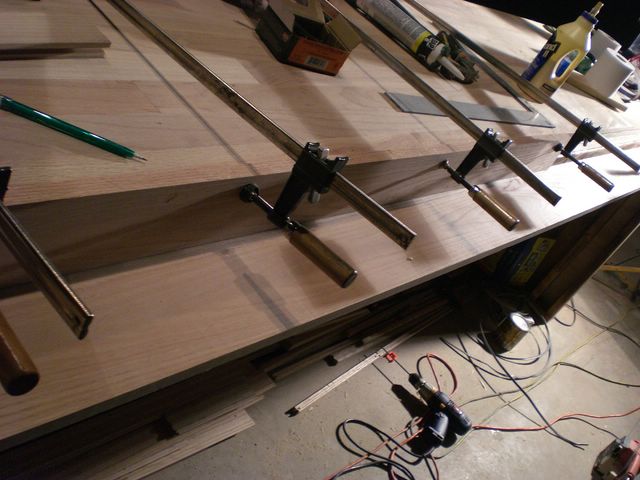
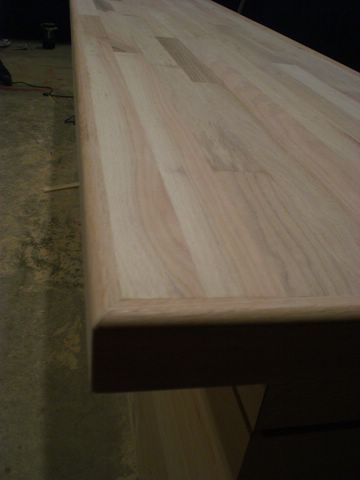
OCT 28 08
Today I spent attaching the bar surface. In most cases the planks are glued and screwed. I used clamps each step of the way to hold things tight until the screws were in. I wasn't able to use screws on the last row - so it is heavily glued and clamped, I'll pull the clamps tomorrow.
(I'll
cut this end flush tomorrow)
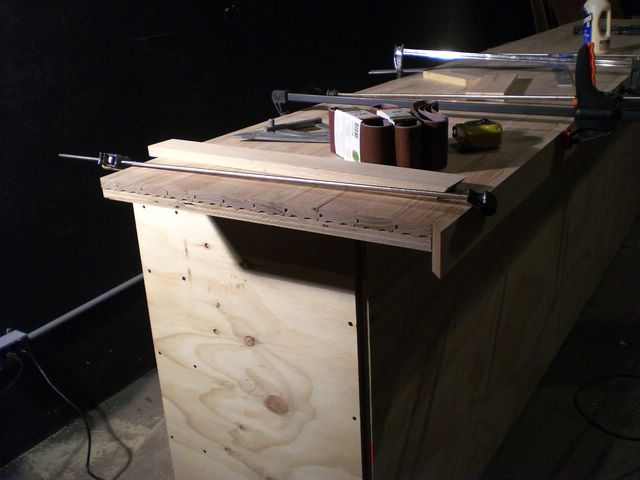
...still
need this last end piece glued and clamped tomorrow...
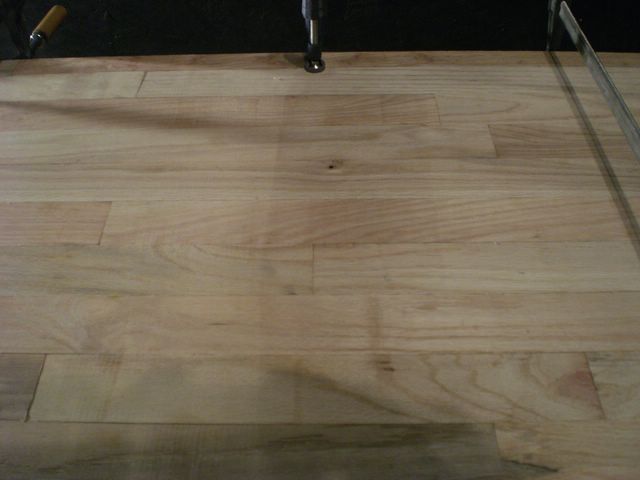
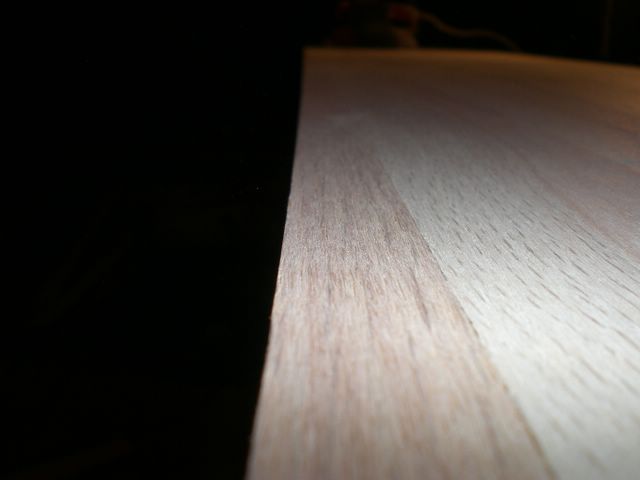
Next (for the top) I'll get an edge border made around the front and sides. After that, do some belt sanding to make it completely uniform. When I laid the pieces, I tried to put the most dissimilar pieces together to have the max impact when it's stained.
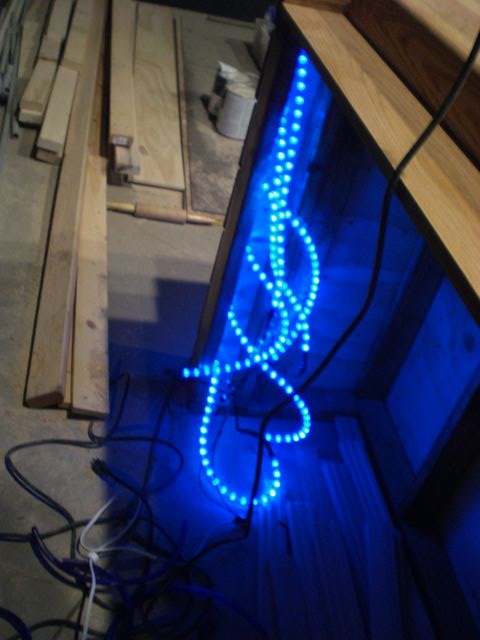
Today I also got some rope lighting ordered:
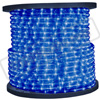
150 ft for about $70 from this place: http://www.1000bulbs.com
I think it will work best to conform with my conceptualization.
I also found a brass place for
the foot rest I want:

$280 for the kit from: http://www.markstaar.com/
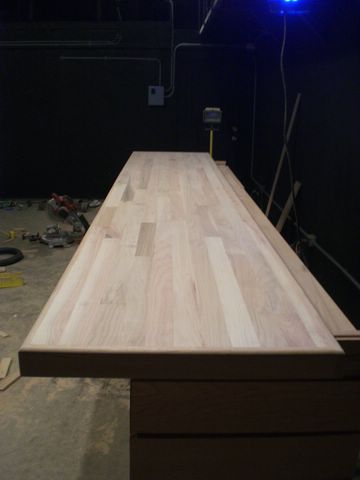
HALLOWEEN 2008
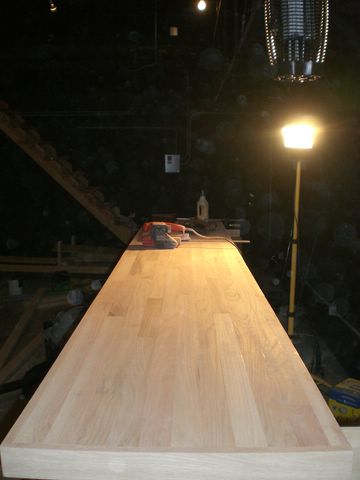
Using my belt sander, I sanded half
the bar surface (40grit, then 80grit, then 120grit)
It's turning
out pretty nice! I'm letting the glue dry on the other end
before sanding the rest. I can see I will need some wood putty
for some hair line cracks here and there...

shweet!
NOV 3 08
Got some work done on the drink rail today.
...I'll let this dry overnight...
NOV 4 to 6 08
I've gotten quite far now. After the drink rail, I put the base boards on (and at $22 a board I NEED a drink!)
Roscoe supervises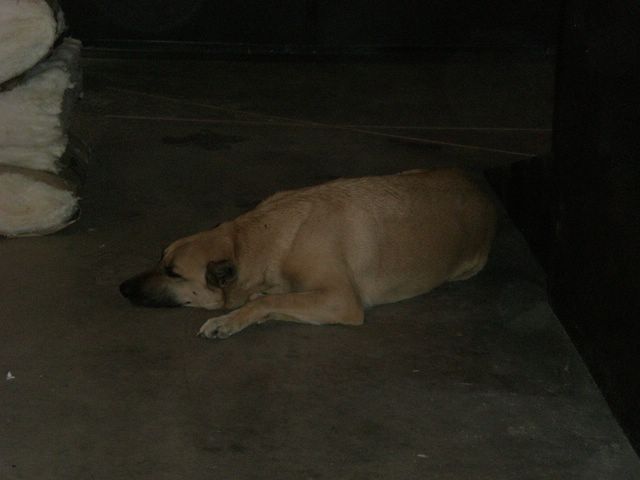

After a ton of sanding and some
router work, I'm ready to stain.
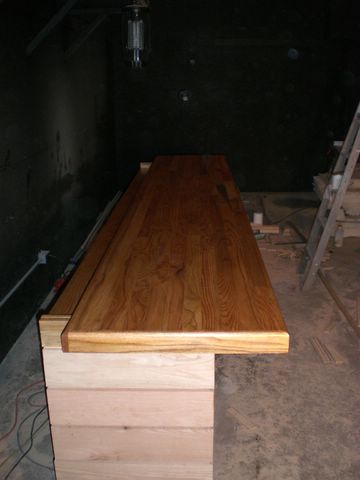
wow!
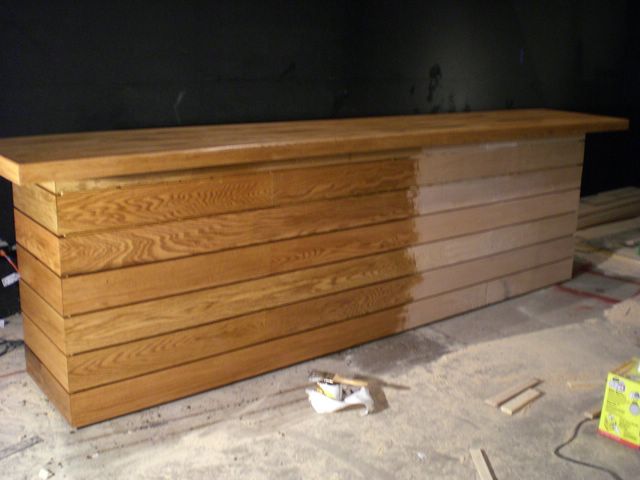
Done!

And today, I popped on the first row
of rope lighting.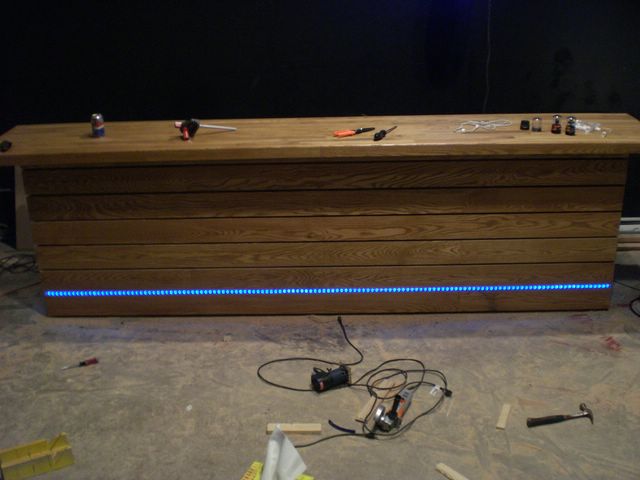
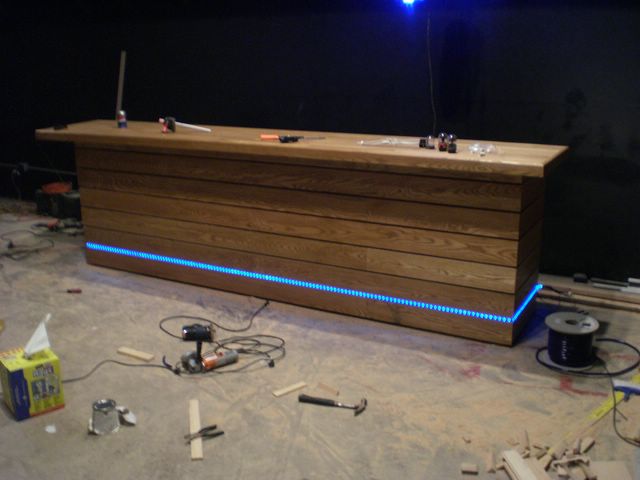

After the lighting is done, I'll be varnishing (polyurethane) it all and adding finishing trim pieces.
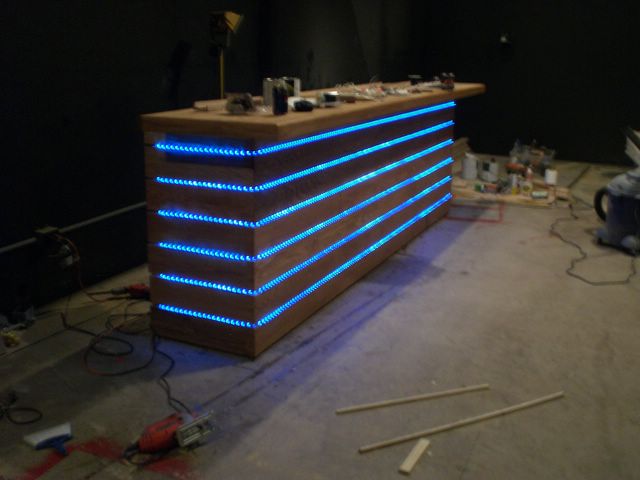
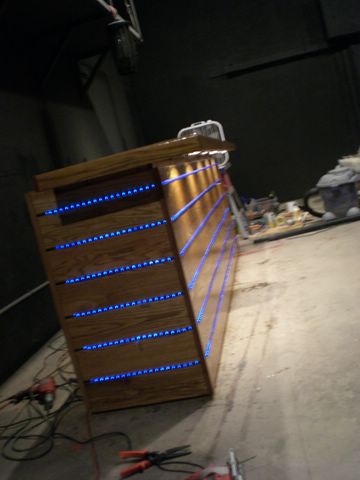
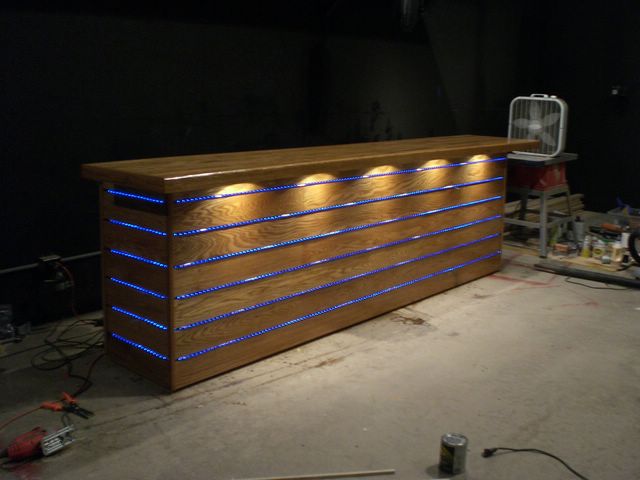
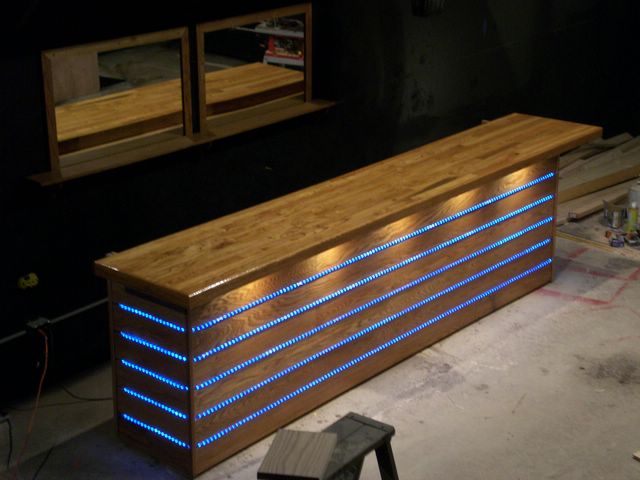
NOV 11 08
OK - the lighting is done and WOW!
this
is where the controls will go (OR a nice shot of some Star Trek
plasma couplings - heh heh)
I also installed some mini spot underneath
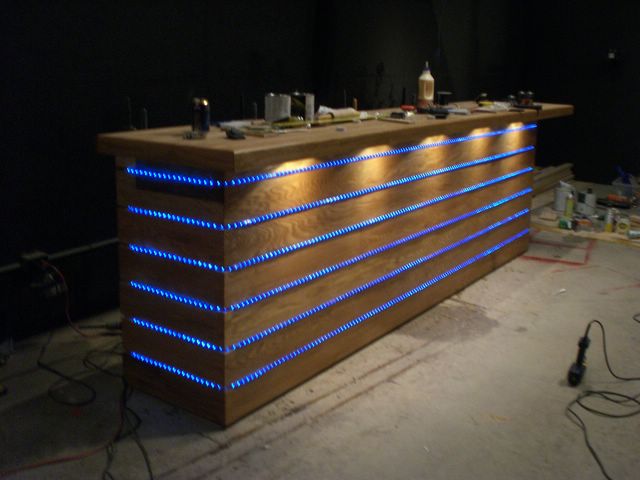
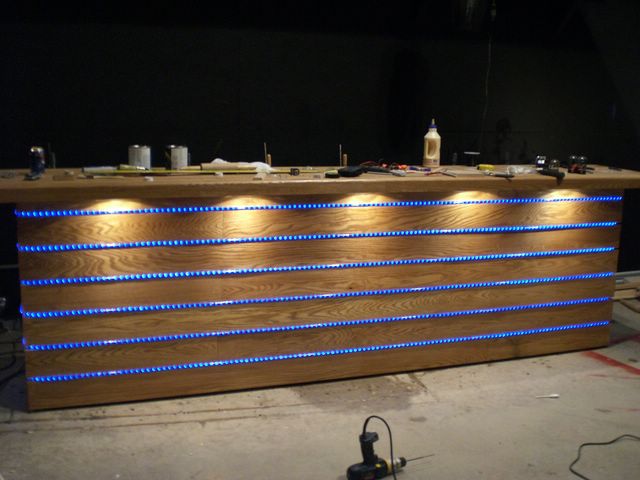
The controls:

sealer and polyurethane is next...
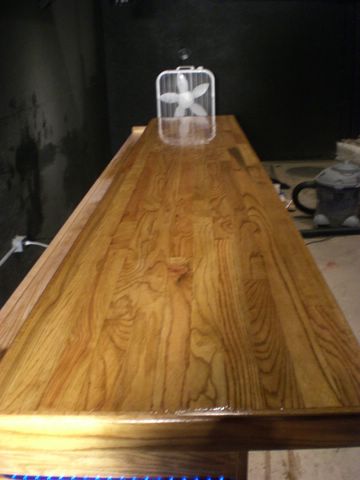
NOV 12 & 13 08
Got some sealing / poly done
the top has 2 coats of sealer,
sanded, 3 coats of polyurethane.
It's really hard to get a
consistent coat (I've done 2 coats sprayed and 1 brushed)
I'll
probably hit it with one more spray coat since that gives the best
surface... 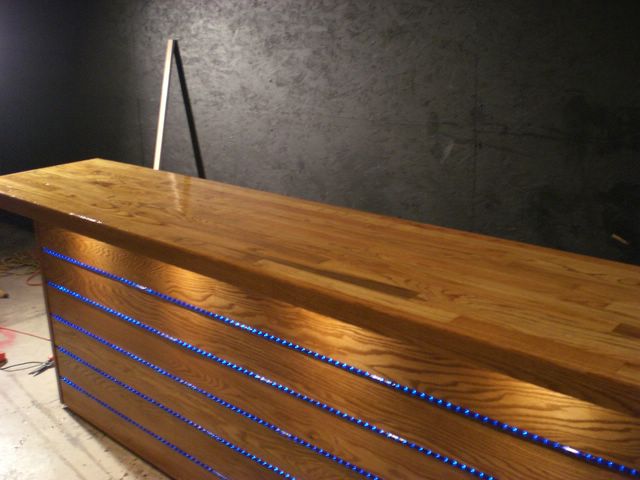
Hmm, similar to this I guess (needs a footrest):
I'll let this stuff dry a good 24hrs...
NOV 18 - 19 08
Built some lockable storage under the bar (still need to post the pictures - oops), and I used left over oak from the bar for mirror frames and a bottle shelf.
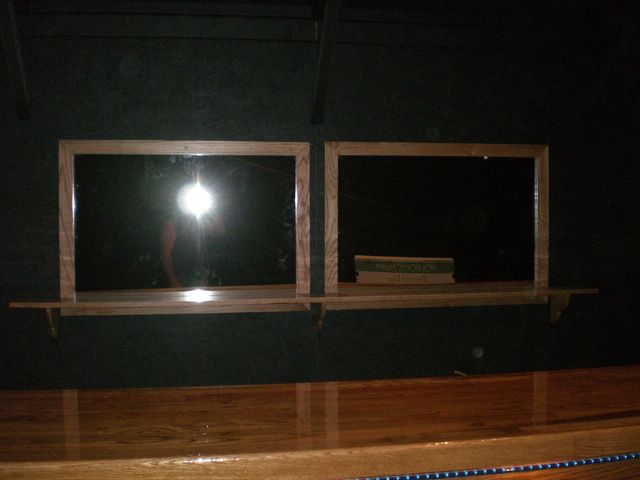
I
positioned the mirrors / shelf like this - I want bottles on the
shelf to be completely reflected
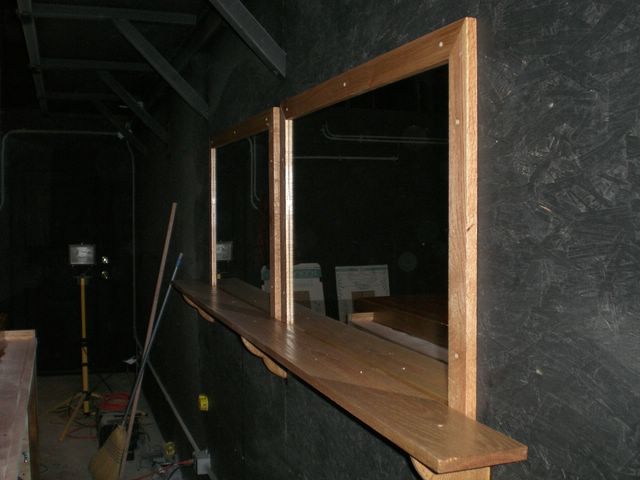
these
are 36" x 24" x 1/4" thick - they fit the "groove"
part of the boards just right
the
mirrors are offset to the left - eventually I want a flatscreen
mounted to the right of them
the flatscreen would show the same as
the main screen - so you can sit at the bar without turning
SPOILED!
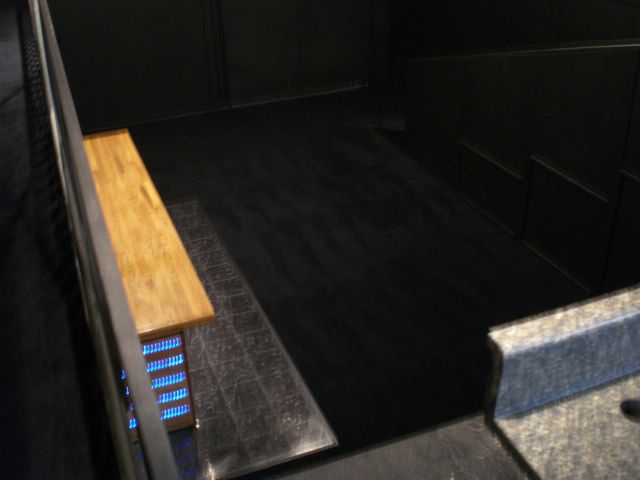
FEB 11, 2009
Had the carpet installed today. Looks GREAT!! Last week I tiled around the bar (where stools will be). PICTURES! :
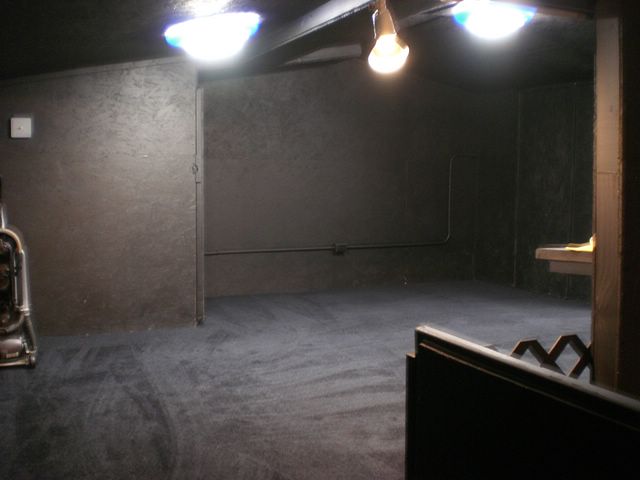


It's all really coming together.
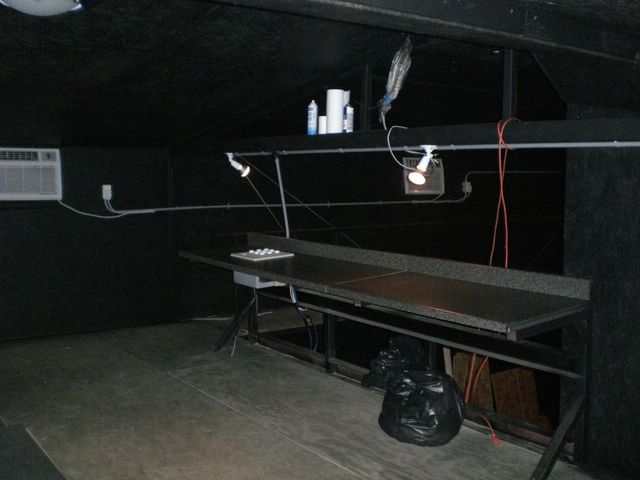
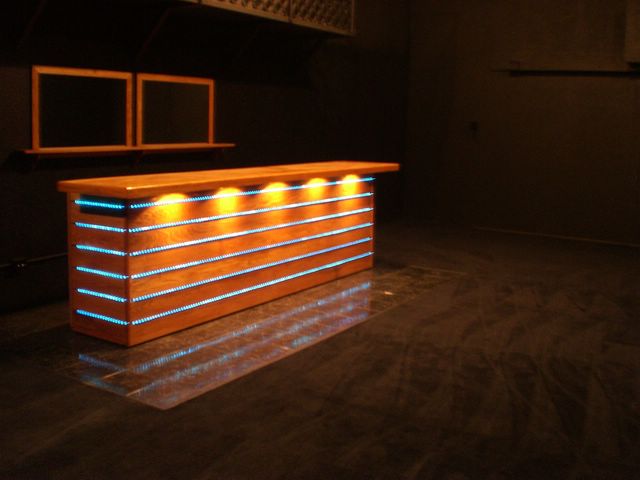
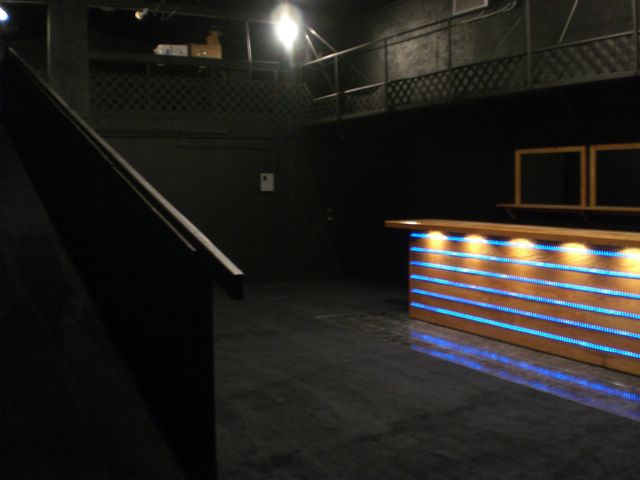
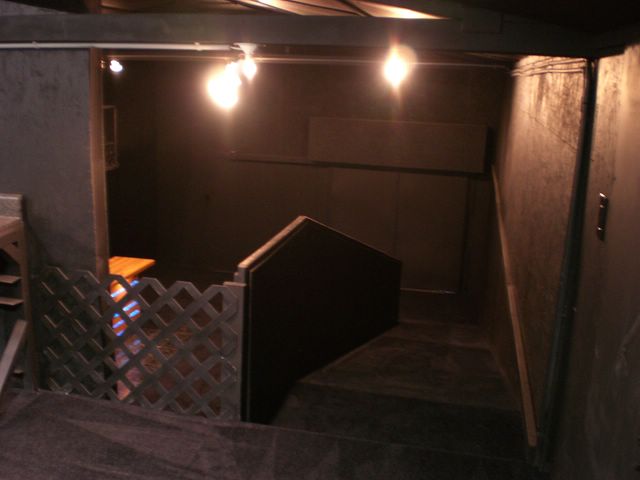
FEB 15 2009
Some current pictures now that the sound equipment is in:
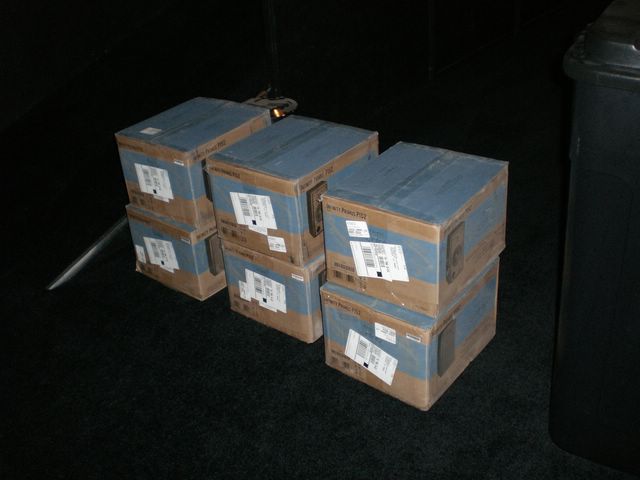
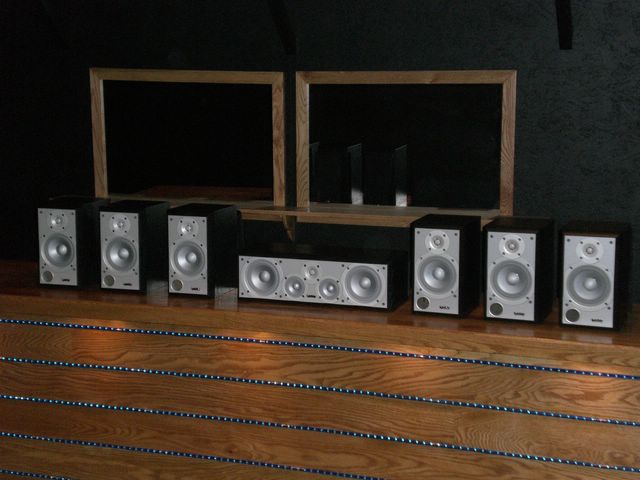
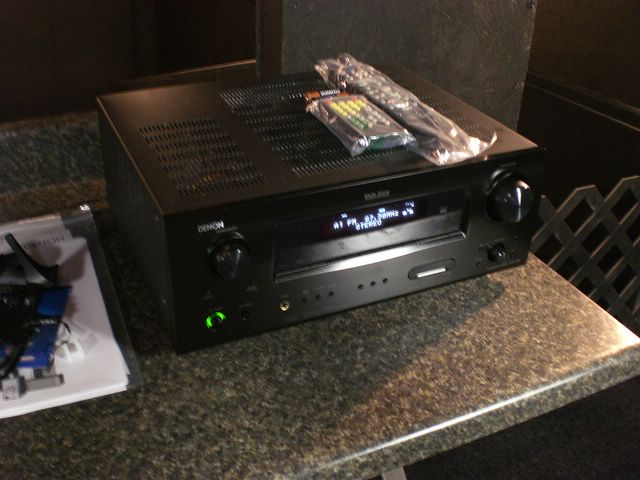
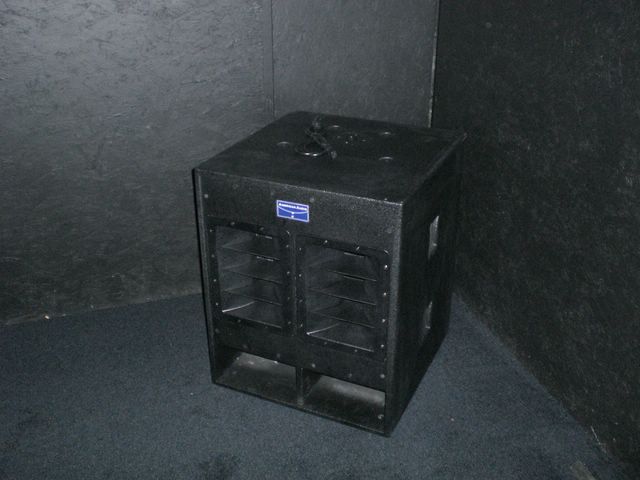
more to come...